
Kase Filter System Review
(K9 Filter Holder – 100mm and 150mm filters @ 1.1mm thk)
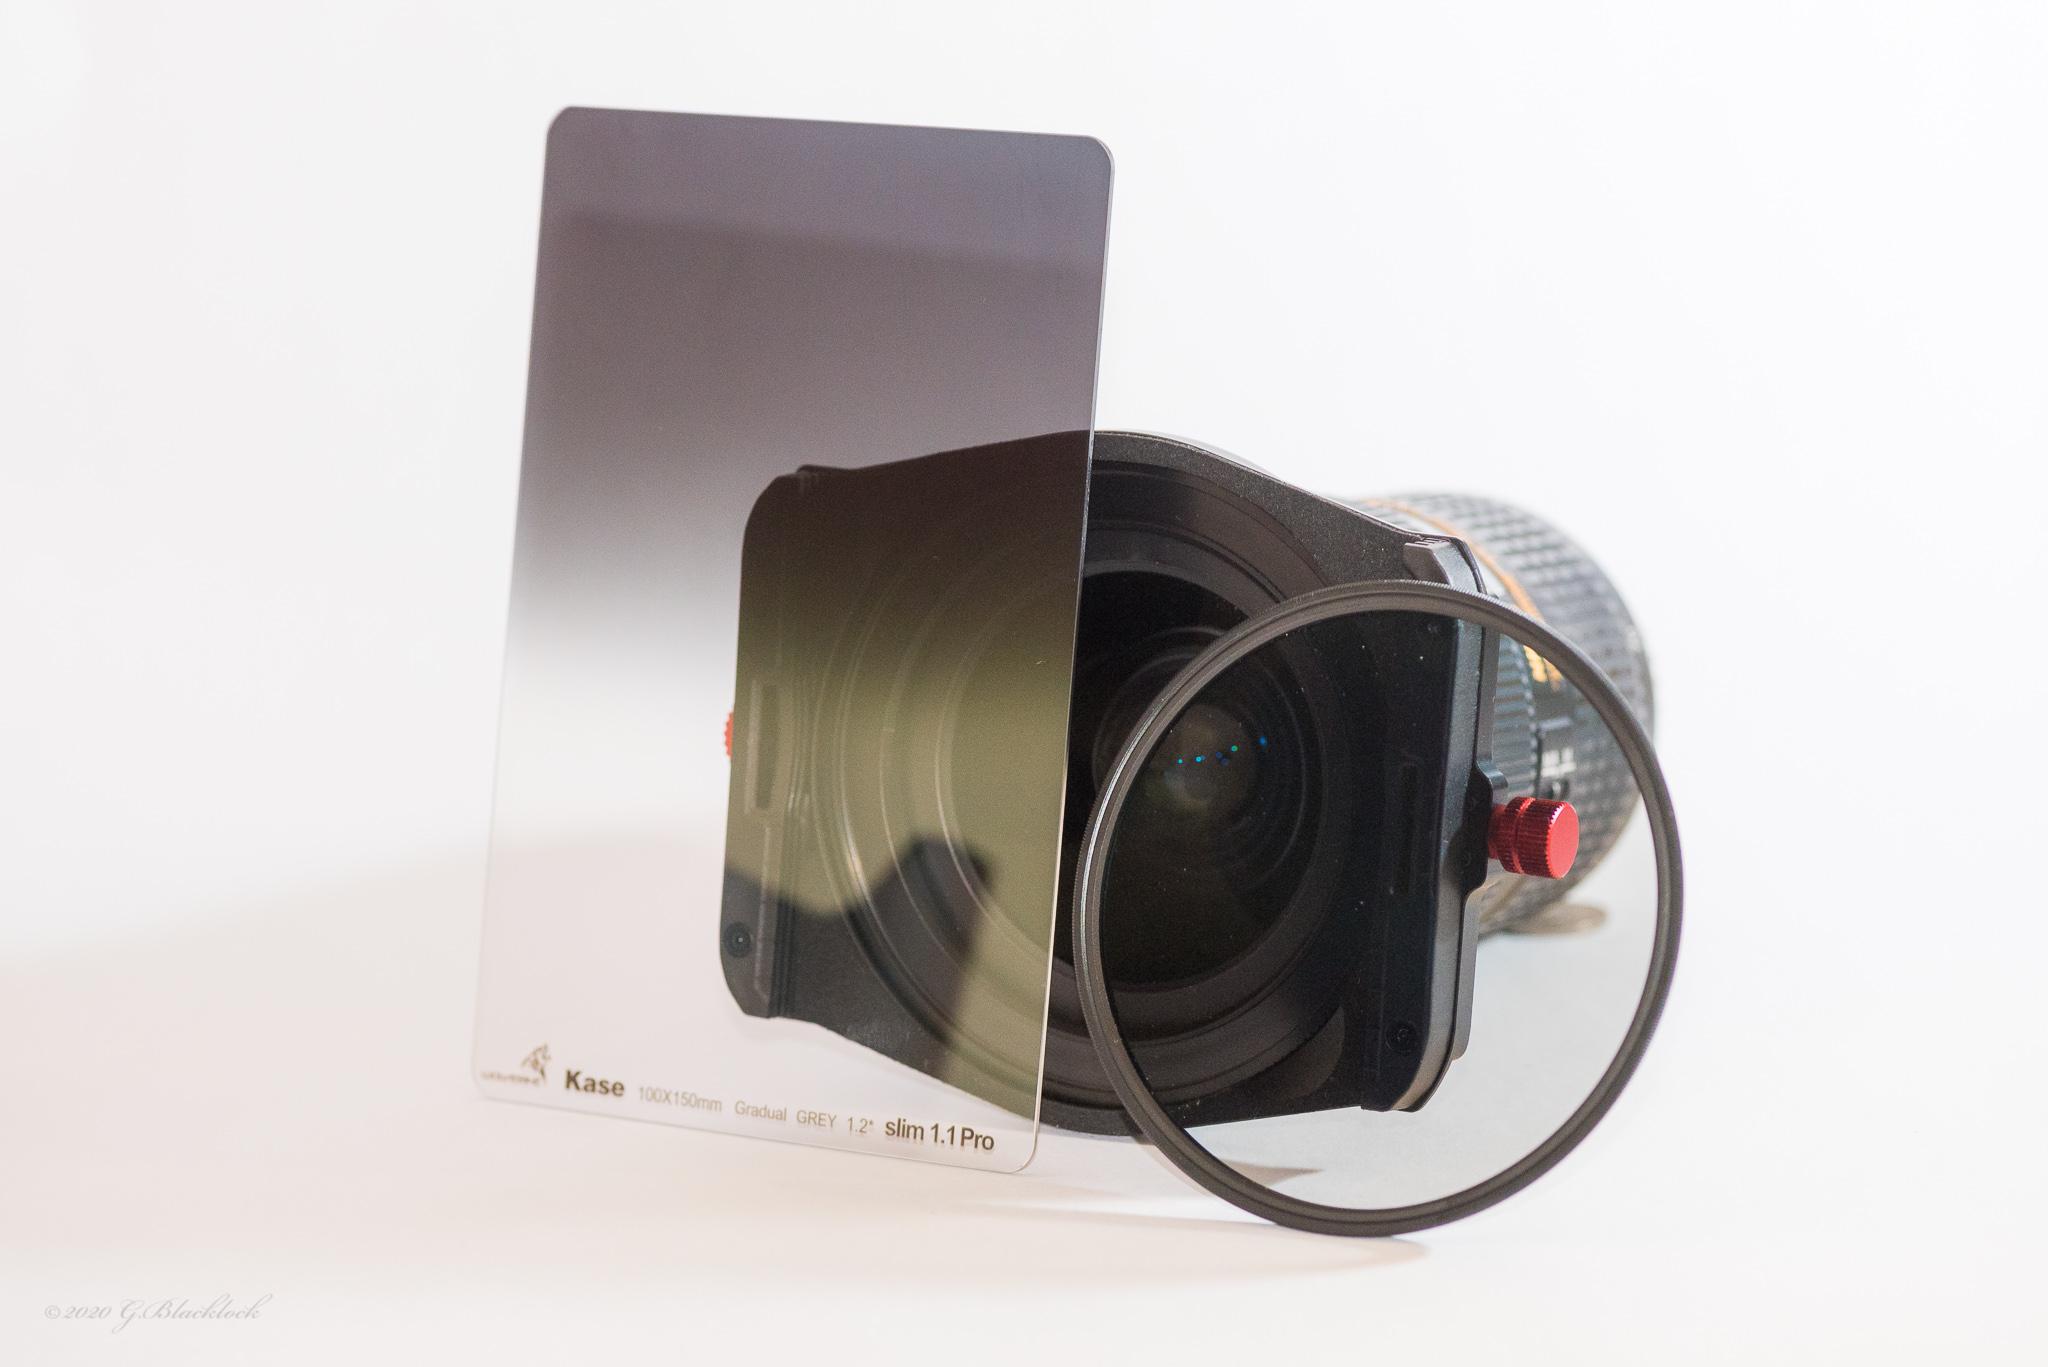
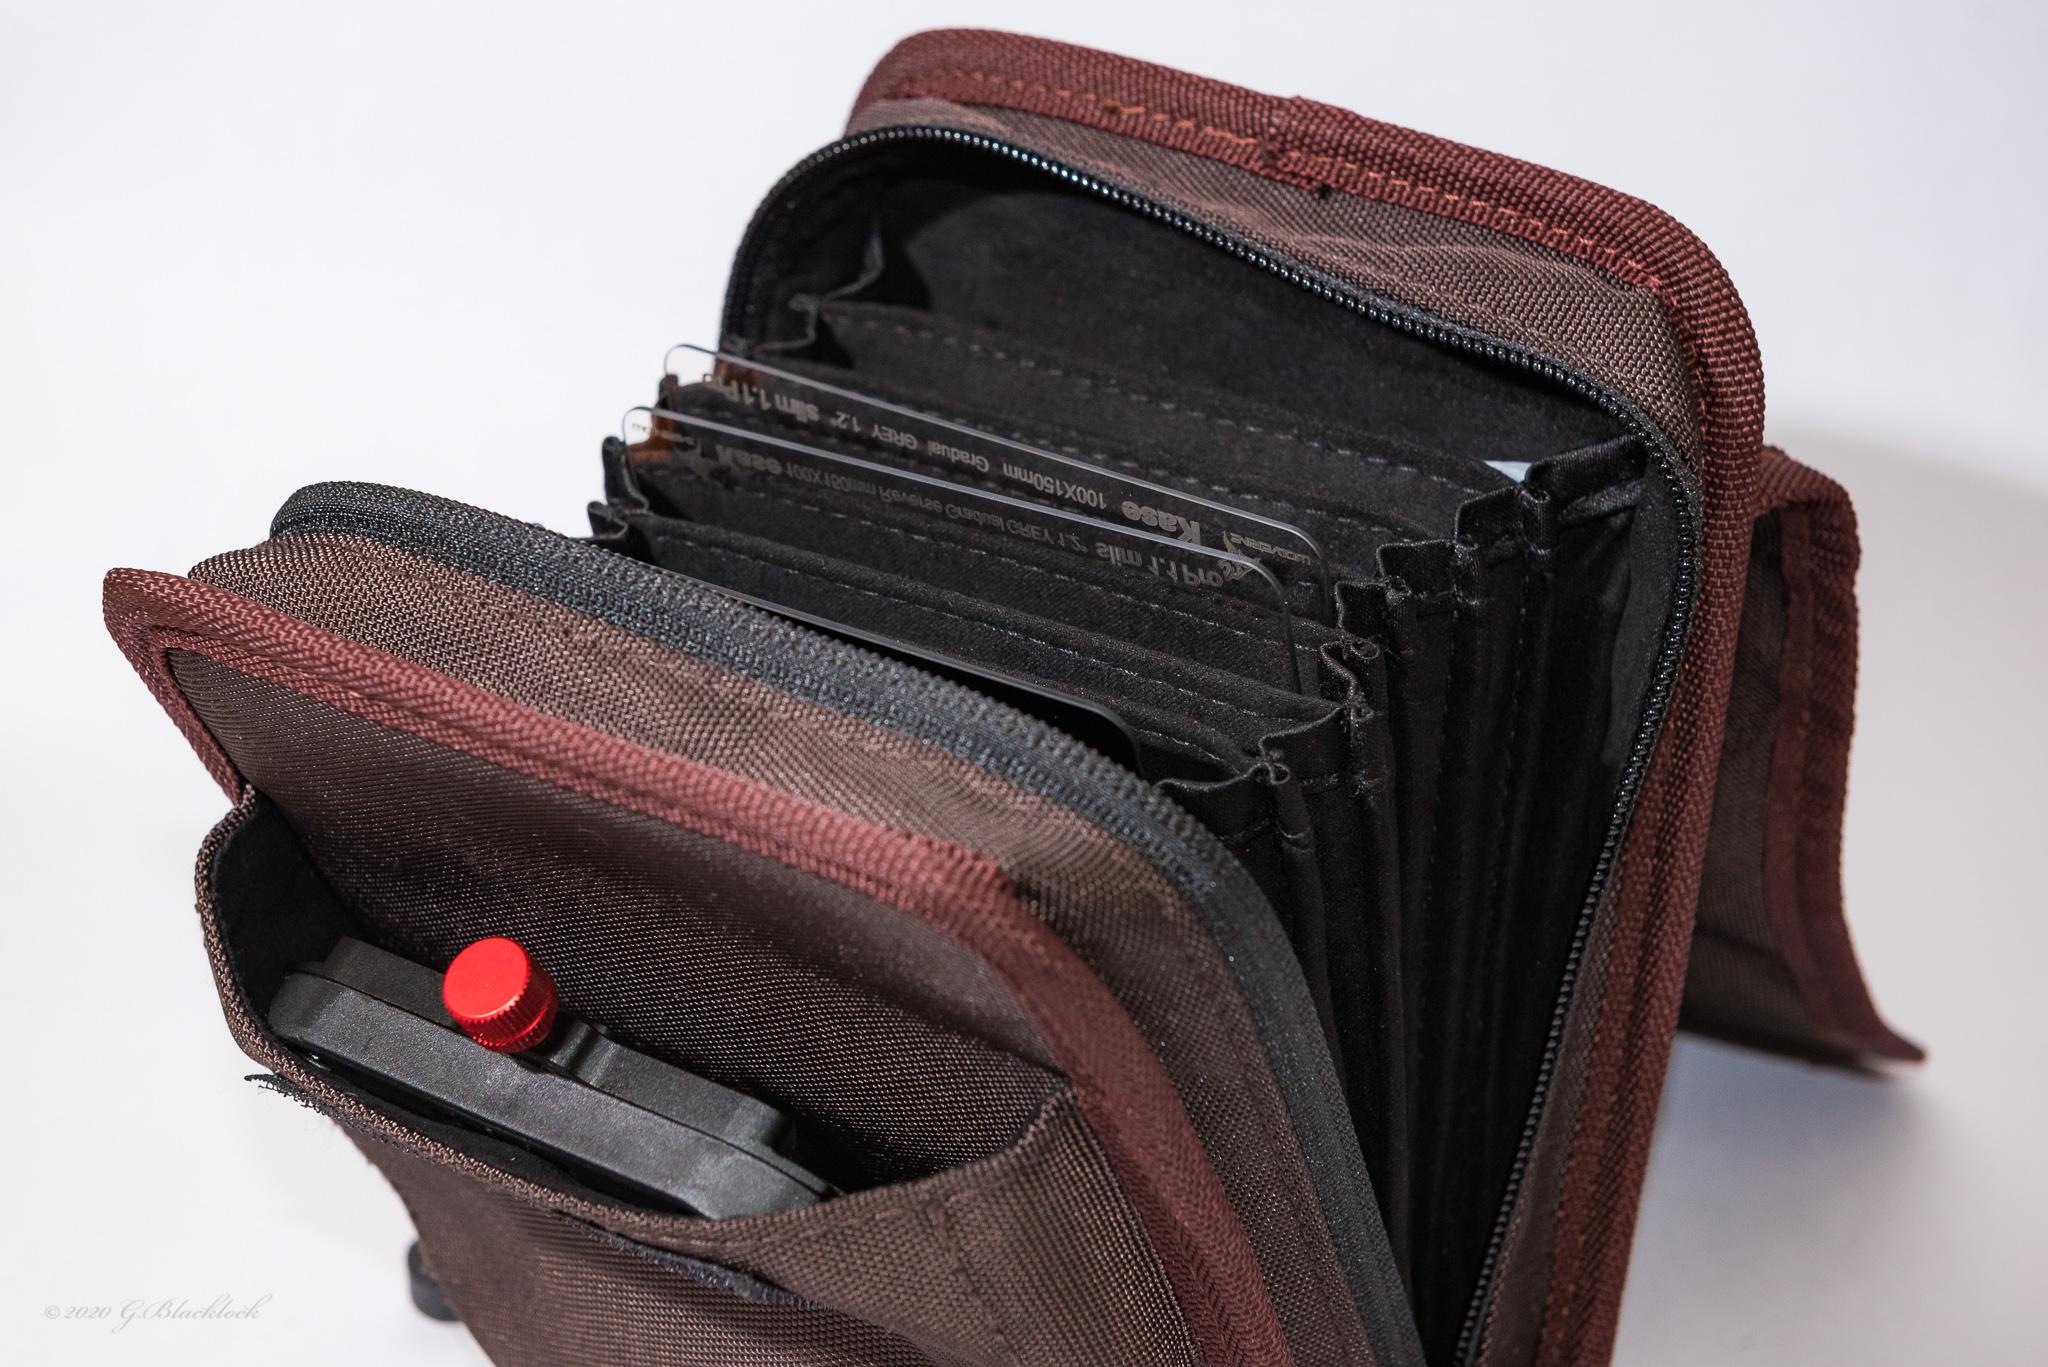
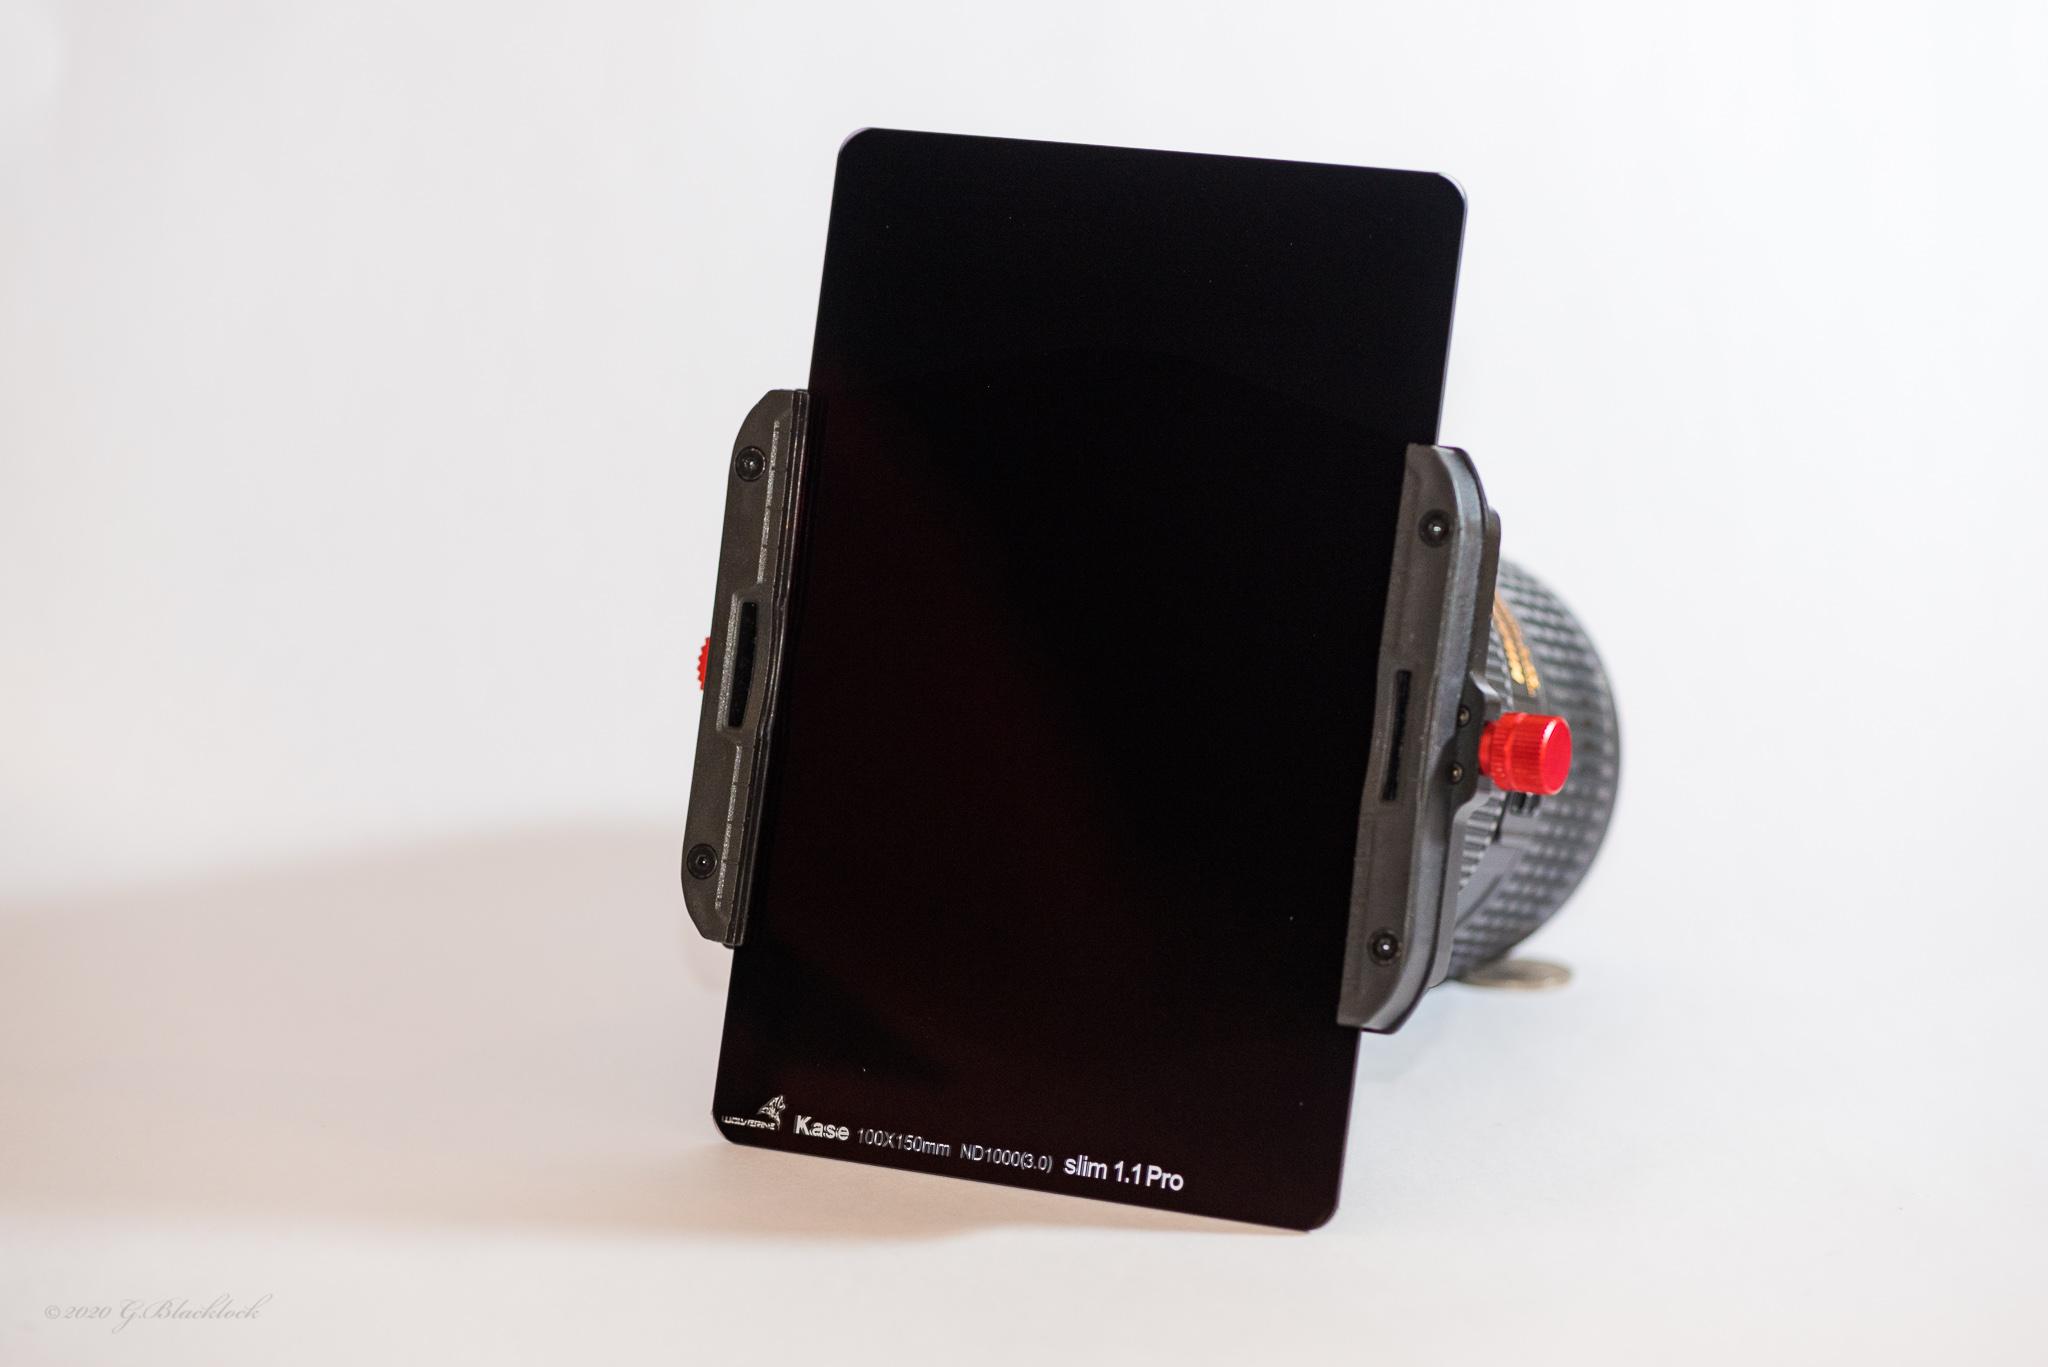
Kit Contents
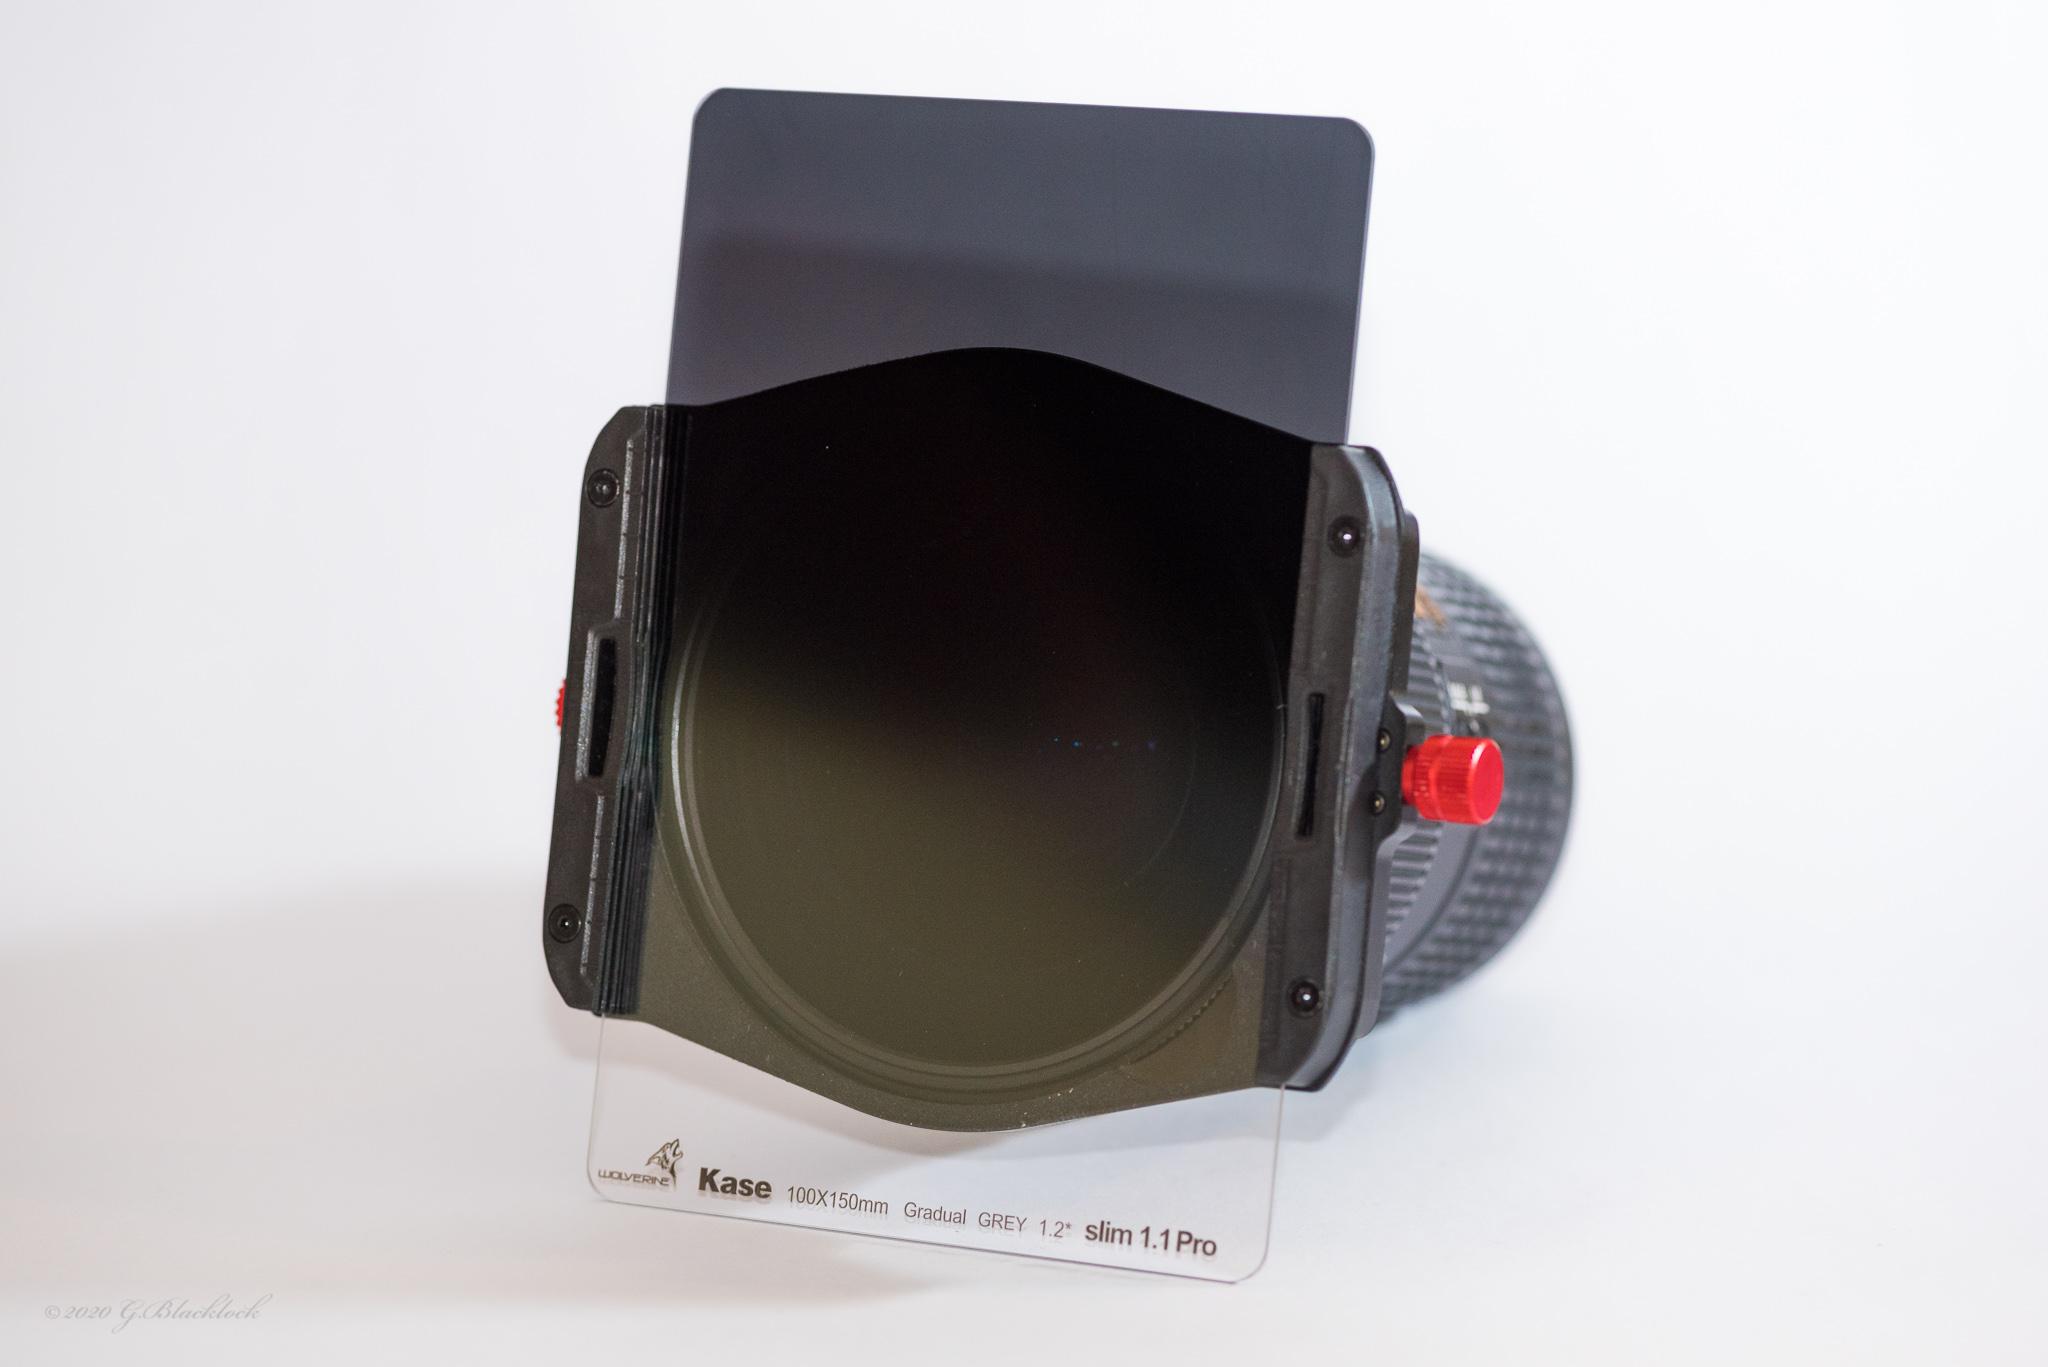
– K9 geared Filter Holder, fitted with 1.1mm filter slots (3 integral slots) **
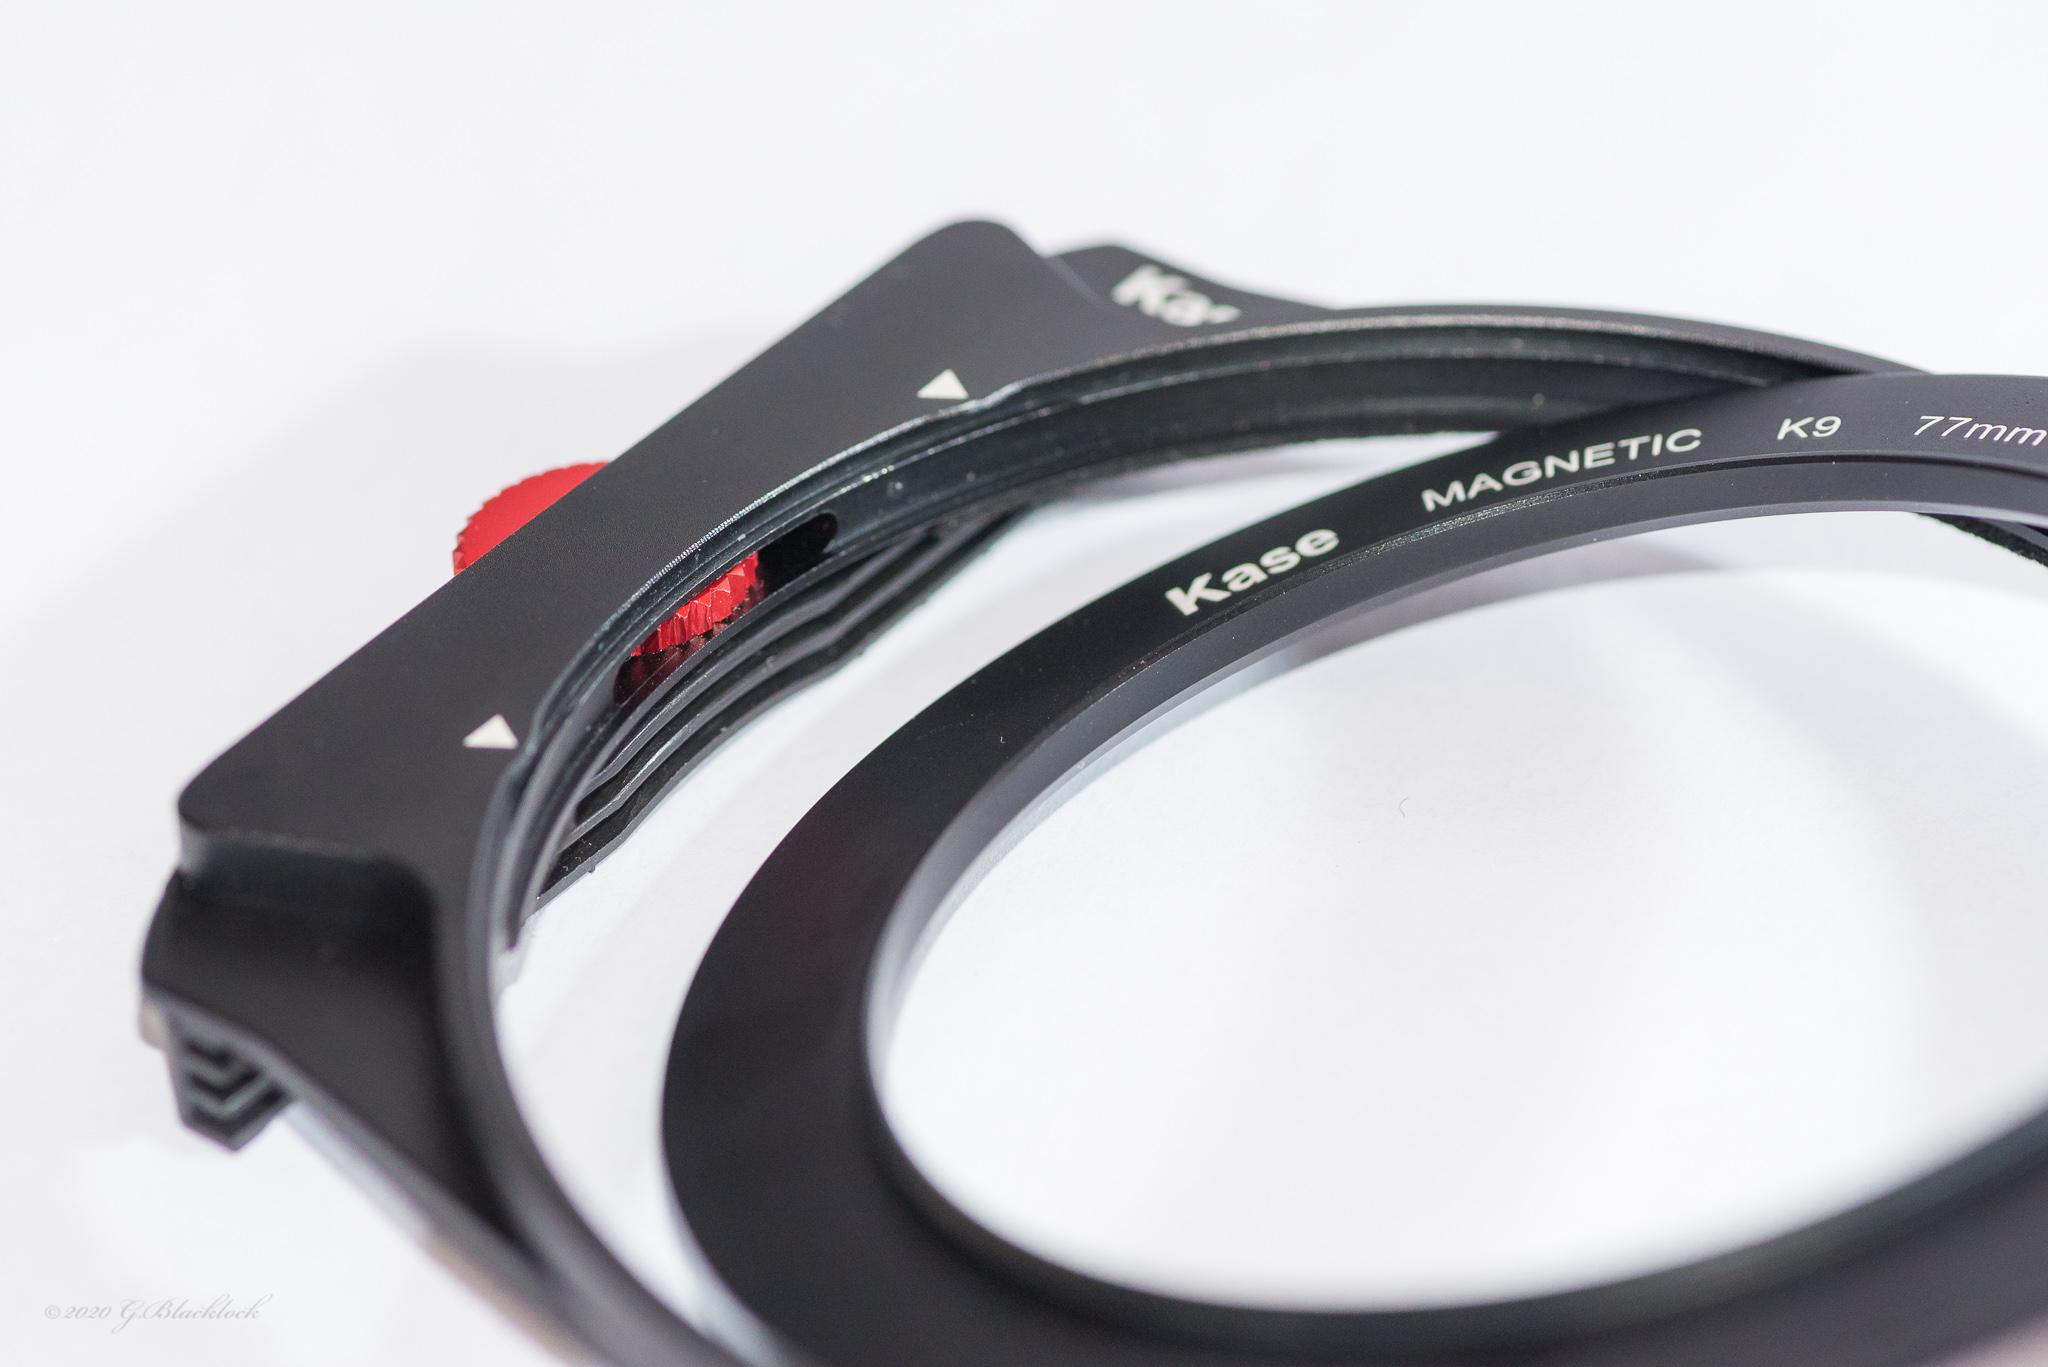
– Adapter Ring, geared magnetic, 77mm
– 90mm Circular Polariser (CPL)
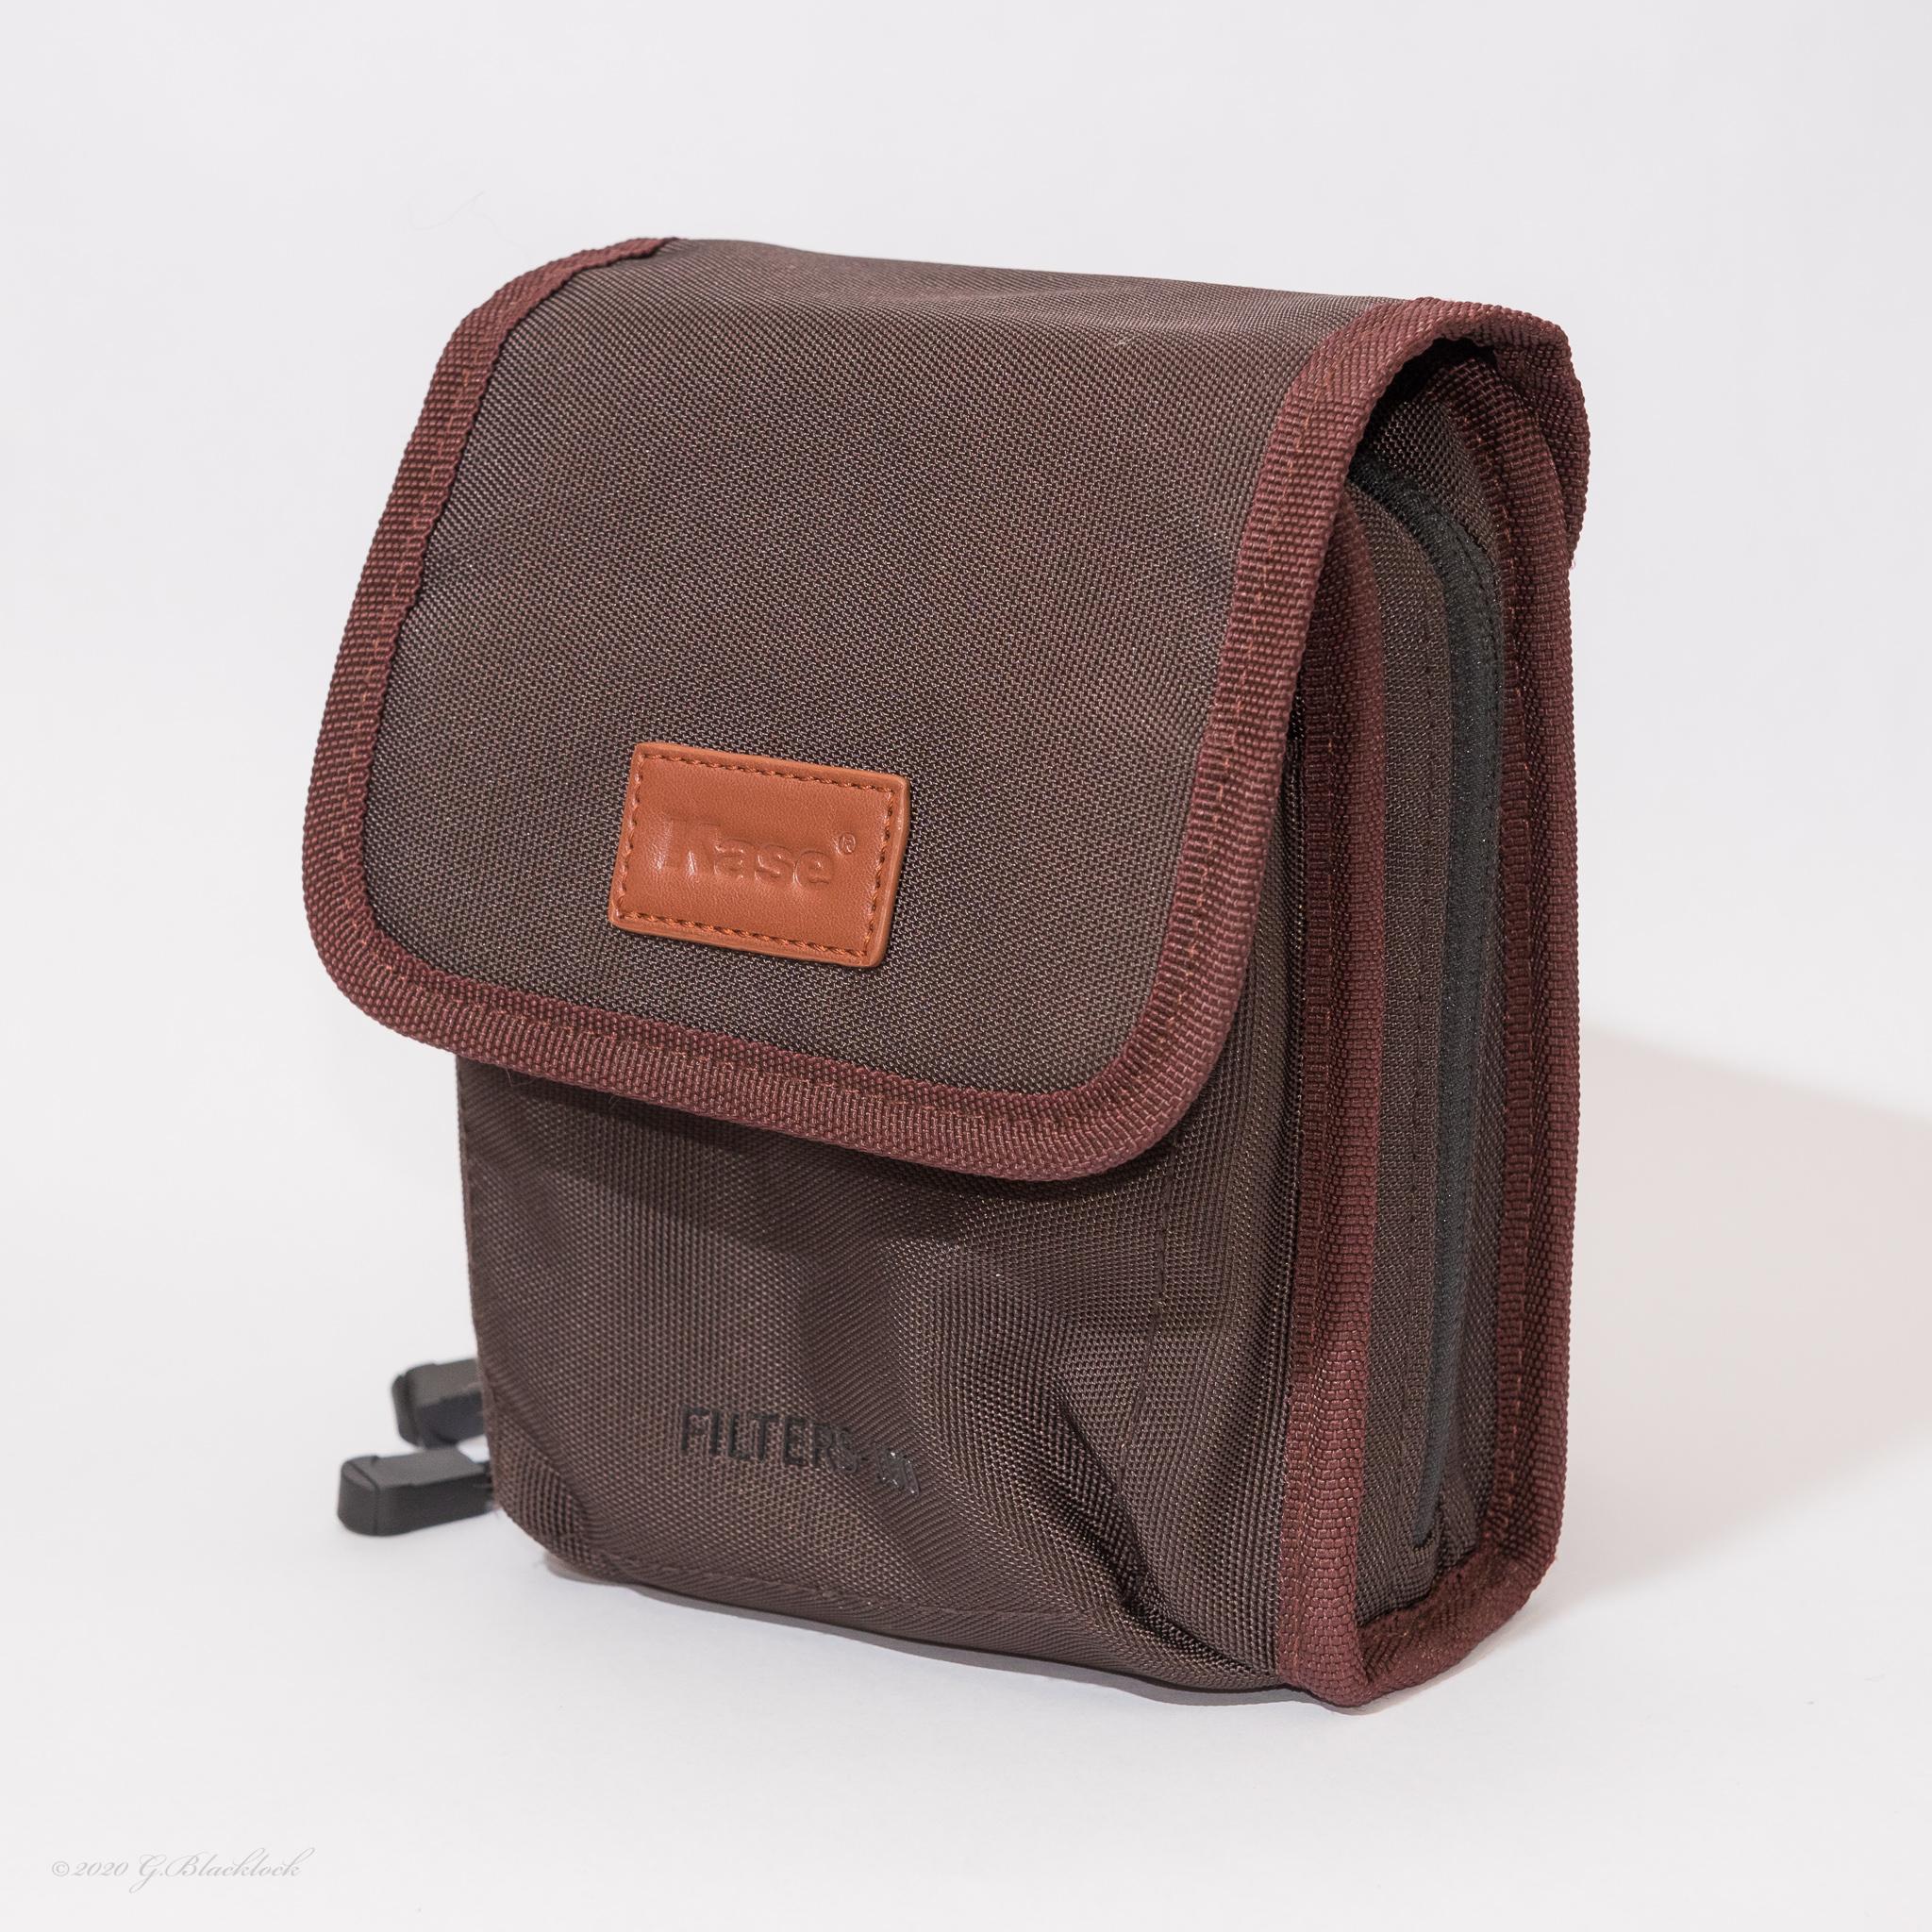
– Filter Holder Bag
– 1.2 Gradual Grey Soft 100x150mm 1.1mm Slim Glass filter
– 0.9 Gradual Grey Soft 100x150mm 1.1mm Slim Glass filter
– 1.2 Reverse Gradual Grey 100x150mm 1.1mm Slim Glass filter
– ND1000 / ND3.0 (10 stops) Neutral Density (ND) 100x150mm 1.1mm Slim Glass filter
– ND64 / ND1.8 (6 stops) Neutral Density (ND) 100x150mm 1.1mm Slim Glass filter
** Note: The Master Kit comes with both the 1.1mm and 2mm filter slots so if you own a set of 2 mm filters already you can use those as an interim or ongoing basis

Preface: I have used graduated and ND filters for several years, albeit pretty well limited to the Lee Filter system hence this review is primarily compared to the Lee offerings.
The basic premise of a filter system has not really varied over the time I have been in photography nor has that basic concept of the system changed, ie, something placed outside the lens to alter the overall light (ND) entering the lens or partially alter (graduated or reverse) the light. What has changed is the quality of the filter and the system to hold these filters and incorporate multiple filters, ie polarisers. Different manufacturer’s have different means to do this (Lee, NISI and KASE for example) and potentially this difference can be the reason for selecting one system over another, its pretty safe to say that most filter system from the big brands are going to give you basics of a filter in front of your lens, but its the nuances and little details which may well make you choose one over another.
Here is my summary of the Kase K9 system pros and cons.
Pros:
– zero vignetting at 16mm with 3 slide in filters and the 90mm circular polariser.
– Excellent filter quality, optically very clean and sharp.
– Easy adjustment of CPL with all filters attached (geared mechanism)
– Easy removal and fitment of the CPL when in the field – via magnetic attachment.
– Consistent colour cast
– Small form factor and weight saving when using 1.1mm filters
Cons:
– Somewhat fiddly and delicate holder system (overall)
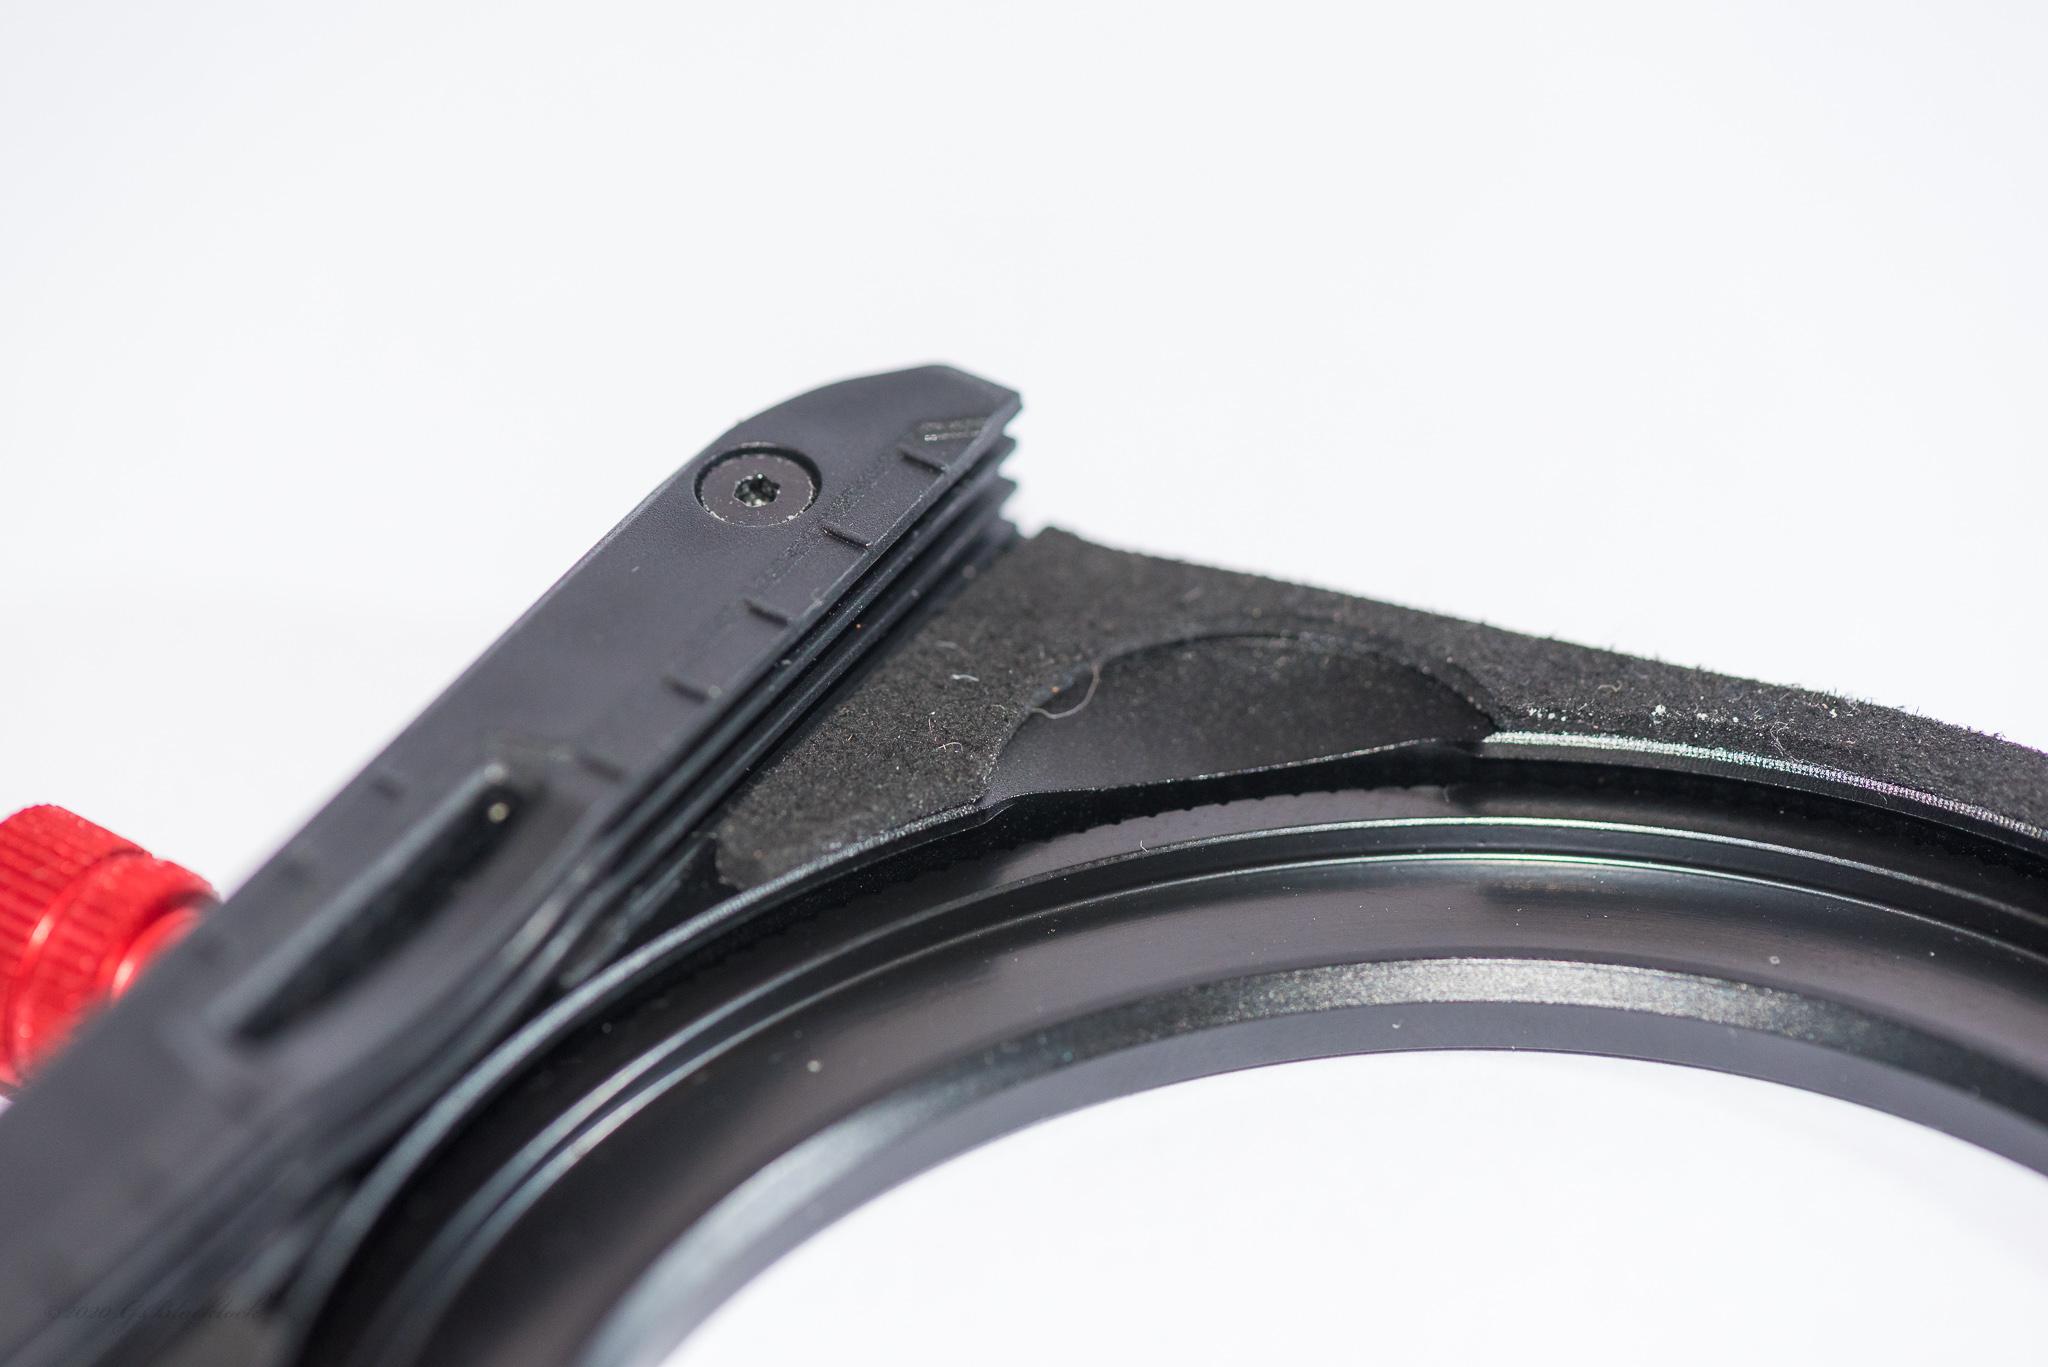
– filter foam gasket permanently attached to holder.
– Requires additional time to ensure holder is attached.
Lets start with the good stuff, and there is plenty of it.
Vignetting and 3 filter slots.
The first is the ability to use the filters and holder without any vignetting at wide angles, this is pretty important, whilst it quite easy to remove darkened corners from a image in post, its one less thing to have to worry about, the Lee holder that I currently use with a screw-in polariser (slim) does cause vignetting, note Lee do have the external CPL (105mm) and also newer older which probably remove a lot of the vignetting that I see with my older Lee holder. However, the ability to use 3 filters without vignetting is pretty impressive, that said I don’t think I have ever needed to use more than 2 filters for the stuff I do, ie ND combined with the graduated filter. I have in the past used two grads of varying strengths (0.6 and 0.9) to create a reverse, basically put the lesser strength one with the darker side at the bottom and the higher strength one at the top and allow them to overlap, kind of handy if you hiking and trying to minimise stuff to carry.
1.1mm filter slots vs 2mm filter slots
The Master Kit comes with both 1.1mm and 2mm filter slots, if i were to buy just the holder and the CPL, which is pretty good value, I would get both. A point worth noting is that I did start with the 2mm slots fitted, you can actually fit the 1.1mm filters in there and they seem to hold pretty well, I did not drop any 🙂 however its not ideal for LE since you do not get a good fit up on the foam gasket and consequently you get light leakage, not a fun place to be 🙂

Filter Clarity and quality
The filter quality is excellent, particularly in comparison to the resin filters I currently use, there is a clear and noticeable difference and this is also taking into account my resin filters are also a bit old and beat up now. The images out of the Kase Wolverine filters maintain excellent sharpness and clarity, this is expected I think since the optical quality of glass will always be better than resin, otherwise they would be making lens out of it 🙂 This is one key point that would make me choose the Kase filters over others, I can live with fiddly and vignetting but any new filter system I enter into a relationship with now must be optically sweet and the Kase Wolverines are.
CPL
Circular Polariser, this has been integrated into the Kase system quite well, the ability to rotate the filter via the geared mechanism but also the ability to easily remove and fit the CPL between shots is of great benefit, its simply a matter of taking the holder off and then removing the magnetically attached CPL. It does take some getting used to, ie it only attaches on one side of the CPL and you need to be careful when putting it on or taking it off since it will drop away once its only a few millimetres out of the magnetic field. That said, the more I used it and got used to it the more I liked it and got quicker and confident in changing the CPL without worrying about dropping it into the drink.
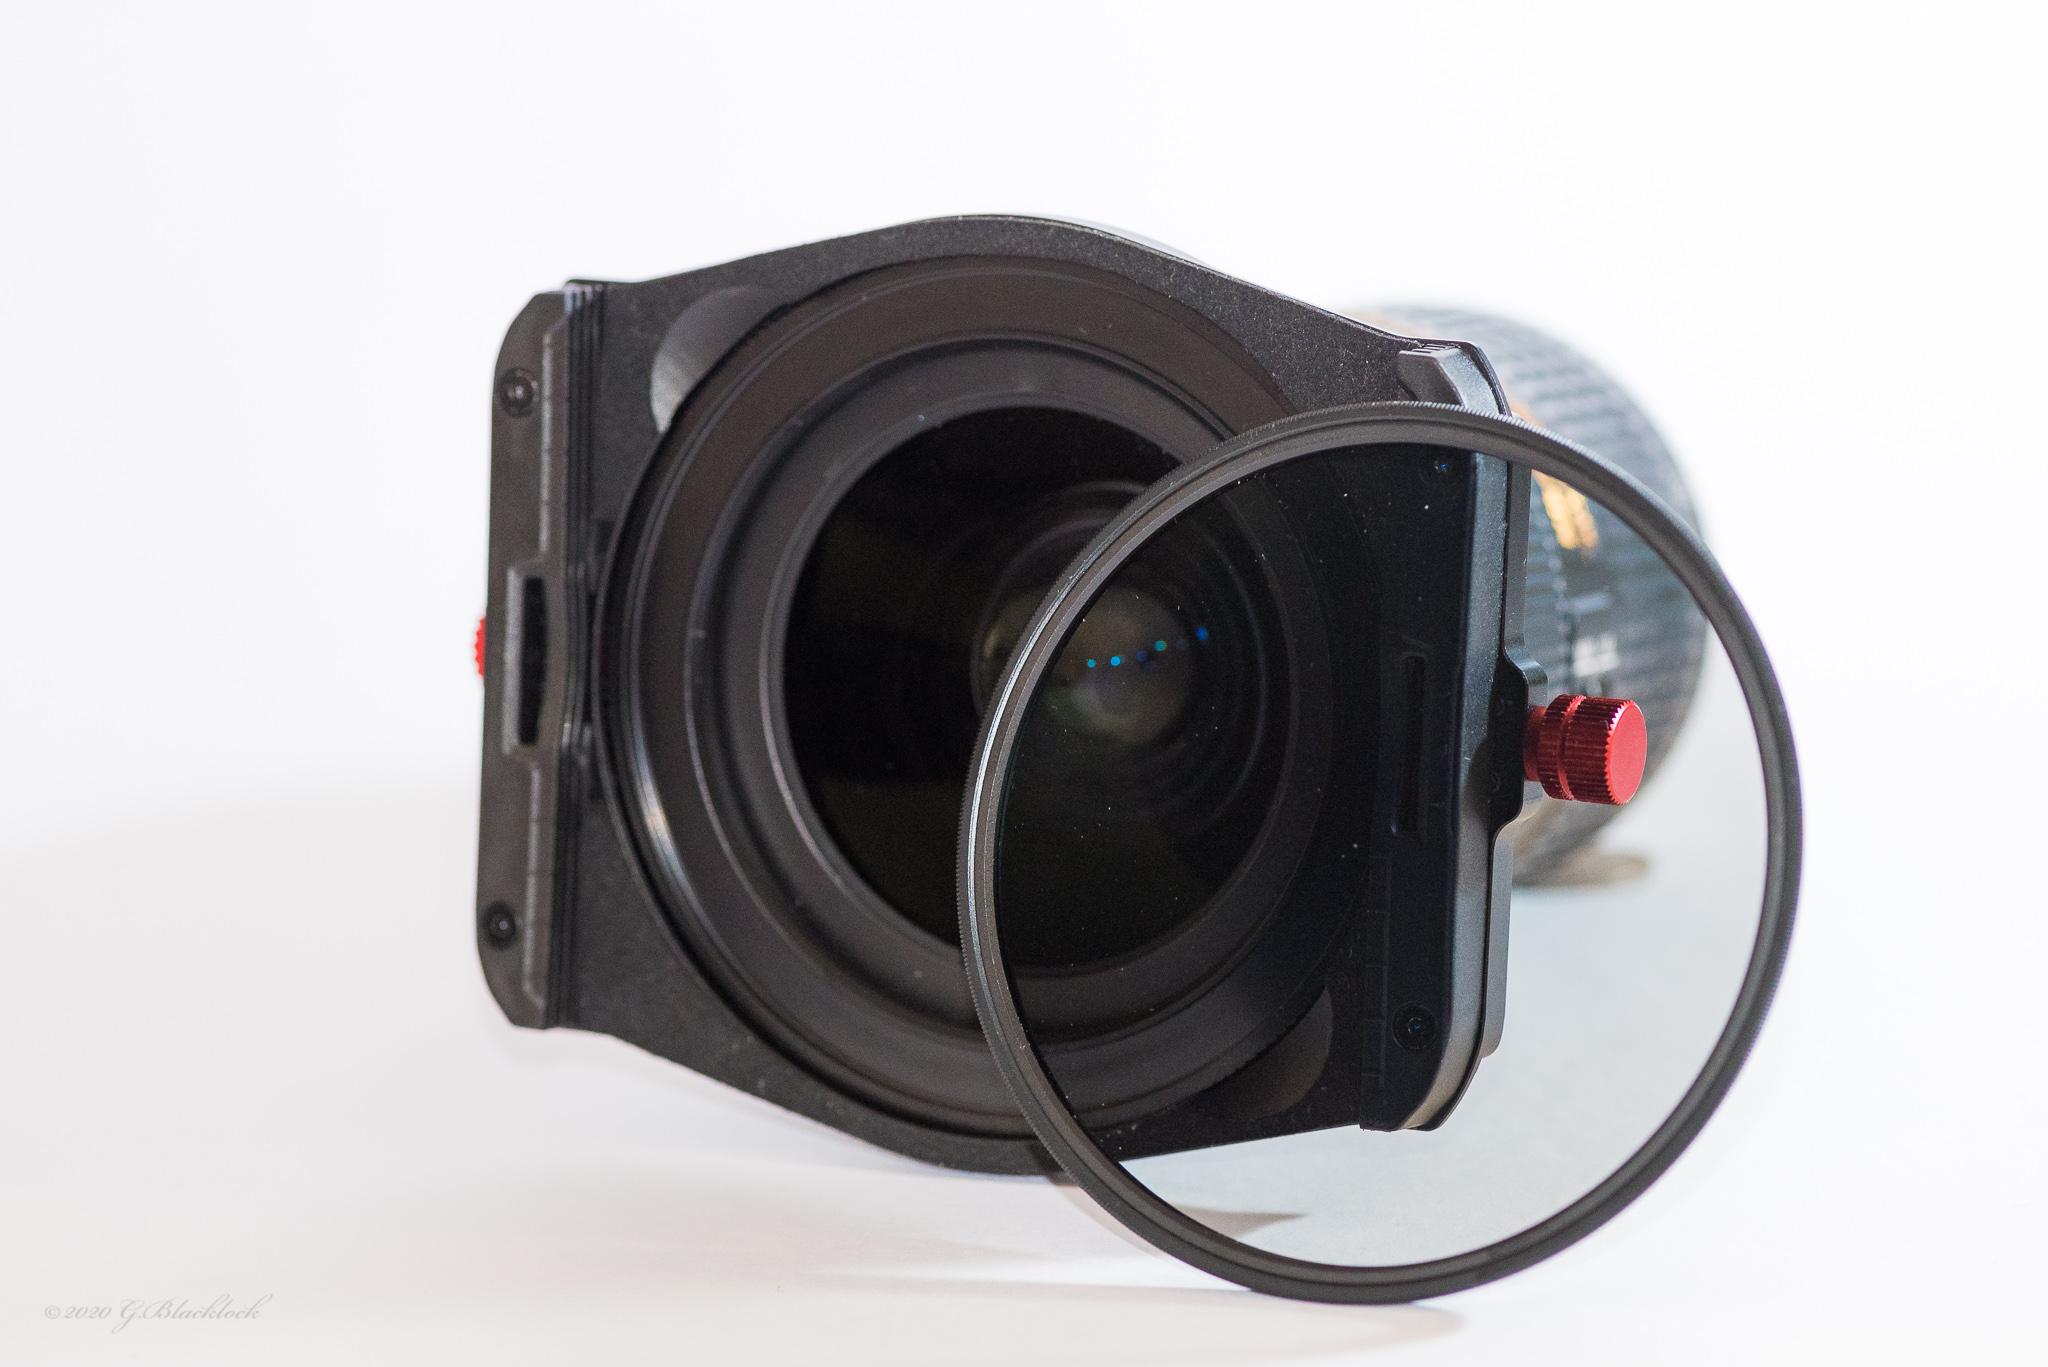
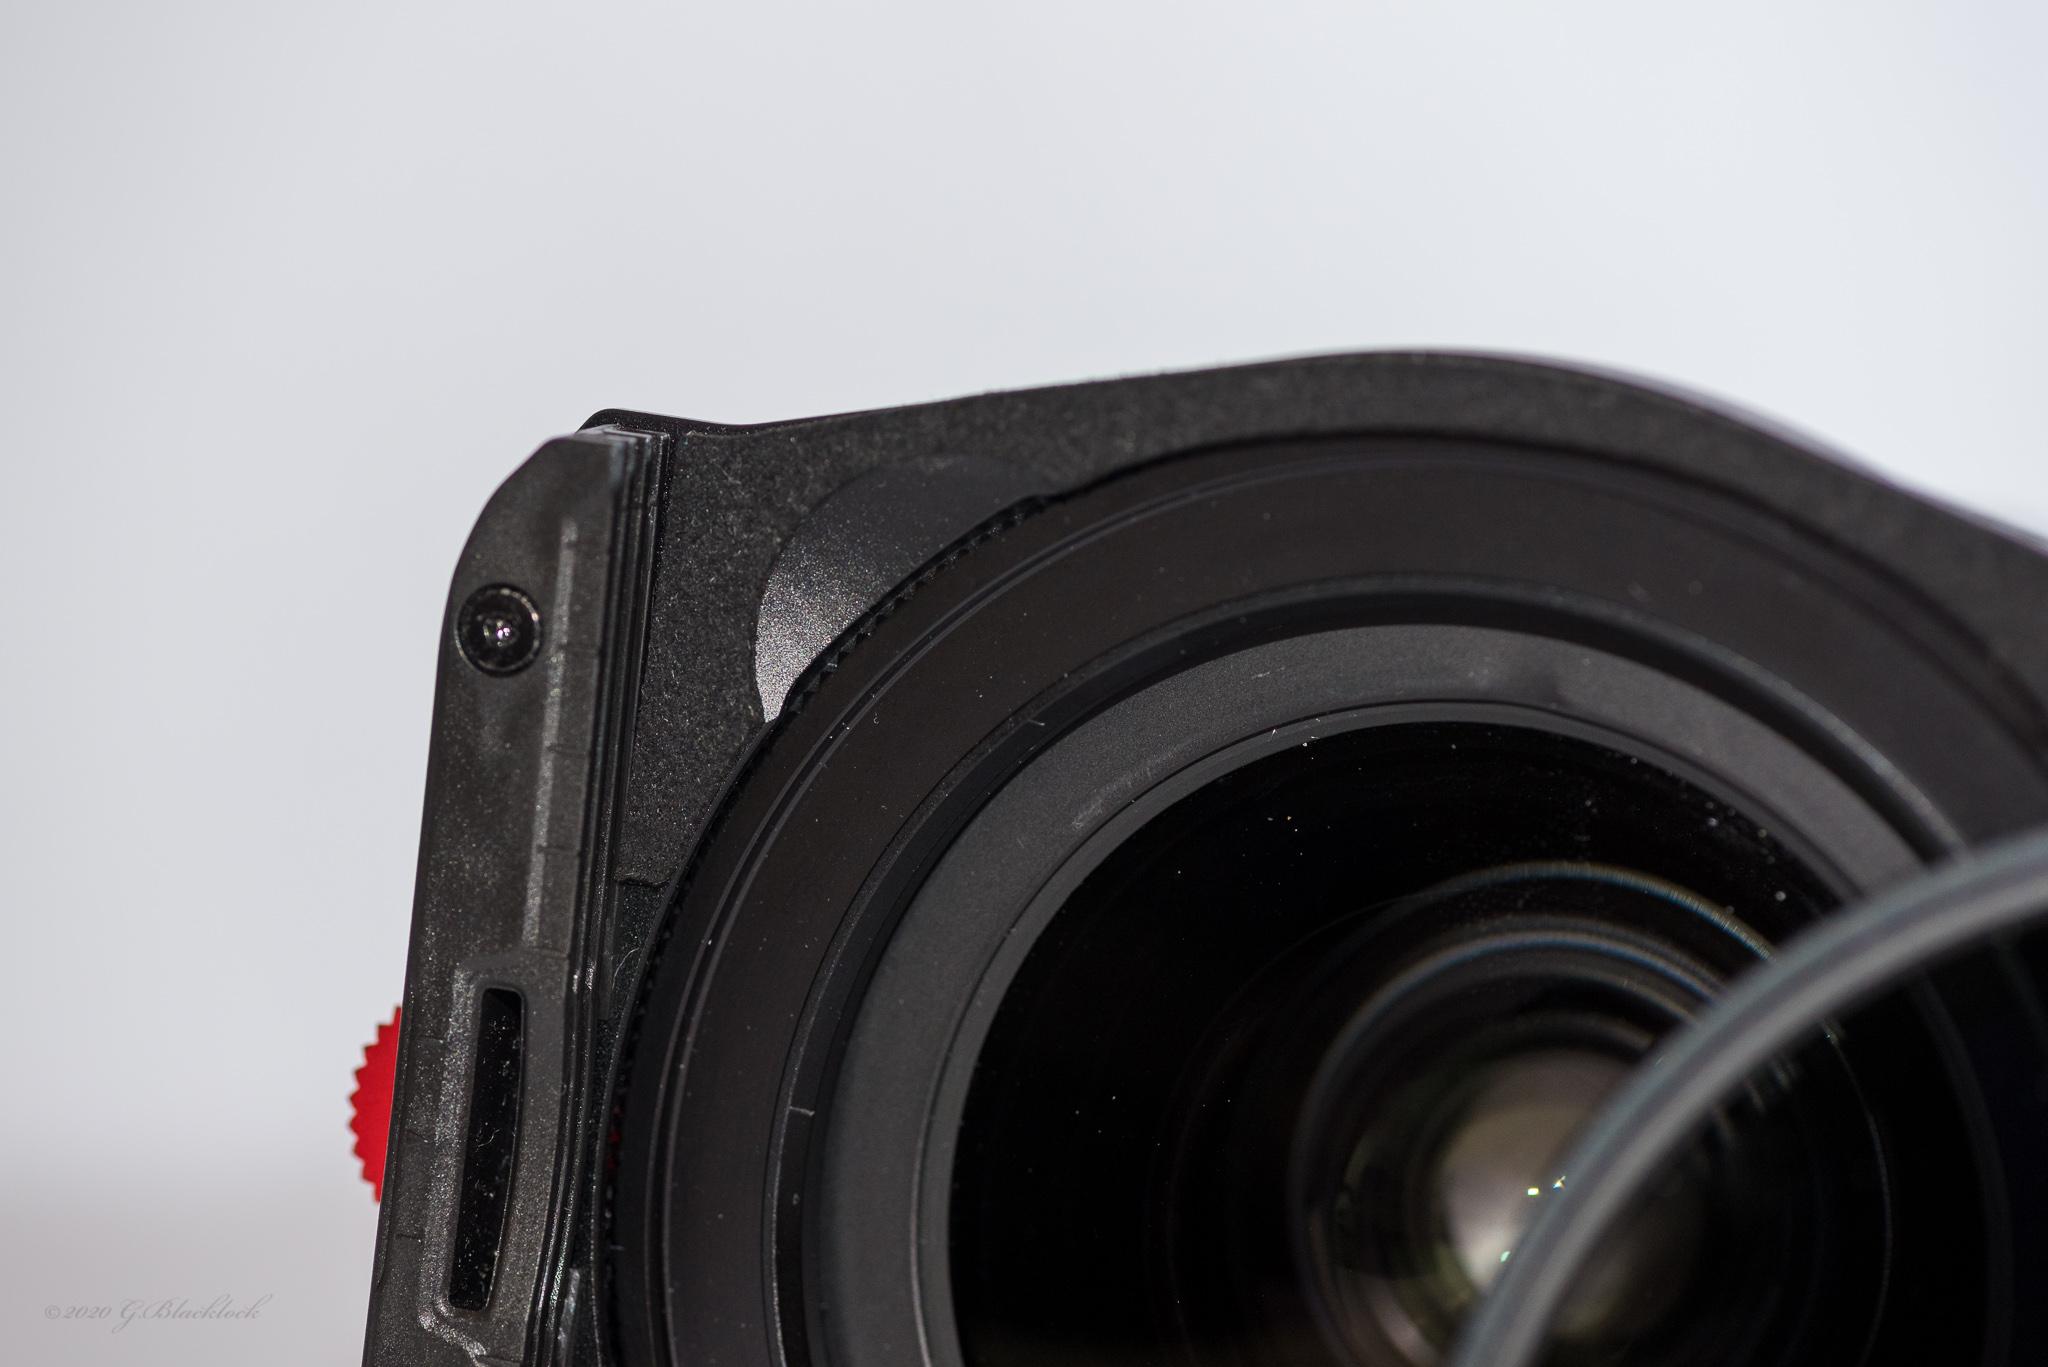

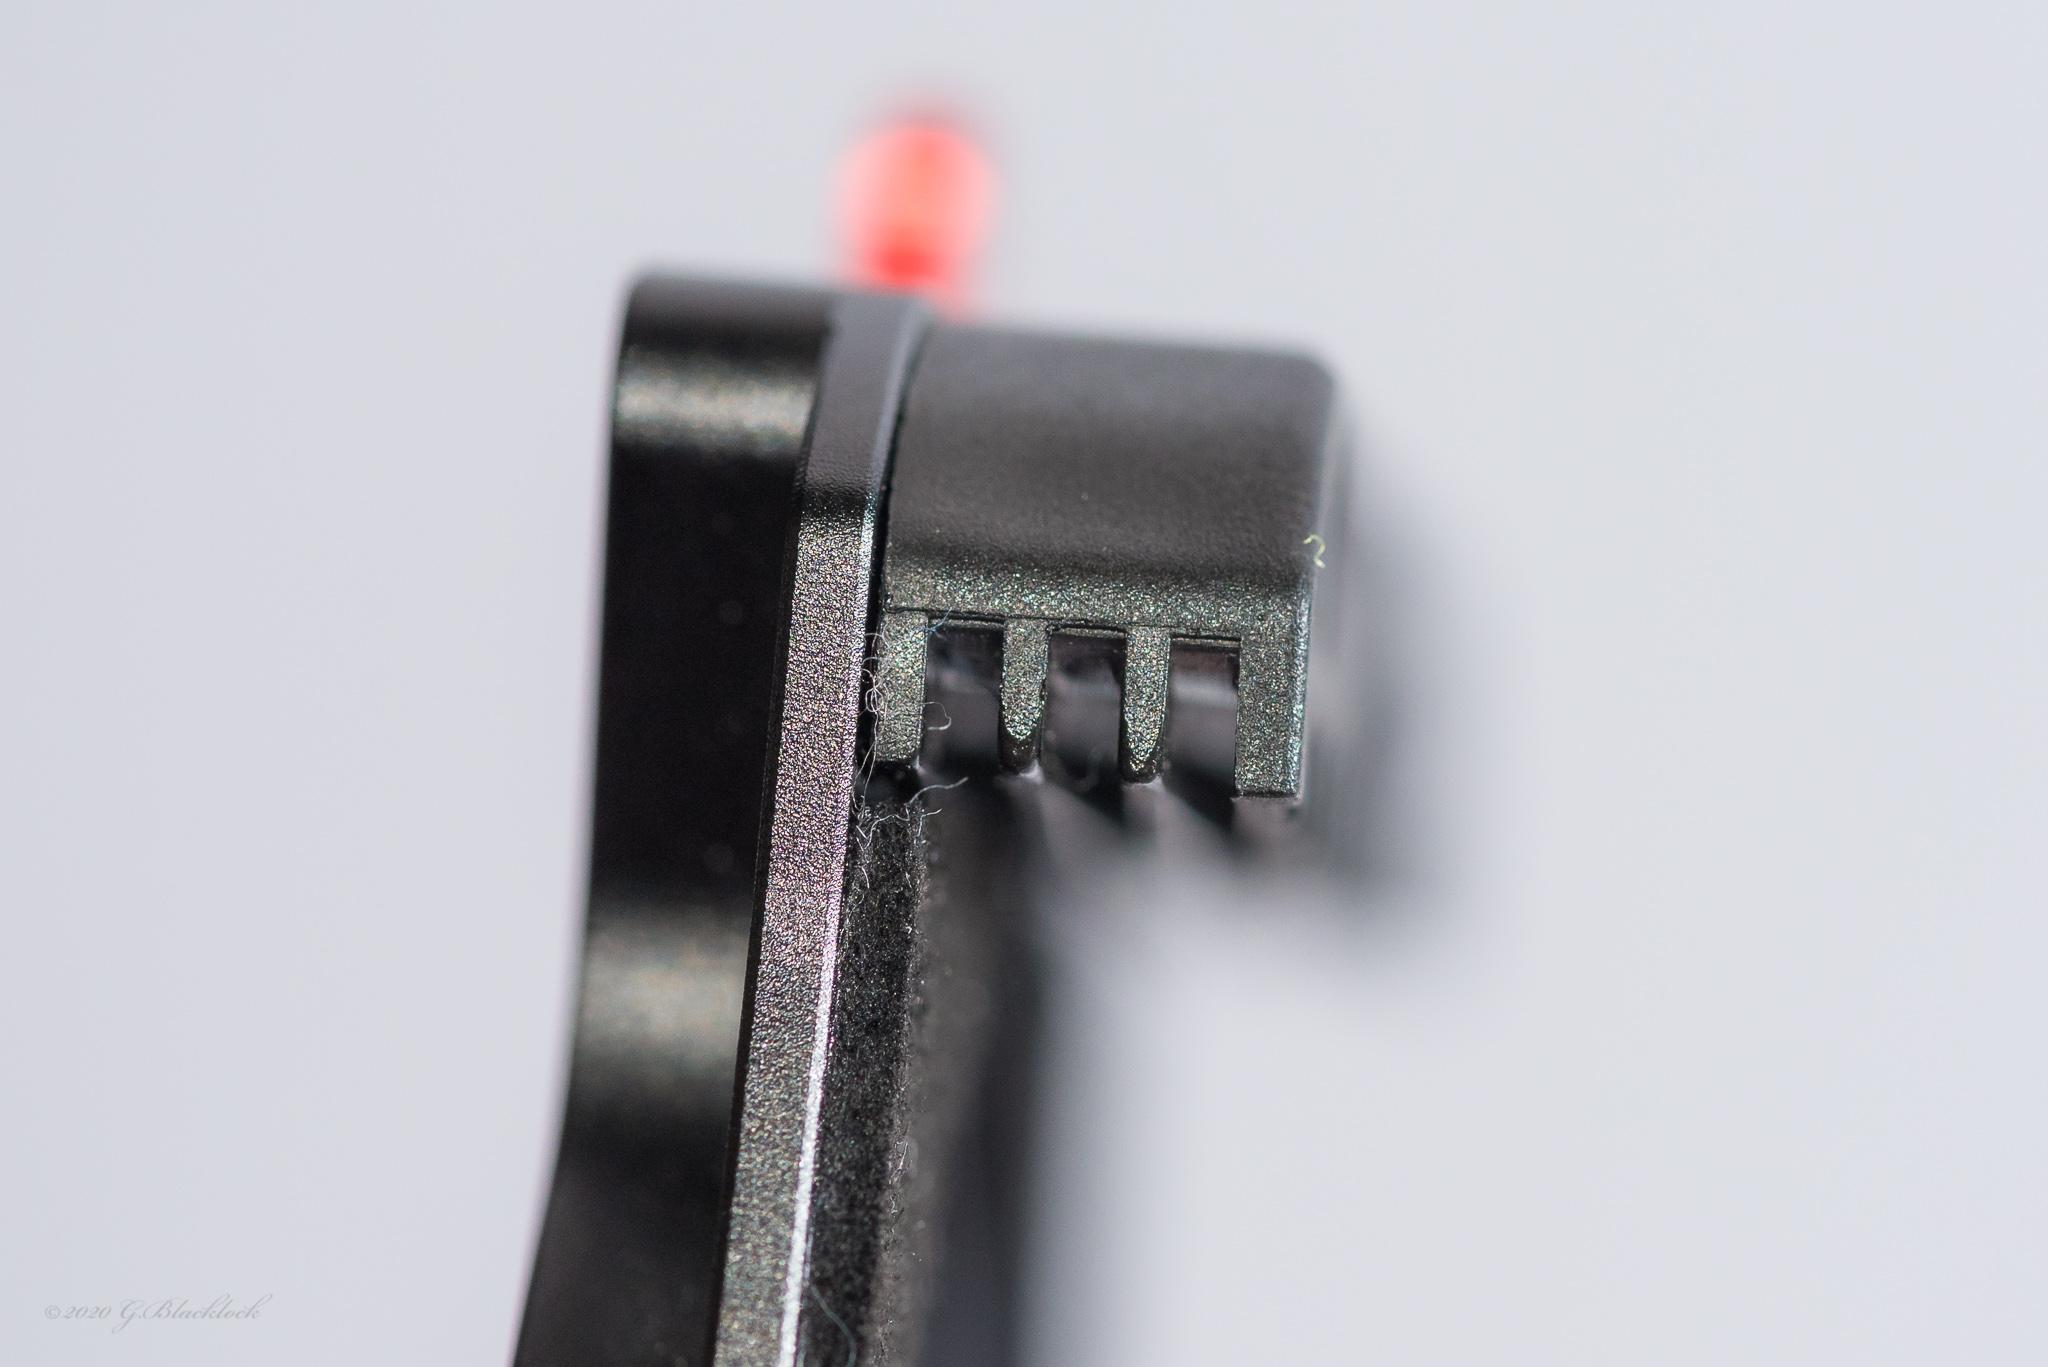
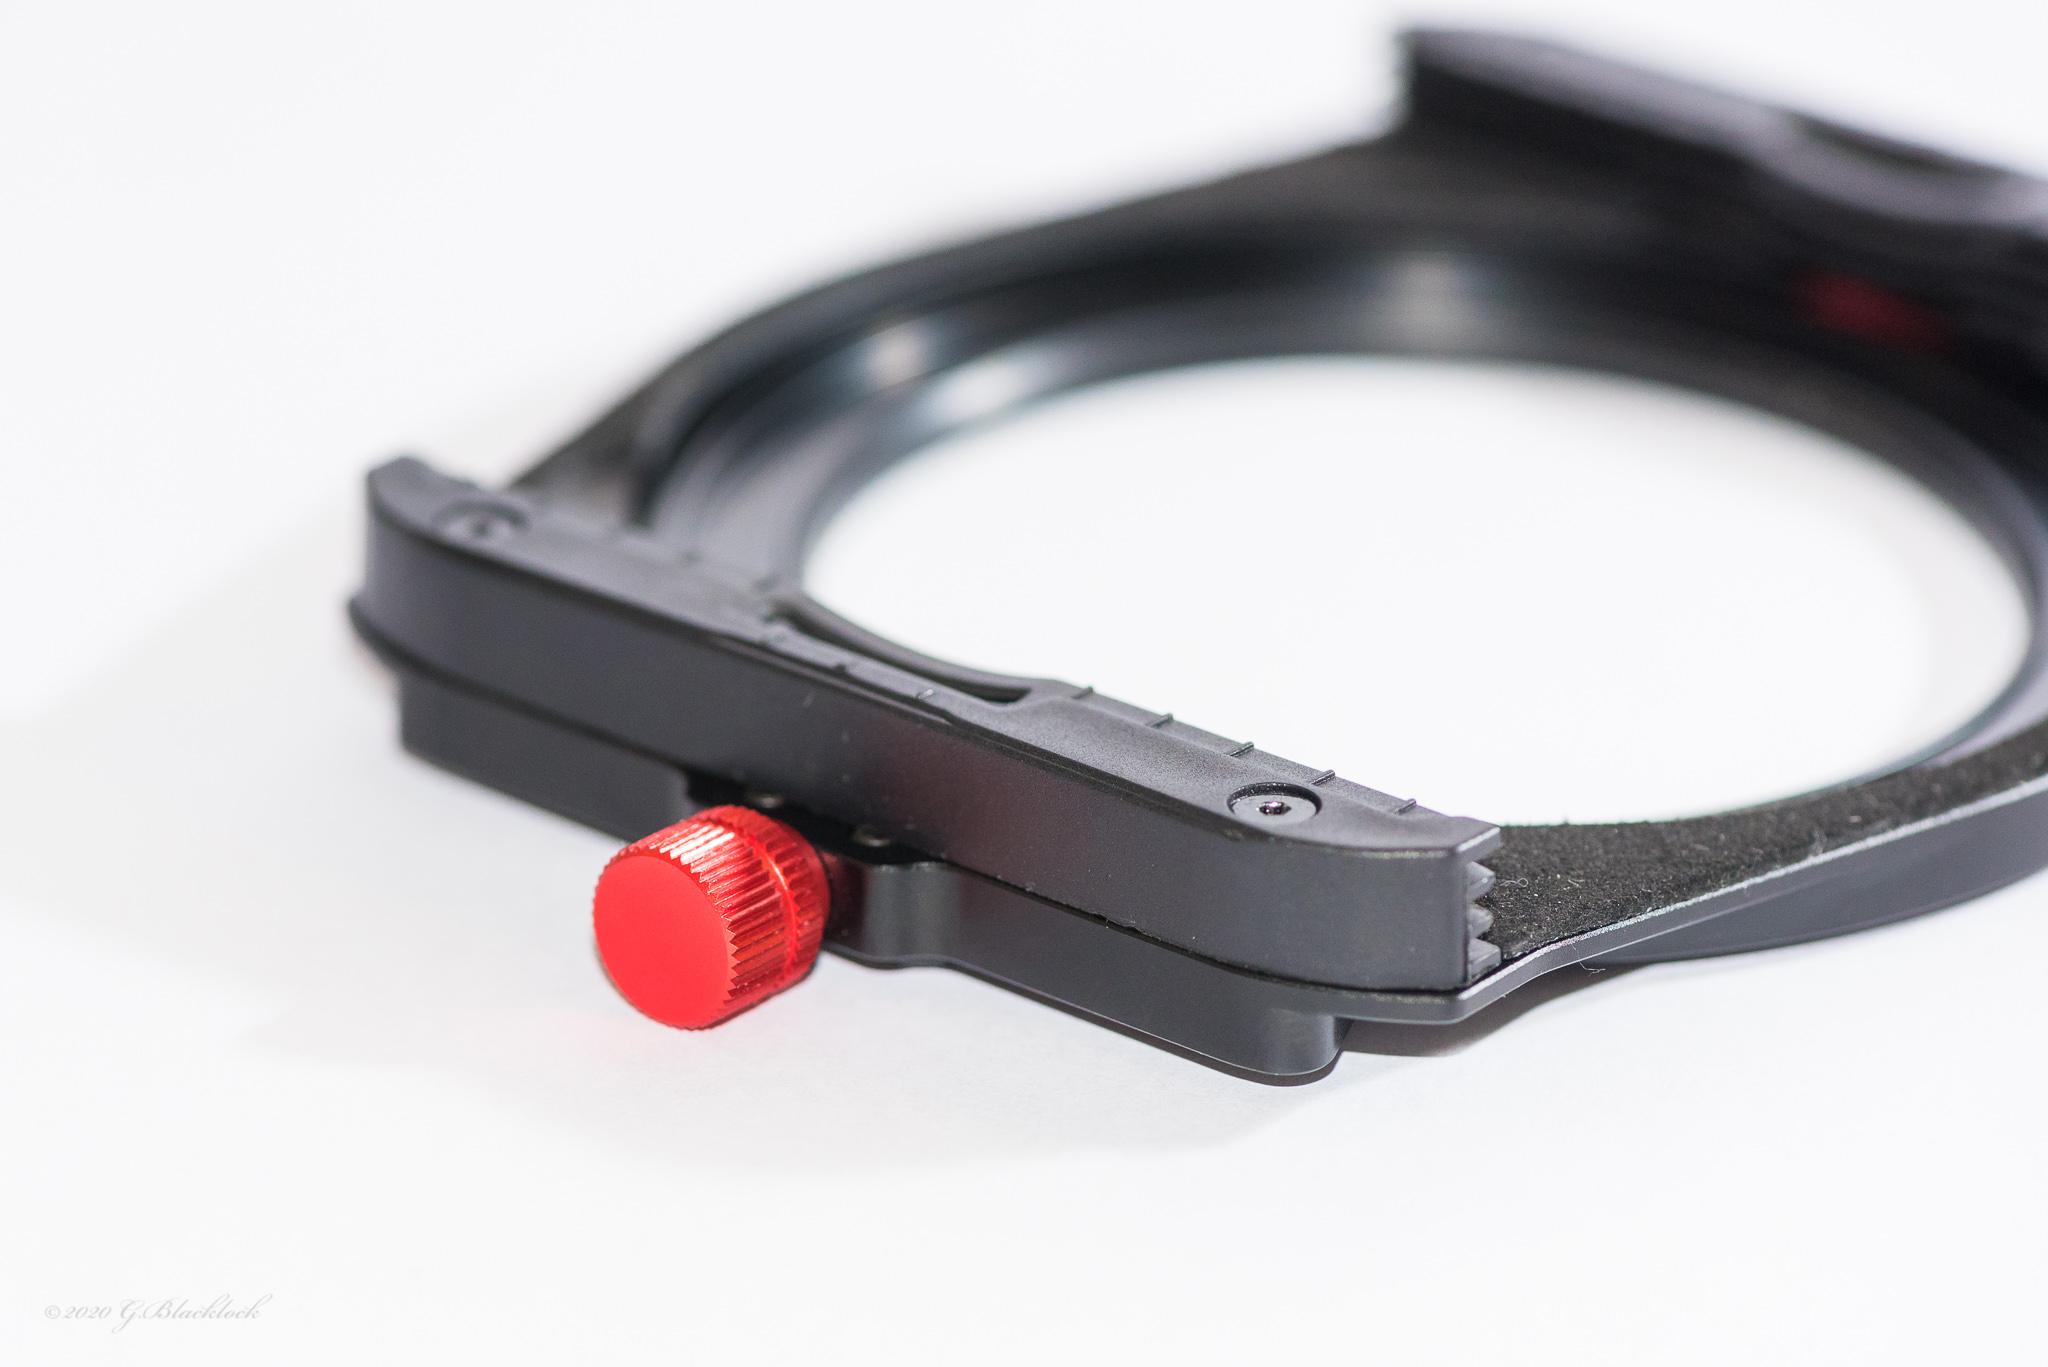
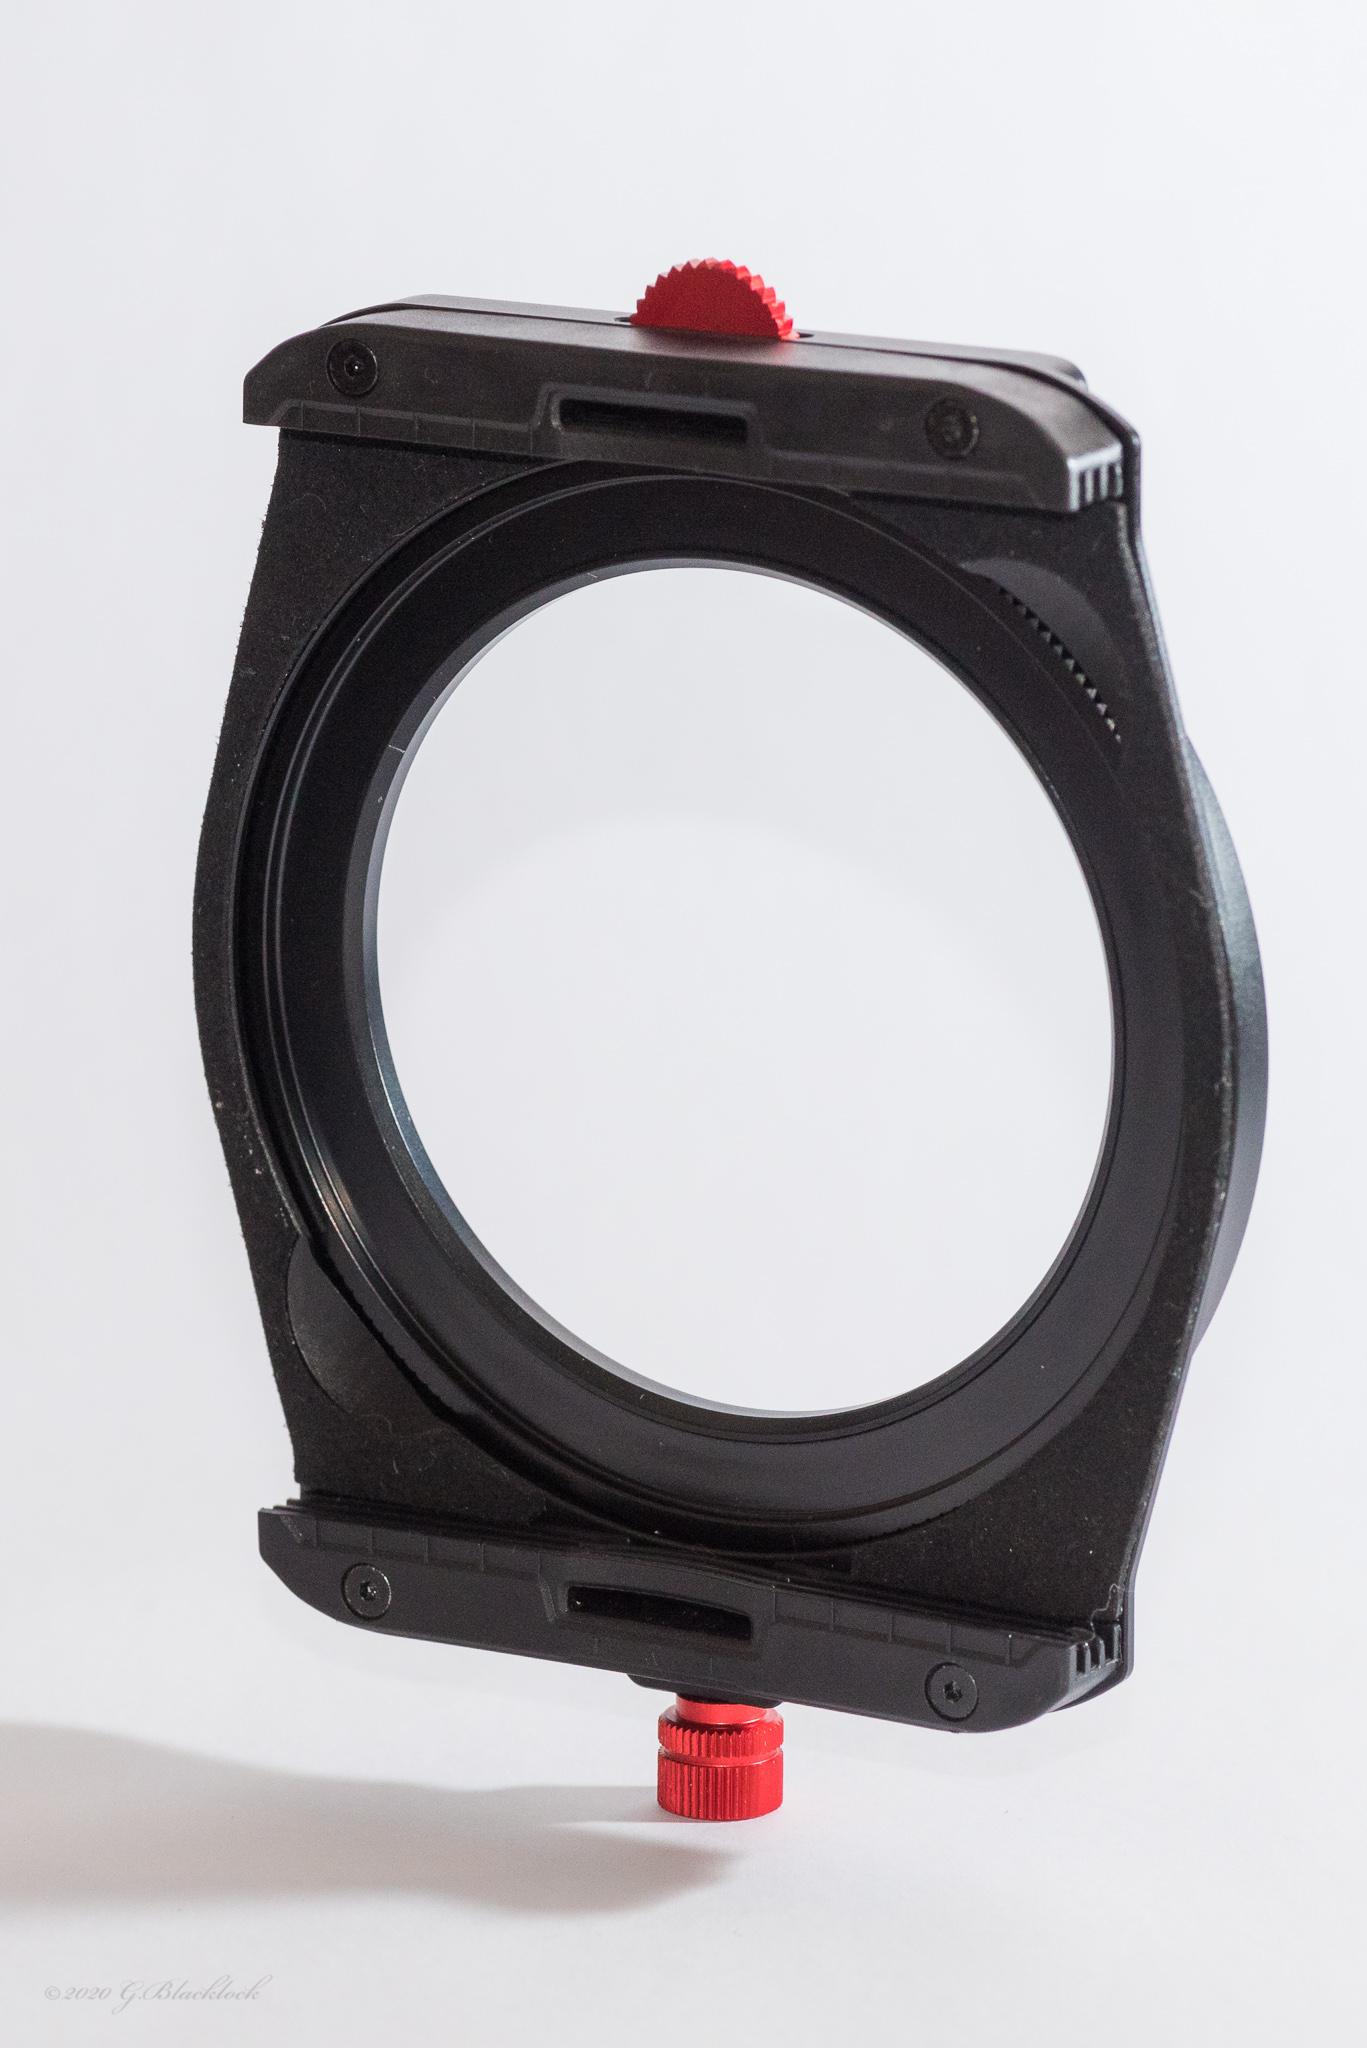
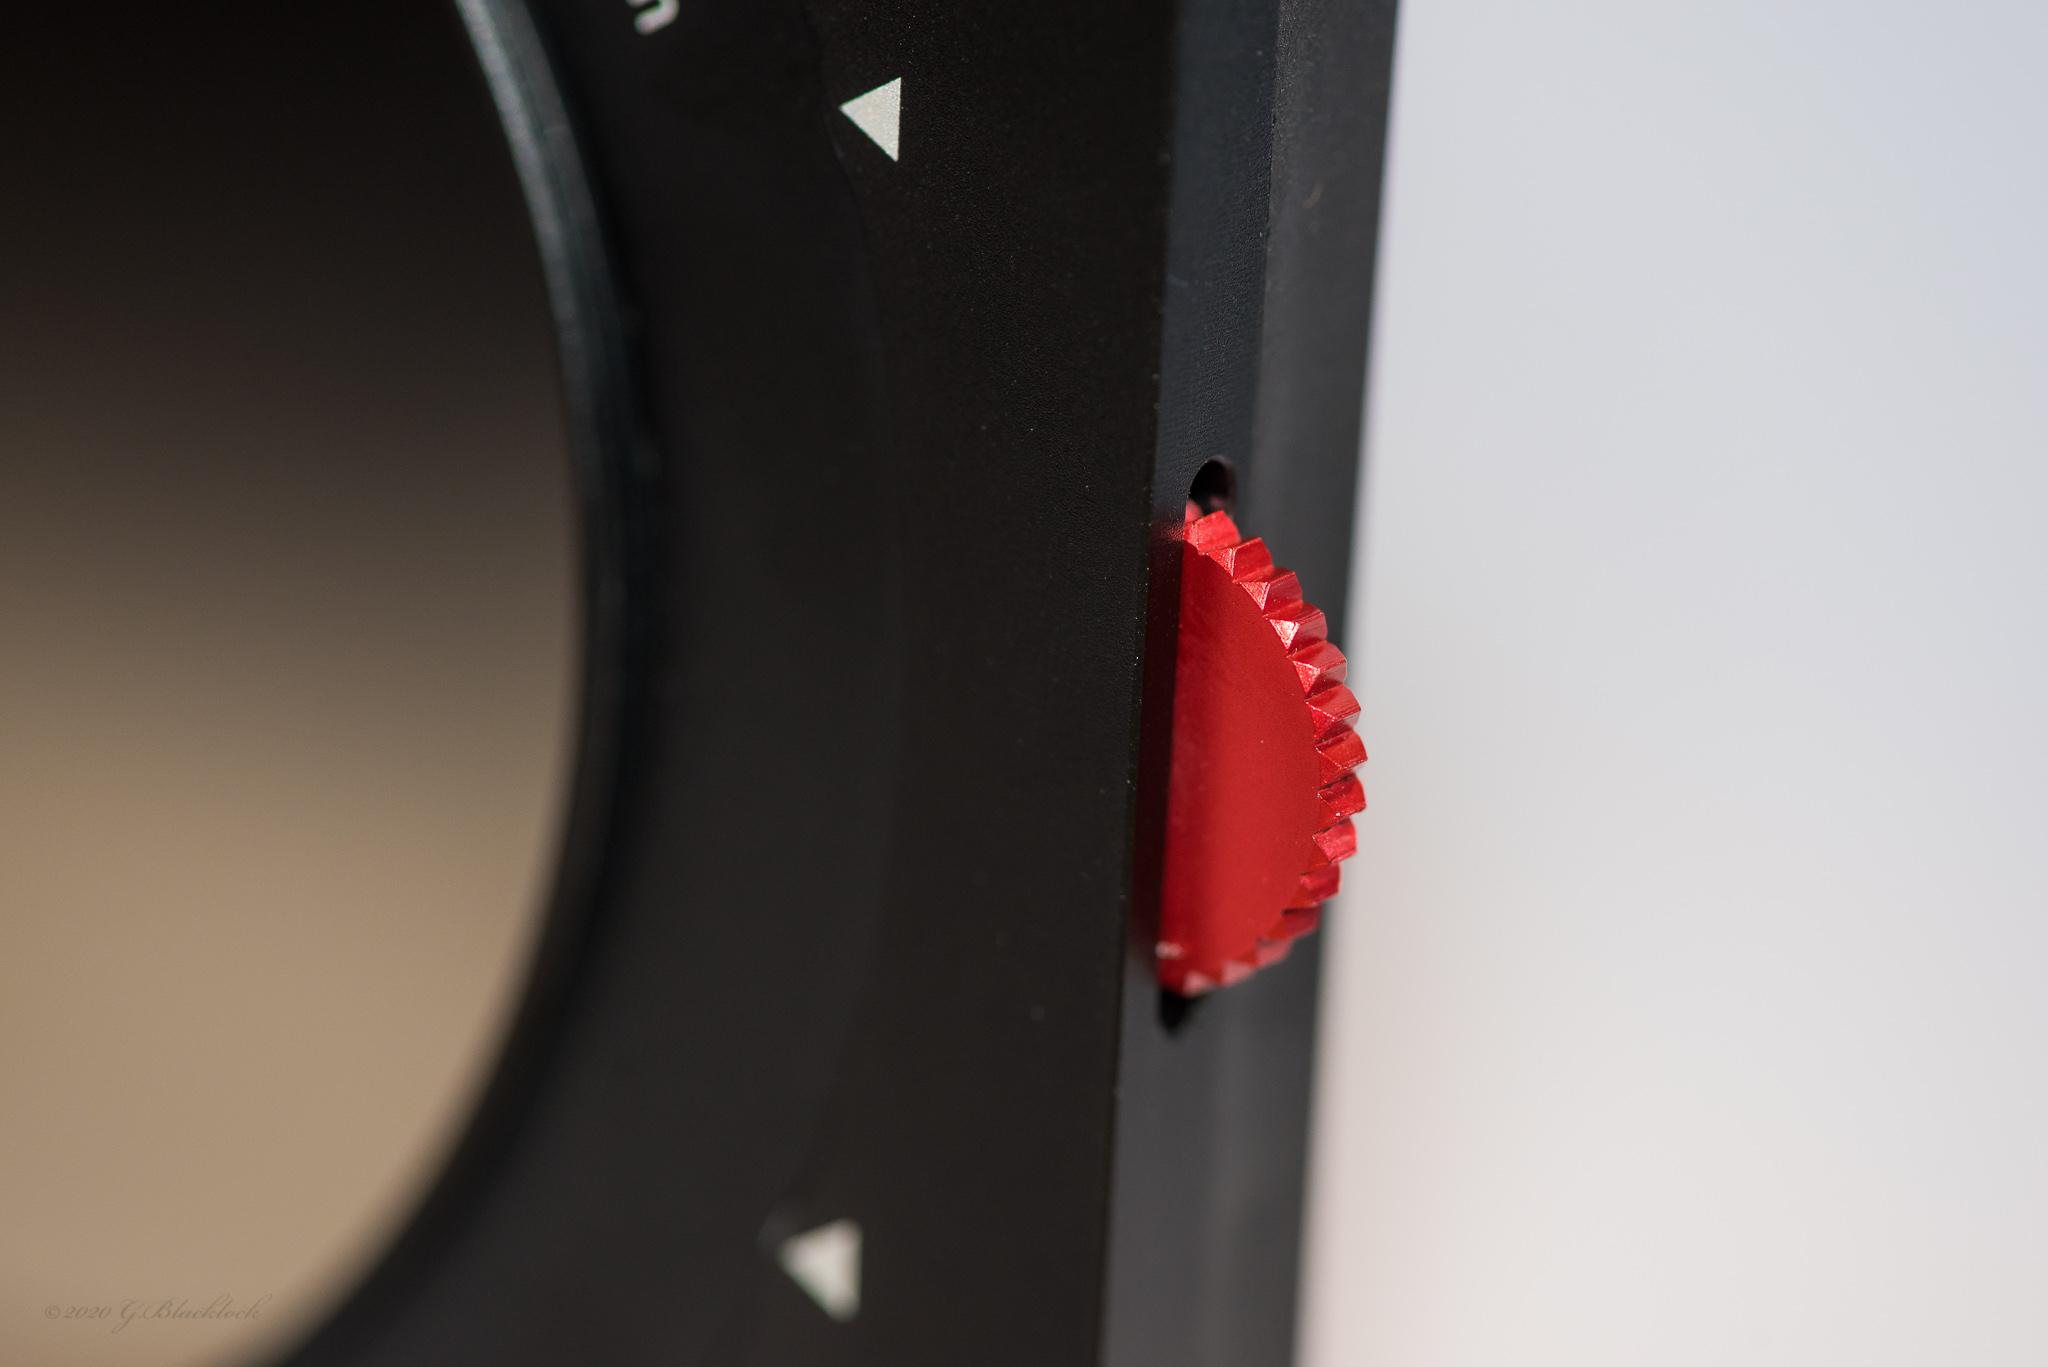
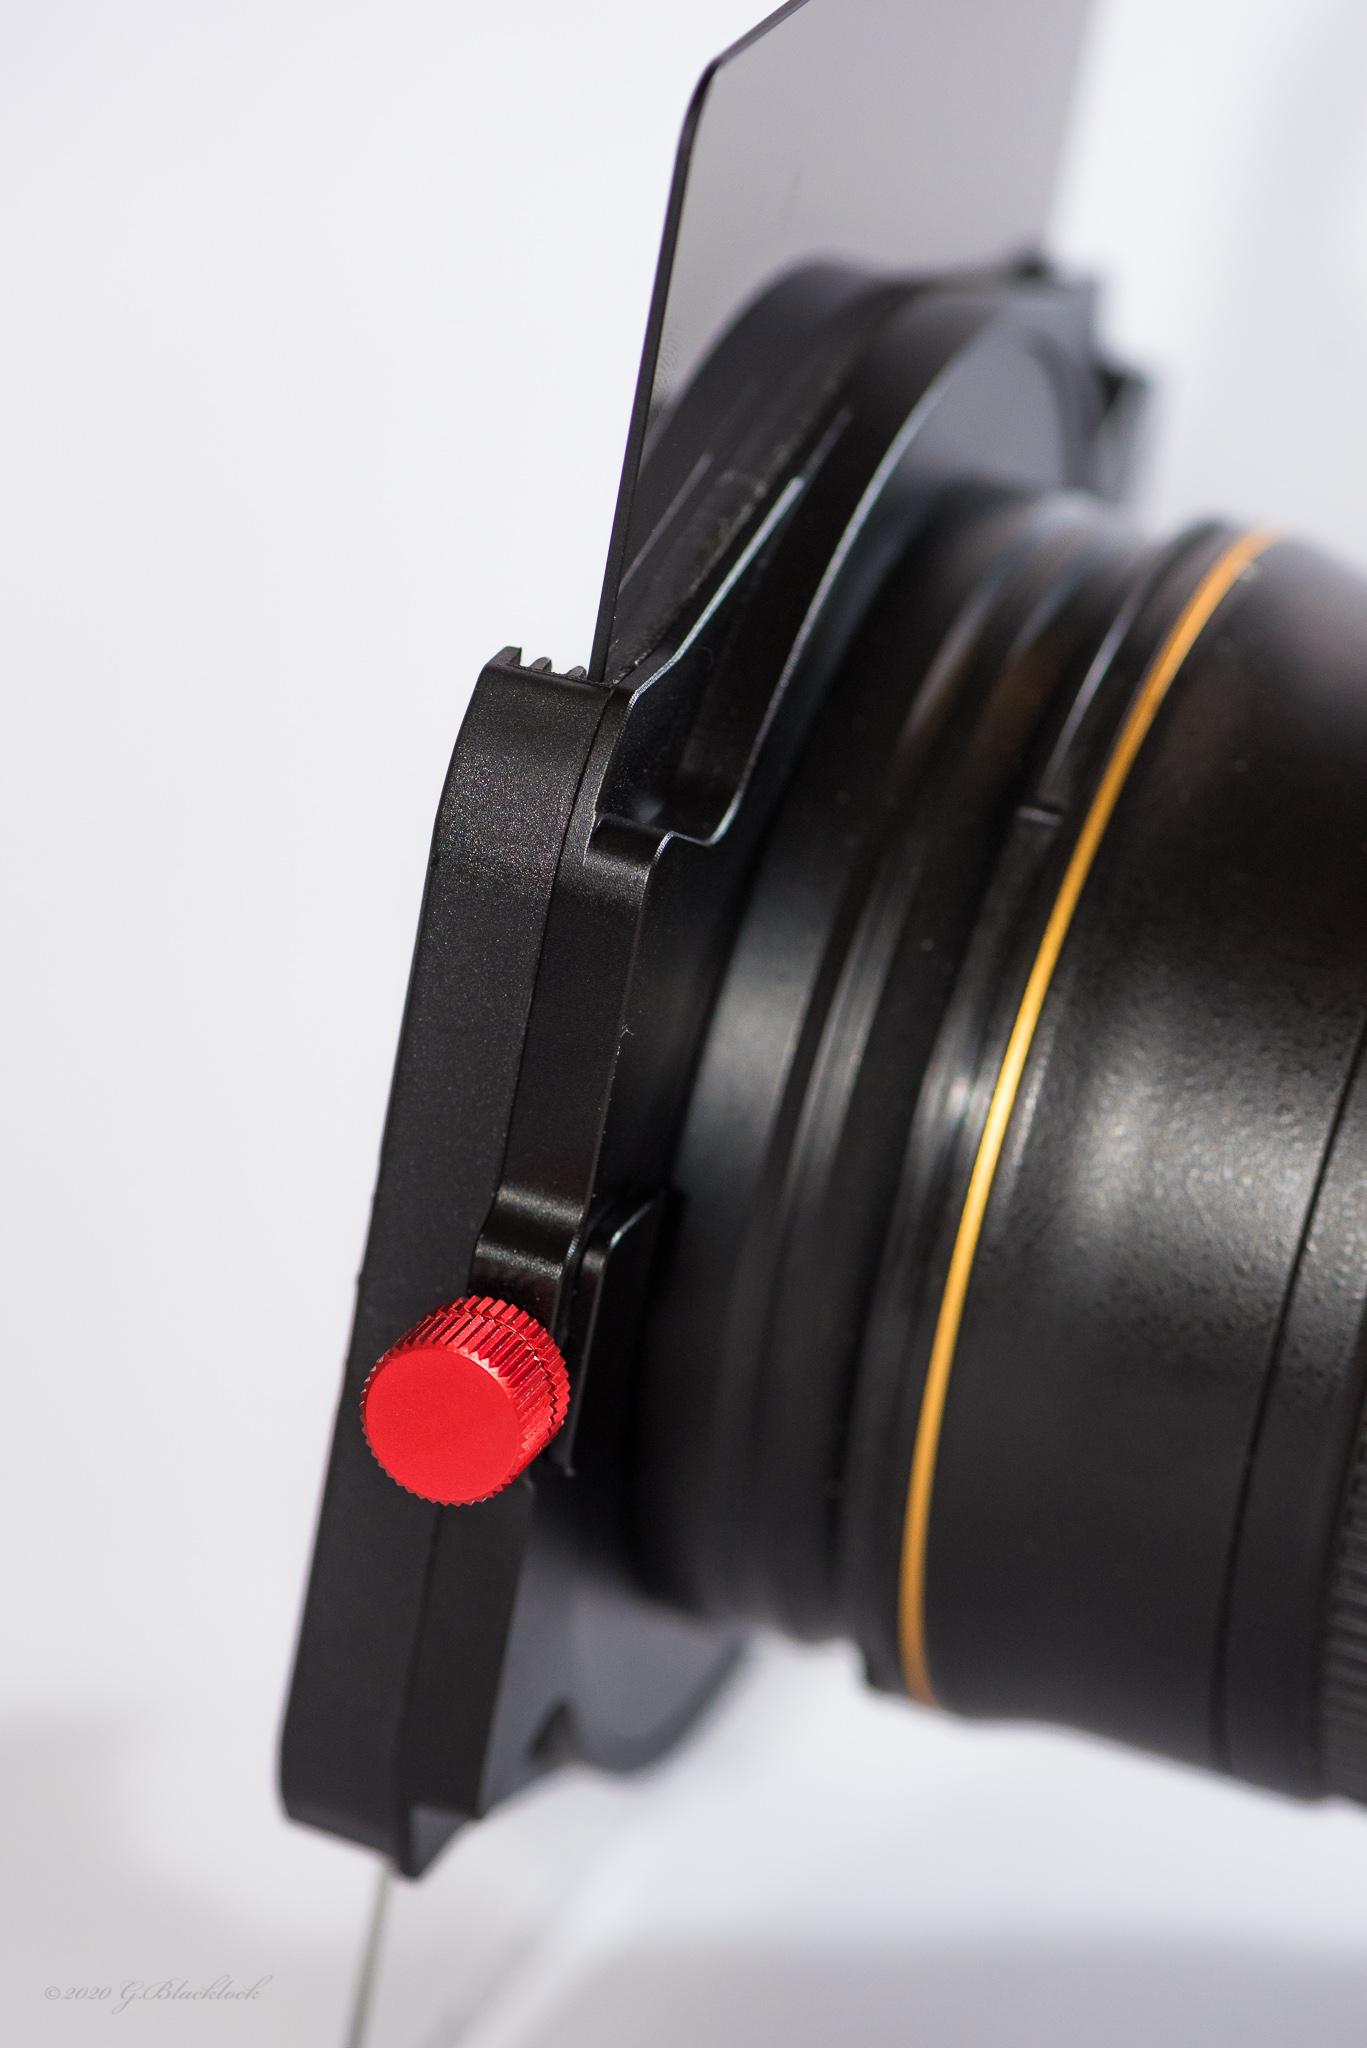
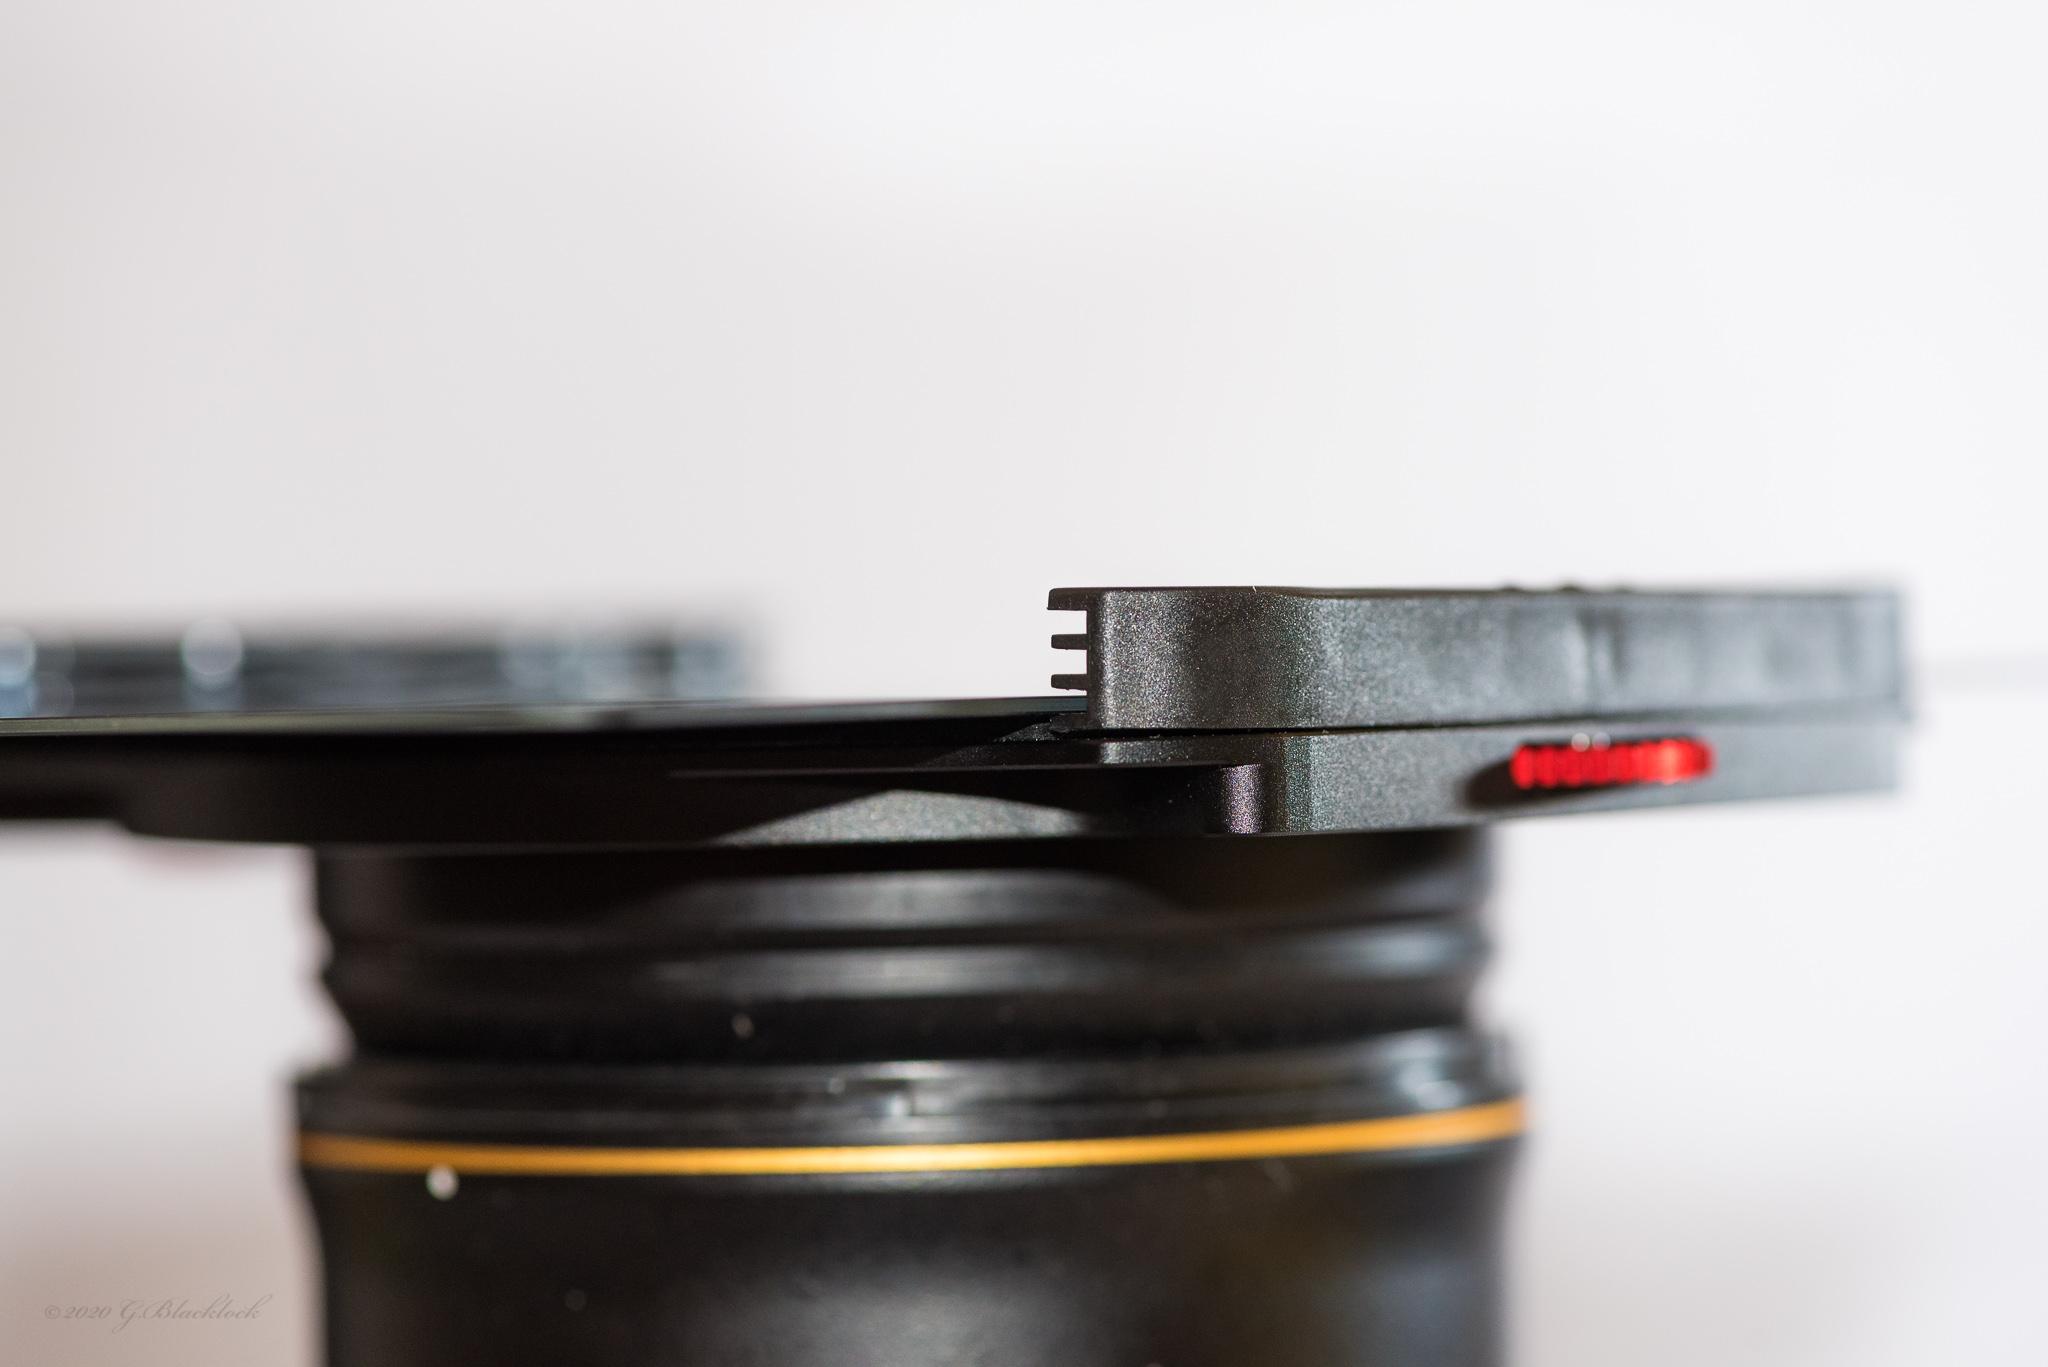
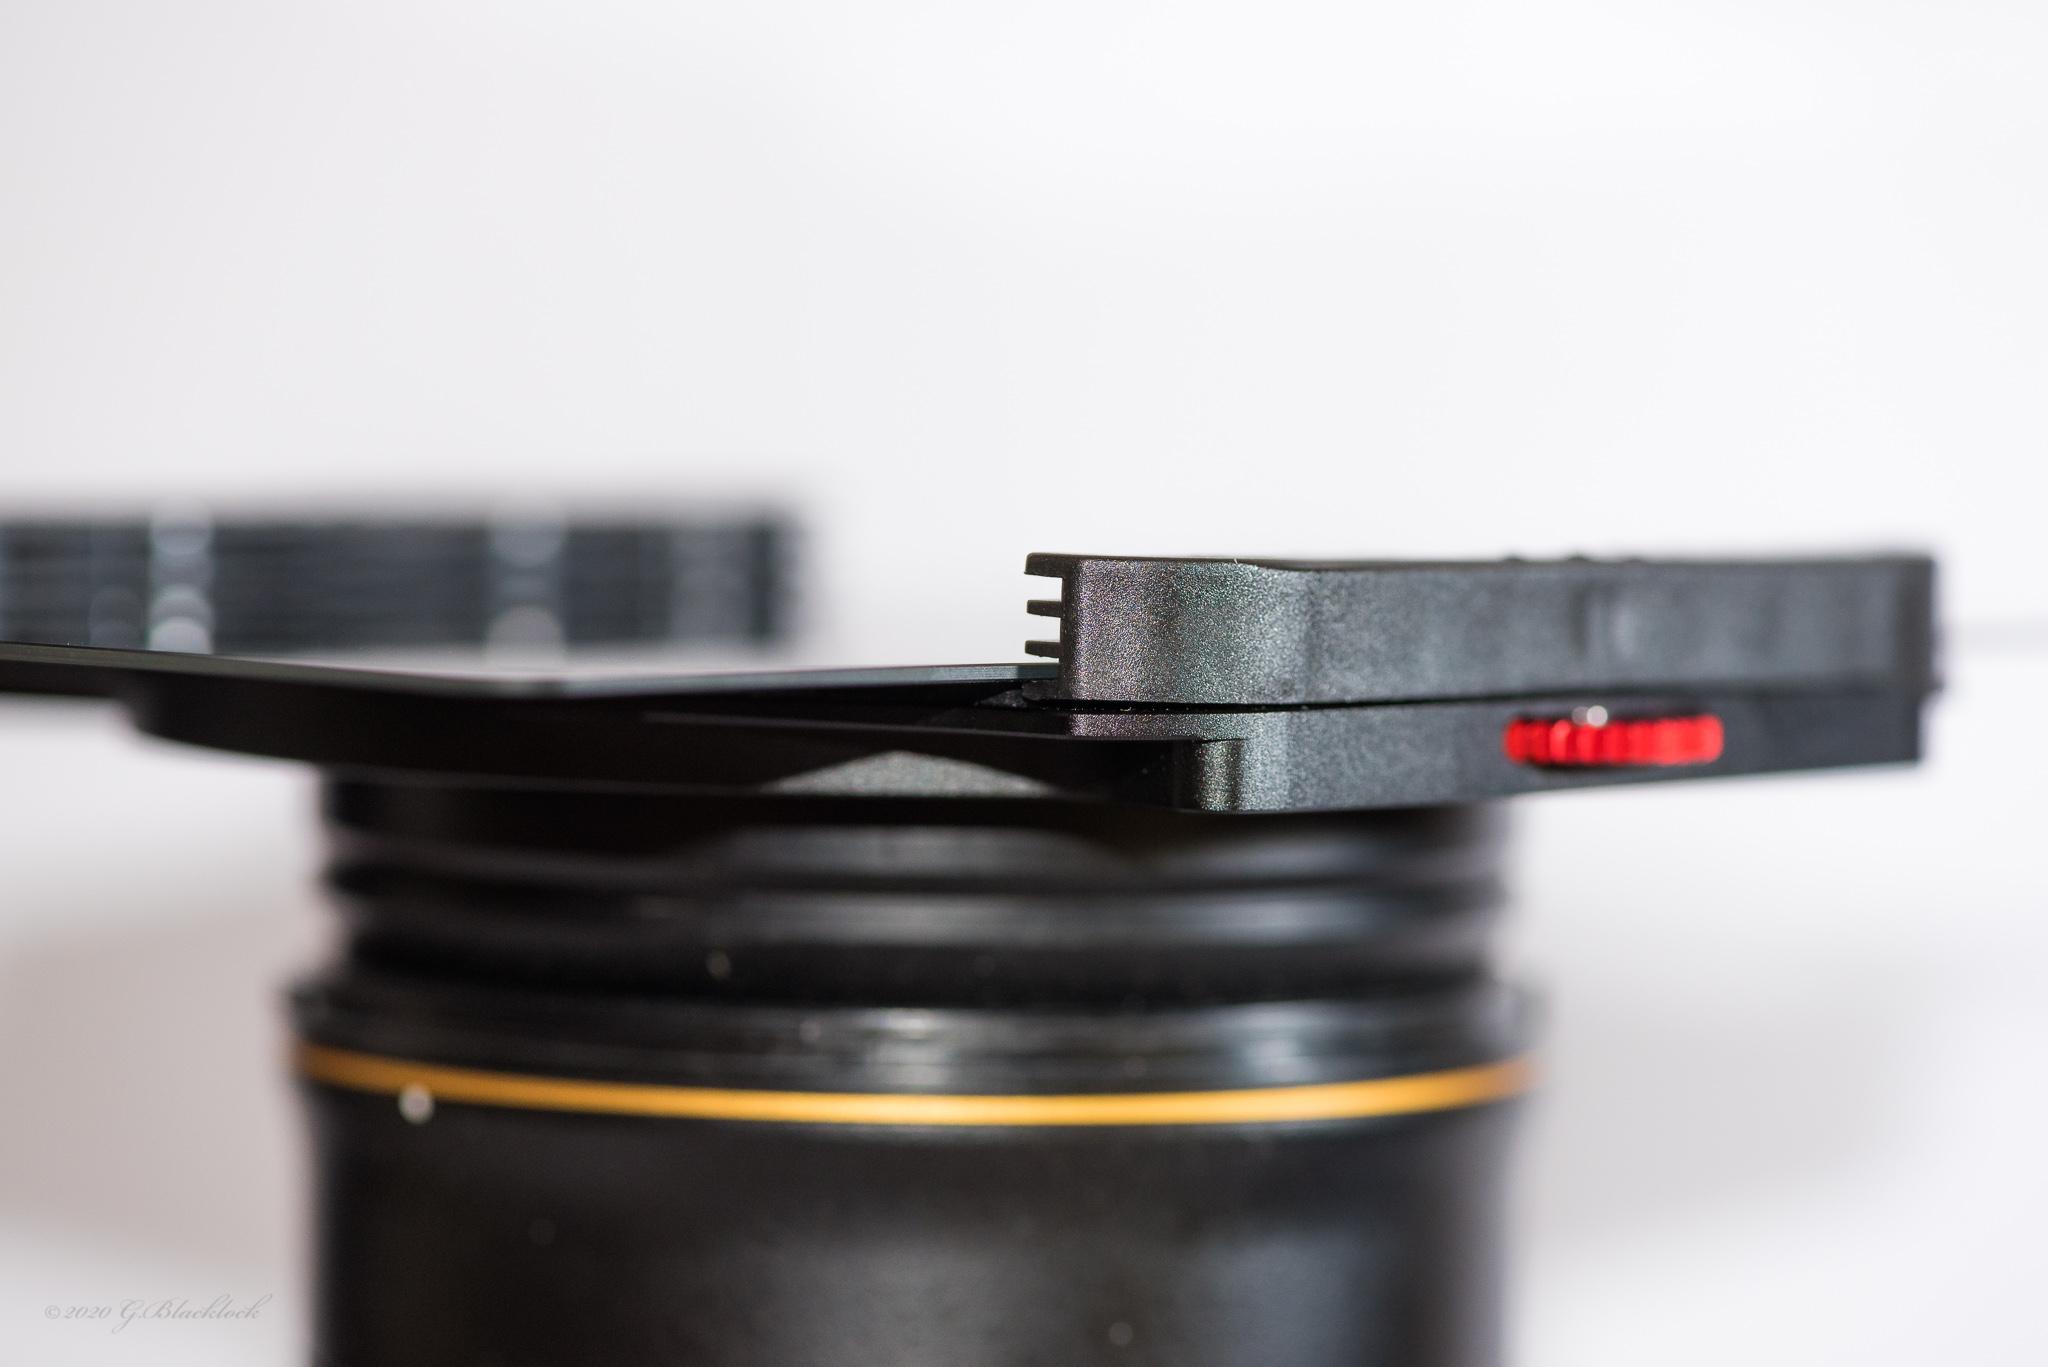
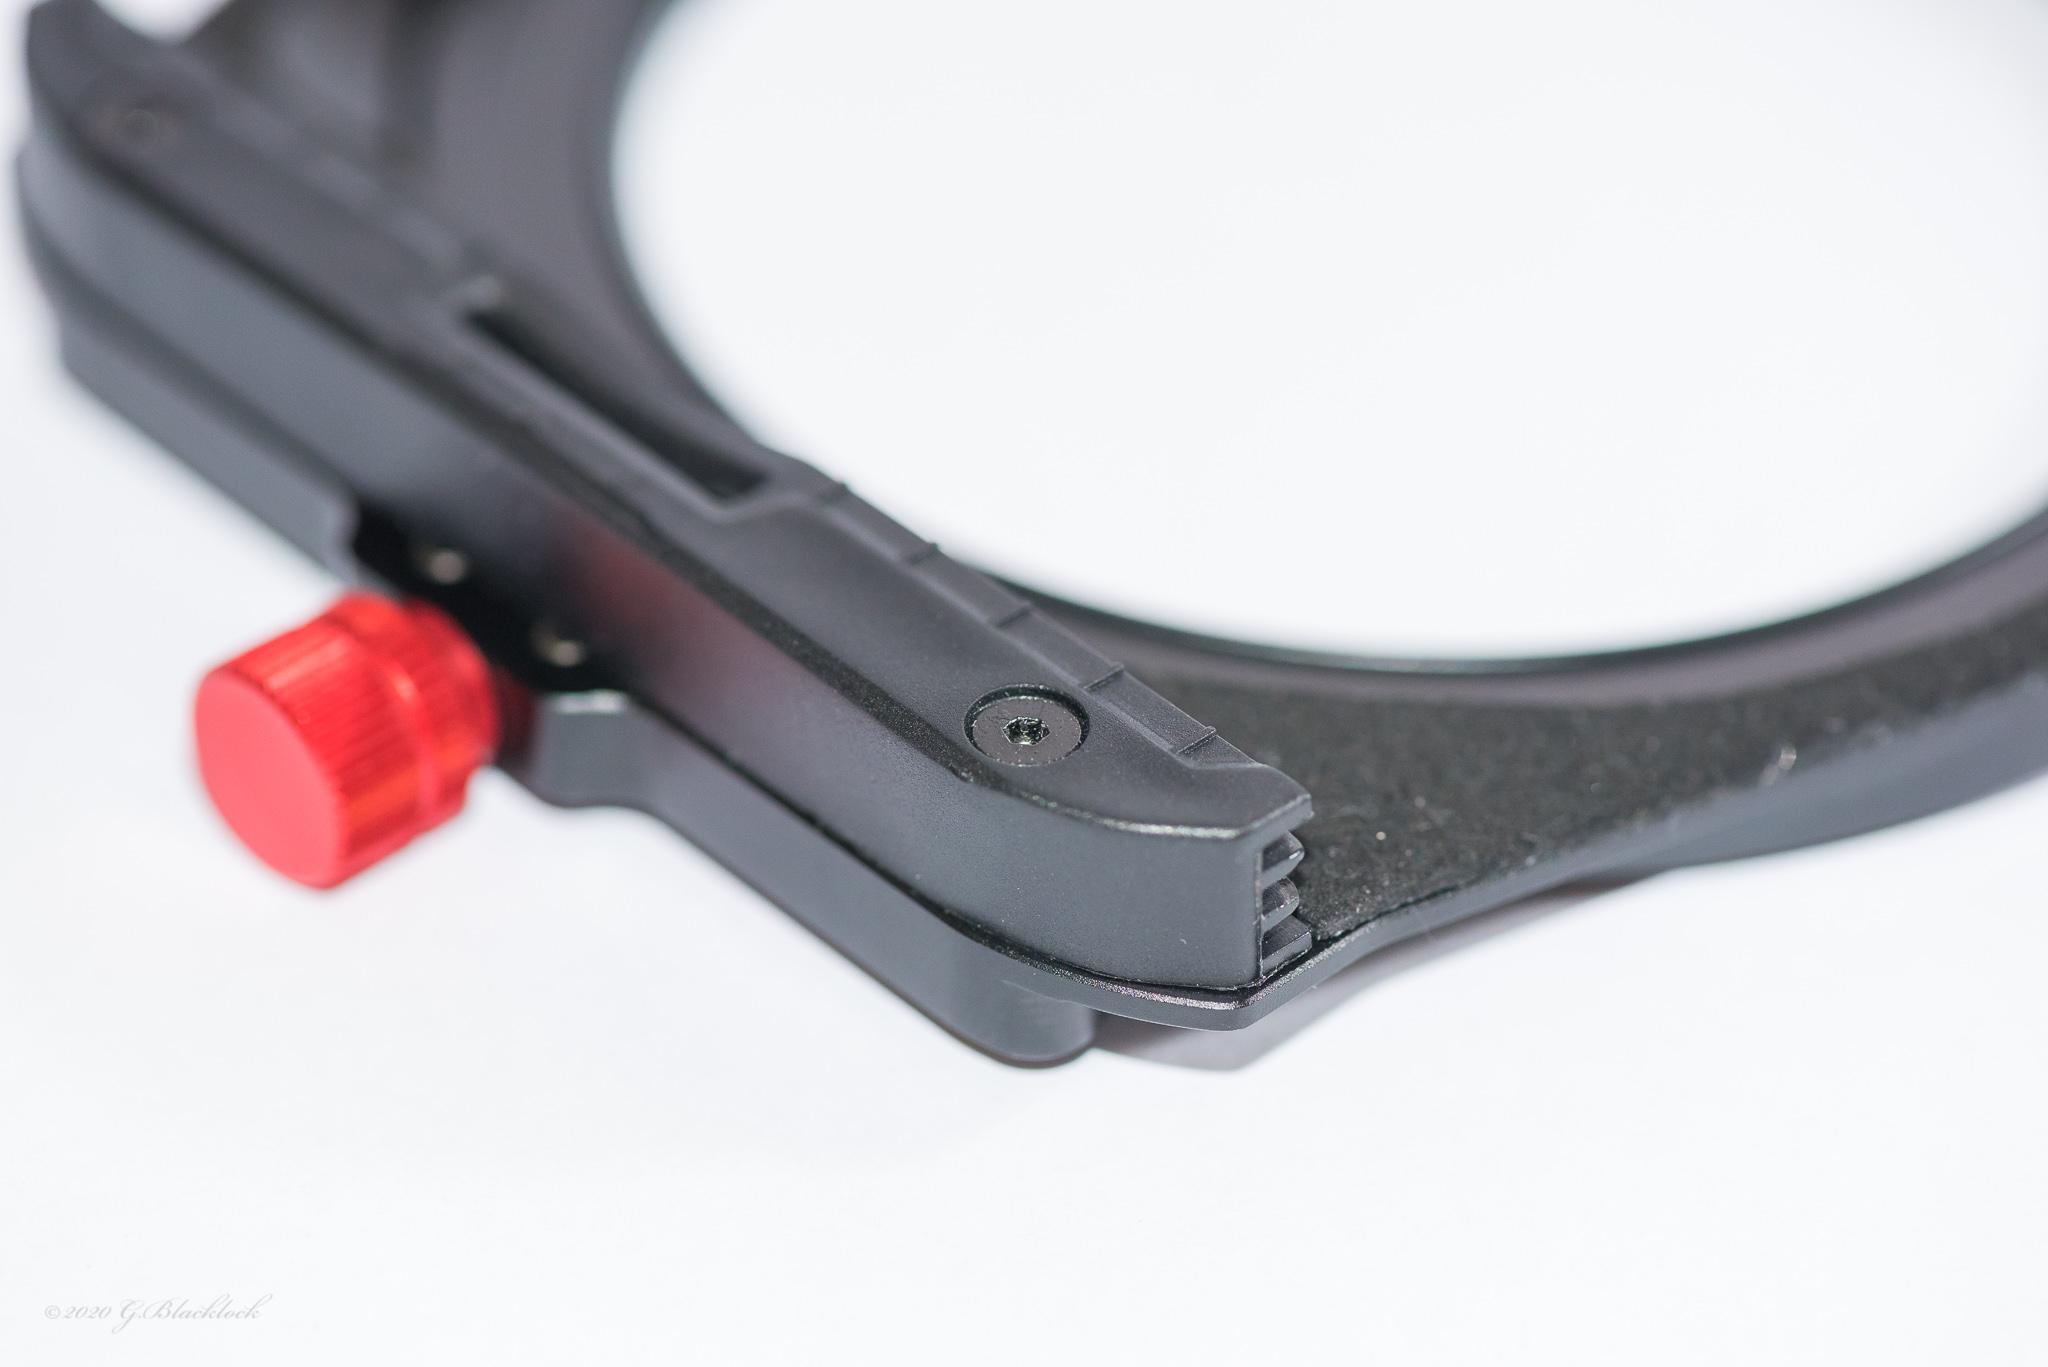
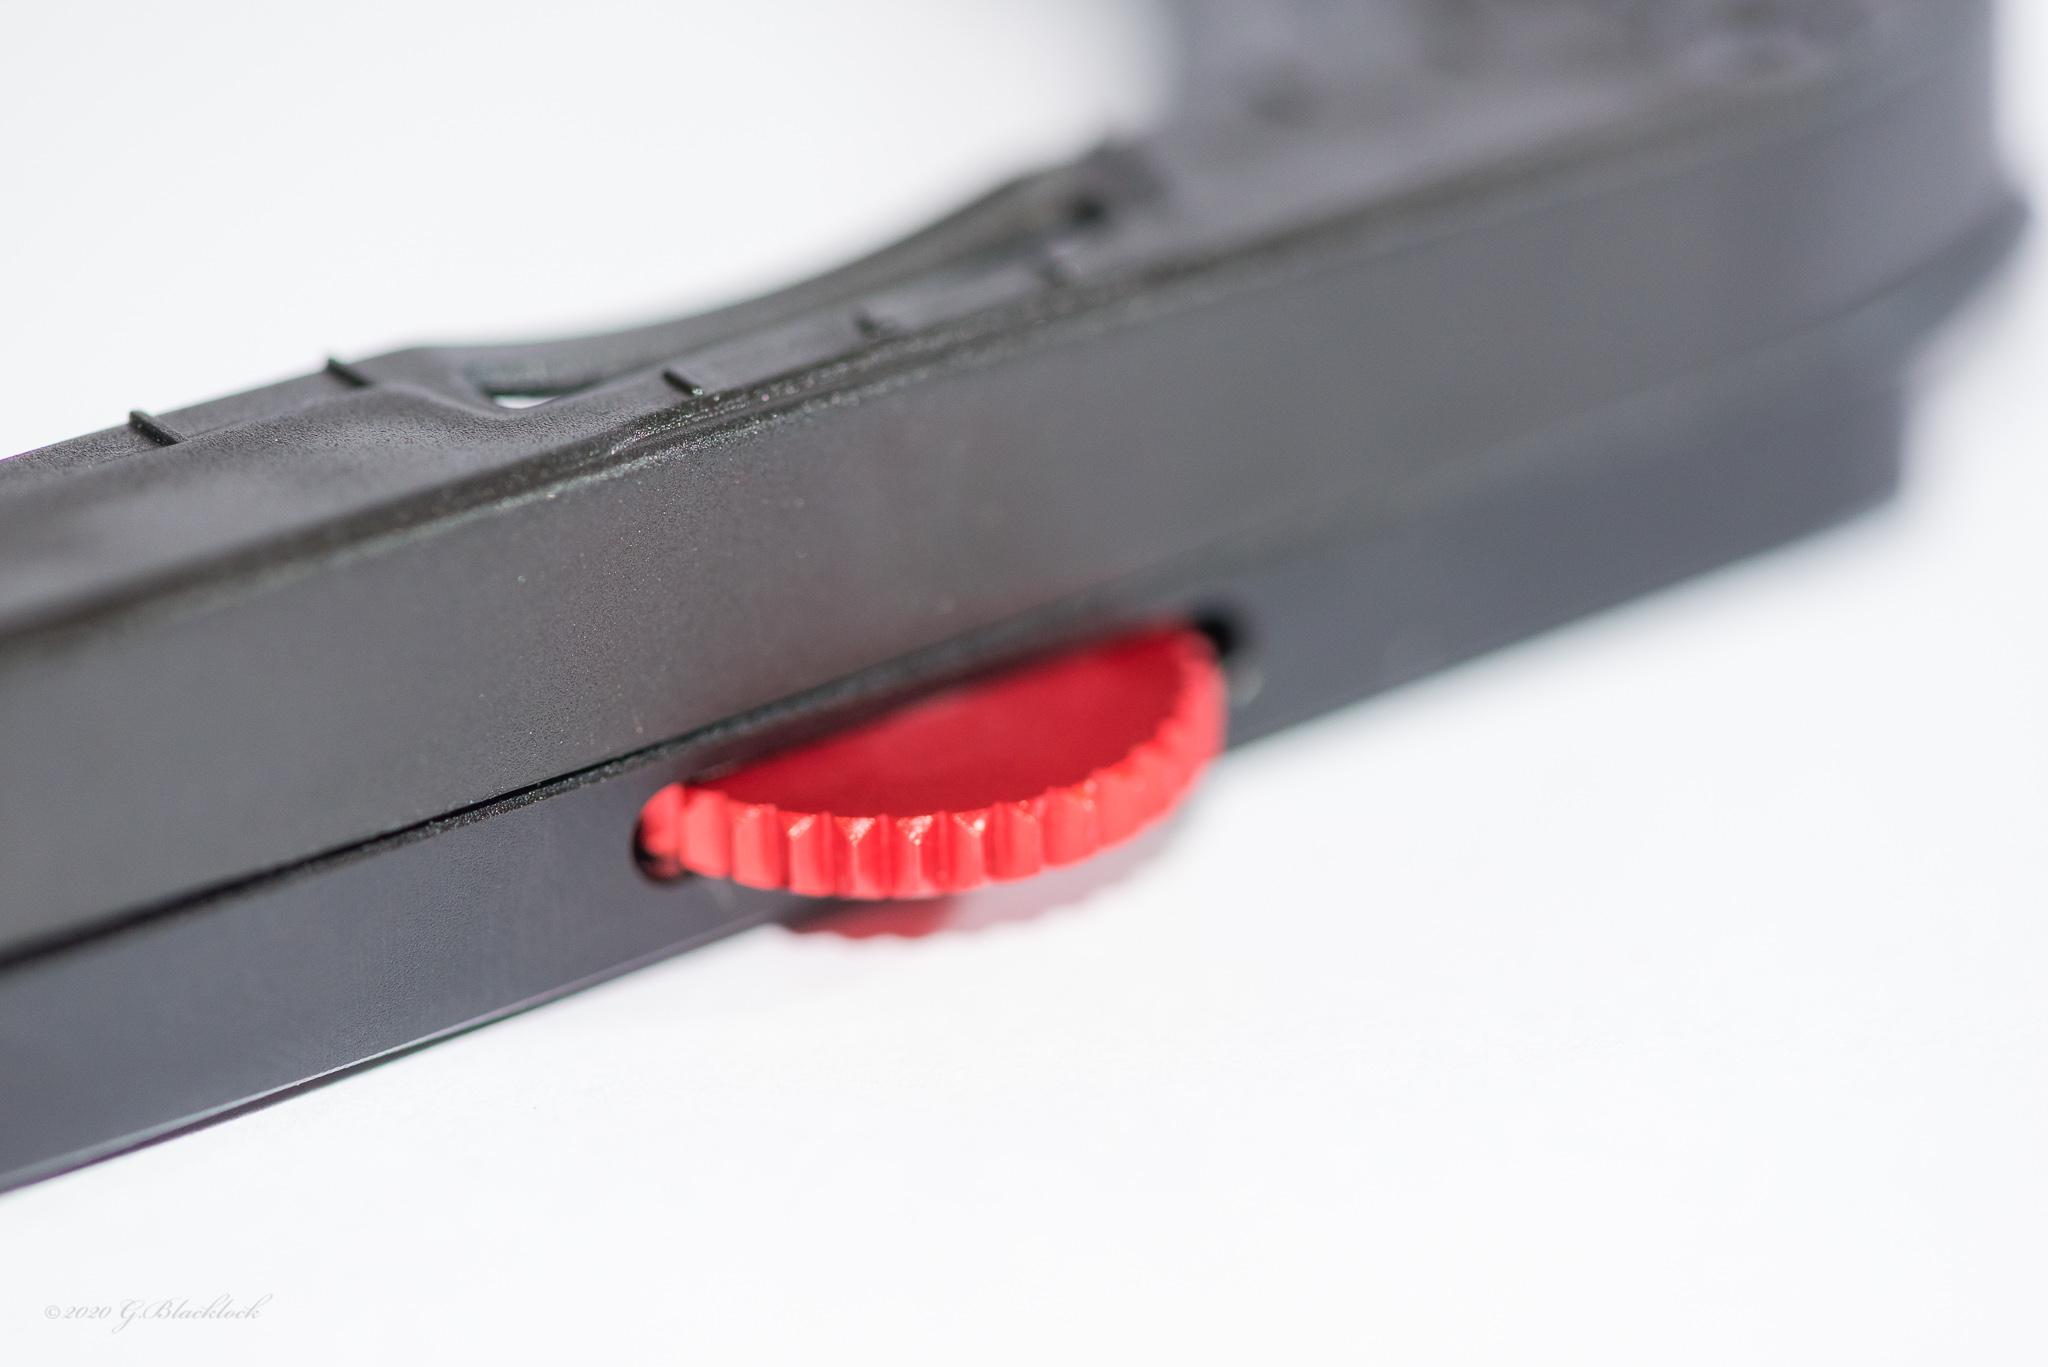
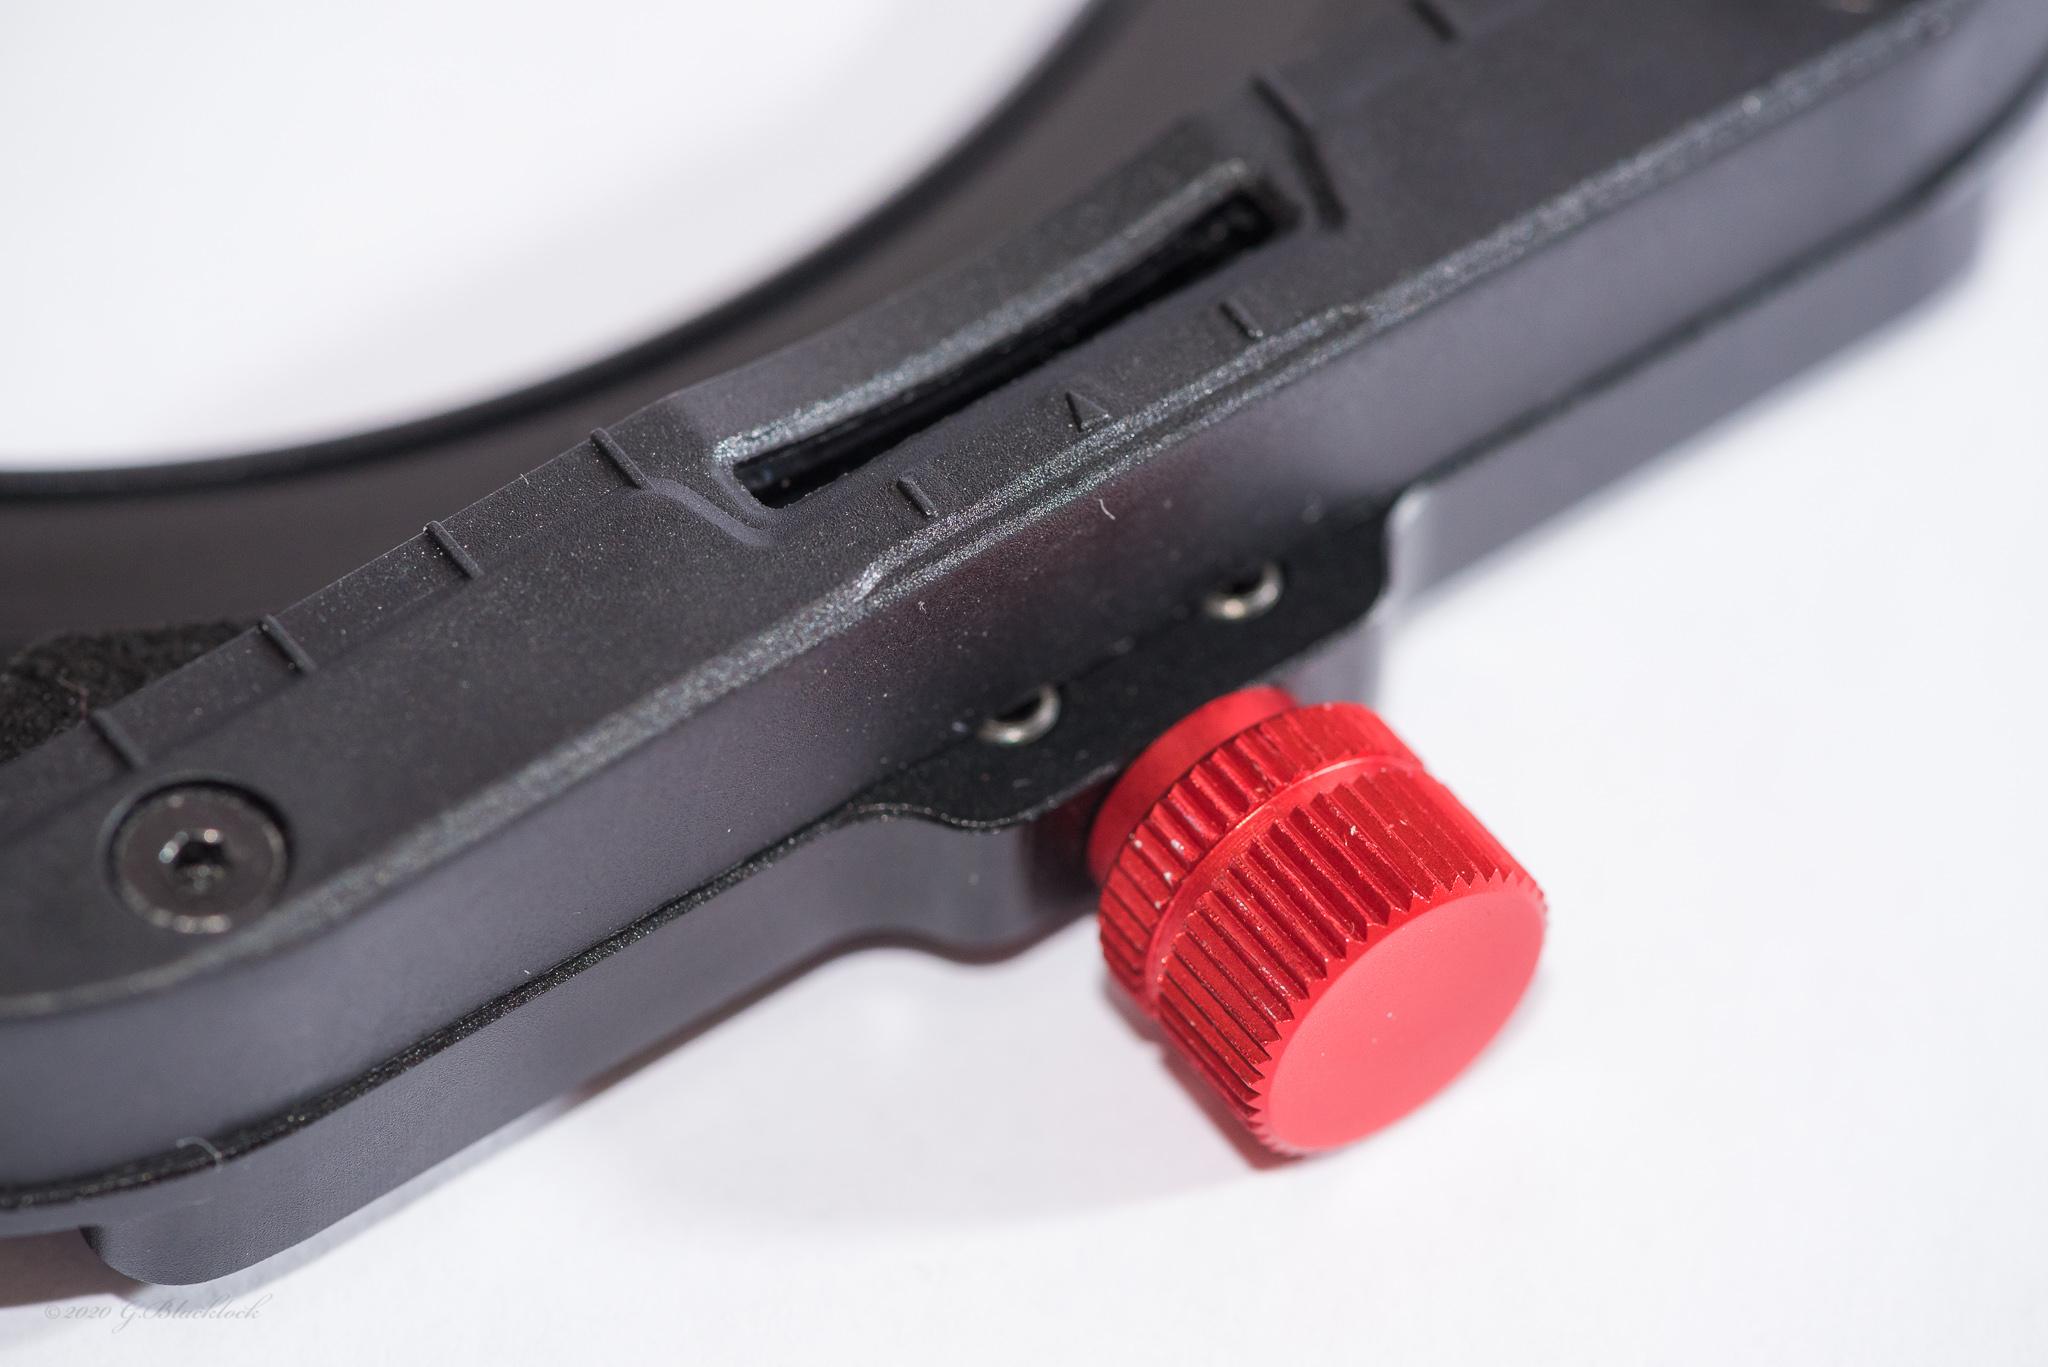
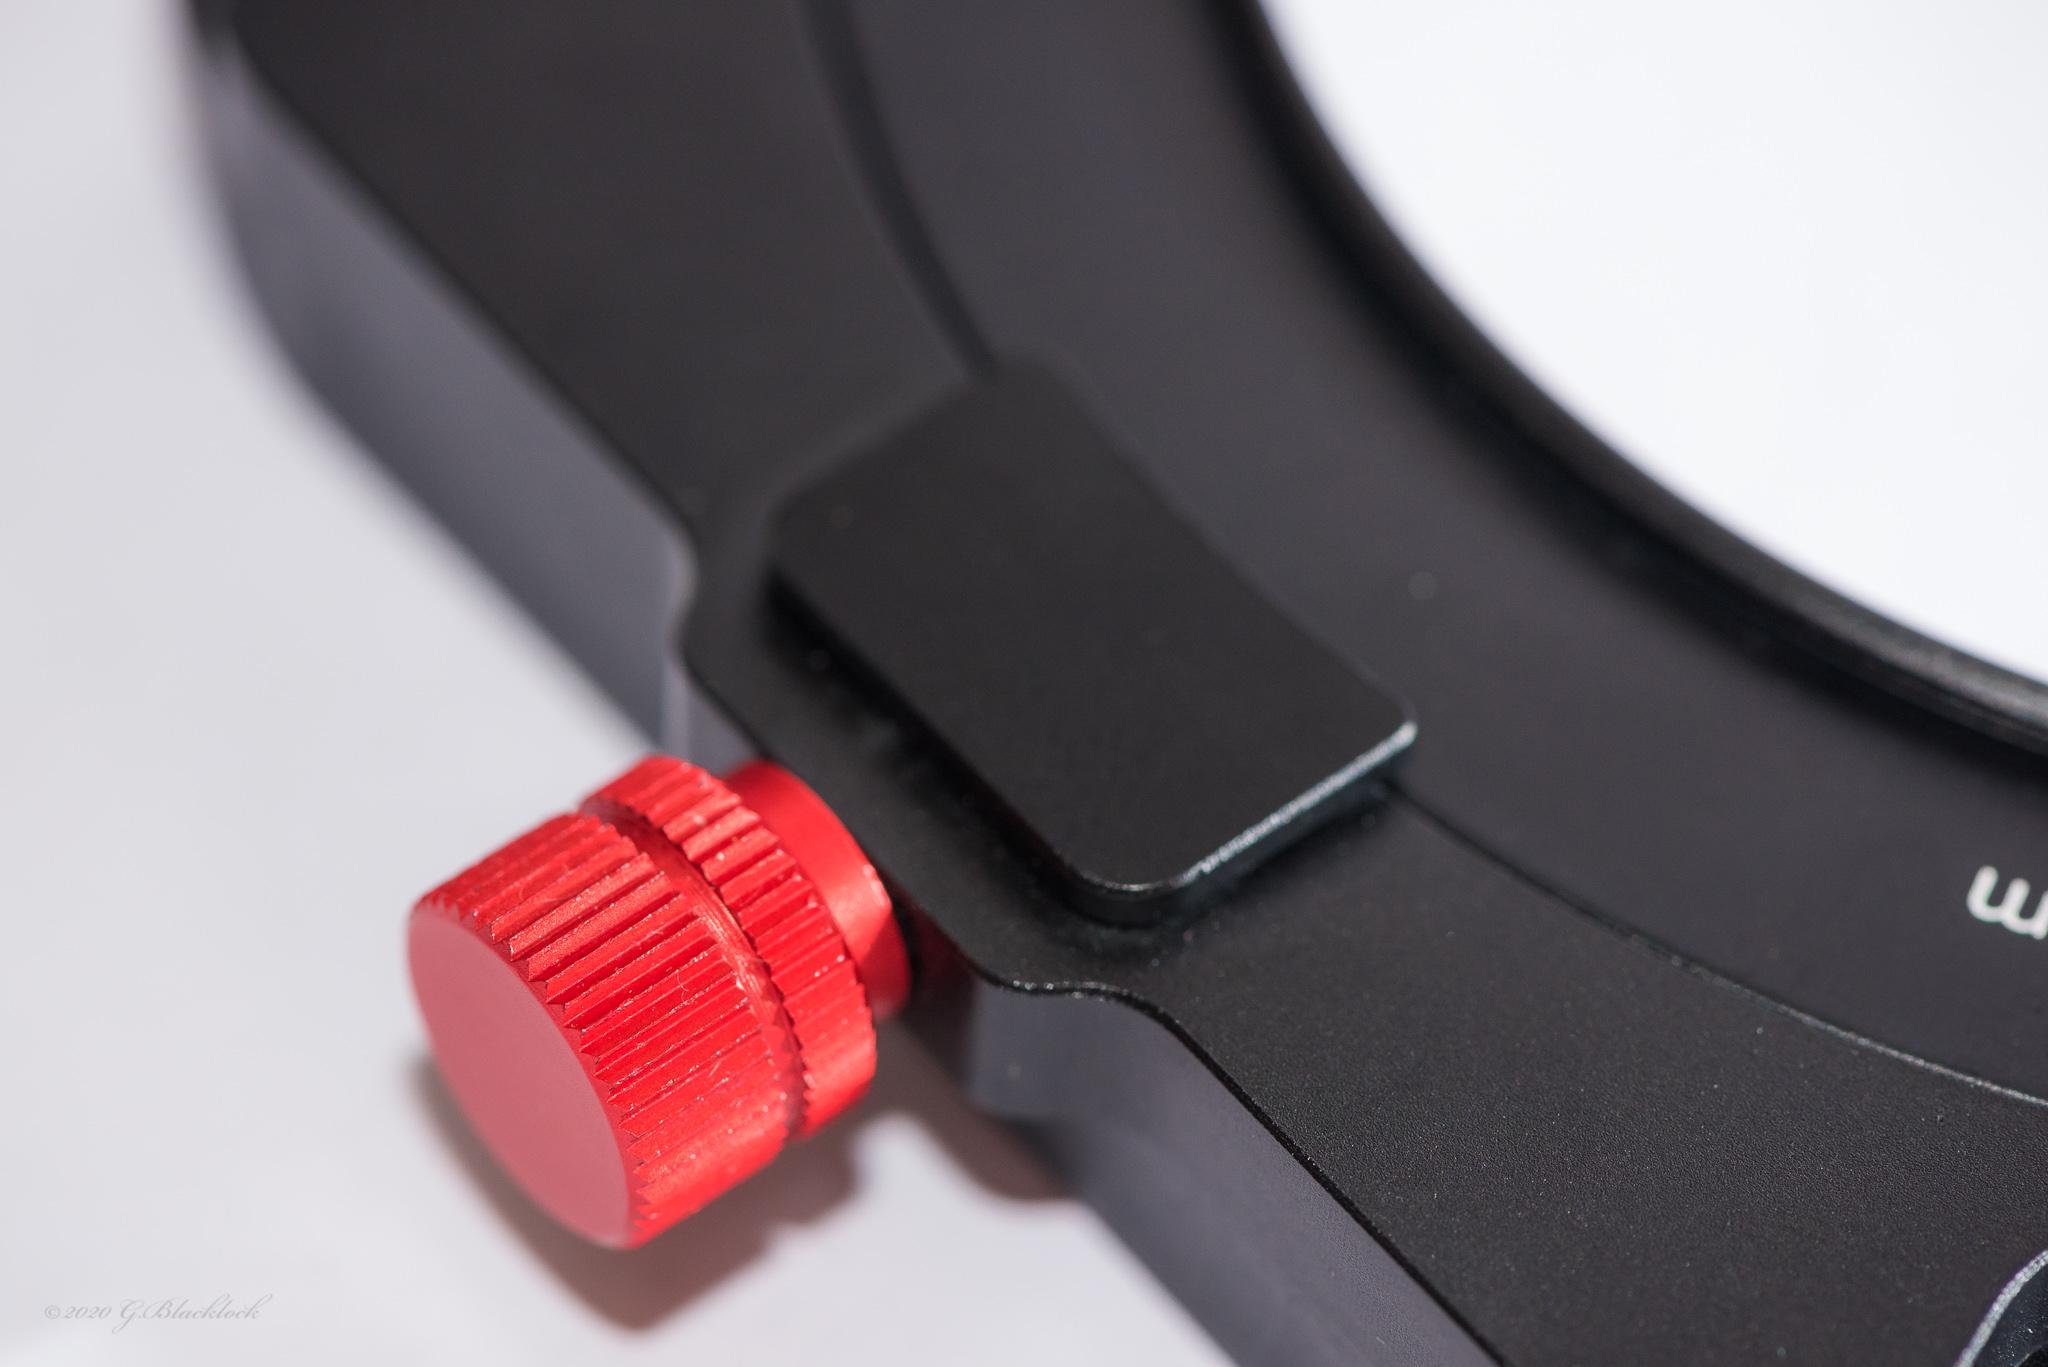
The geared mechanism works well, basically you use the little red wheel on the side of the holder to rotate the filter, it takes no time to get used to this, however you do need to be mindful of ensure the gears between the K9 holder and the adapter ring on the lens do correctly engage (technical term in the gear world is ‘meshing’), I did find early on that the holder may appear to be attached but the gear teeth have not meshed hence its sitting slightly off the adapter, you can still tighten the holder but it could potentially come off. The more i used it the more I got used to it and the less this was of a concern
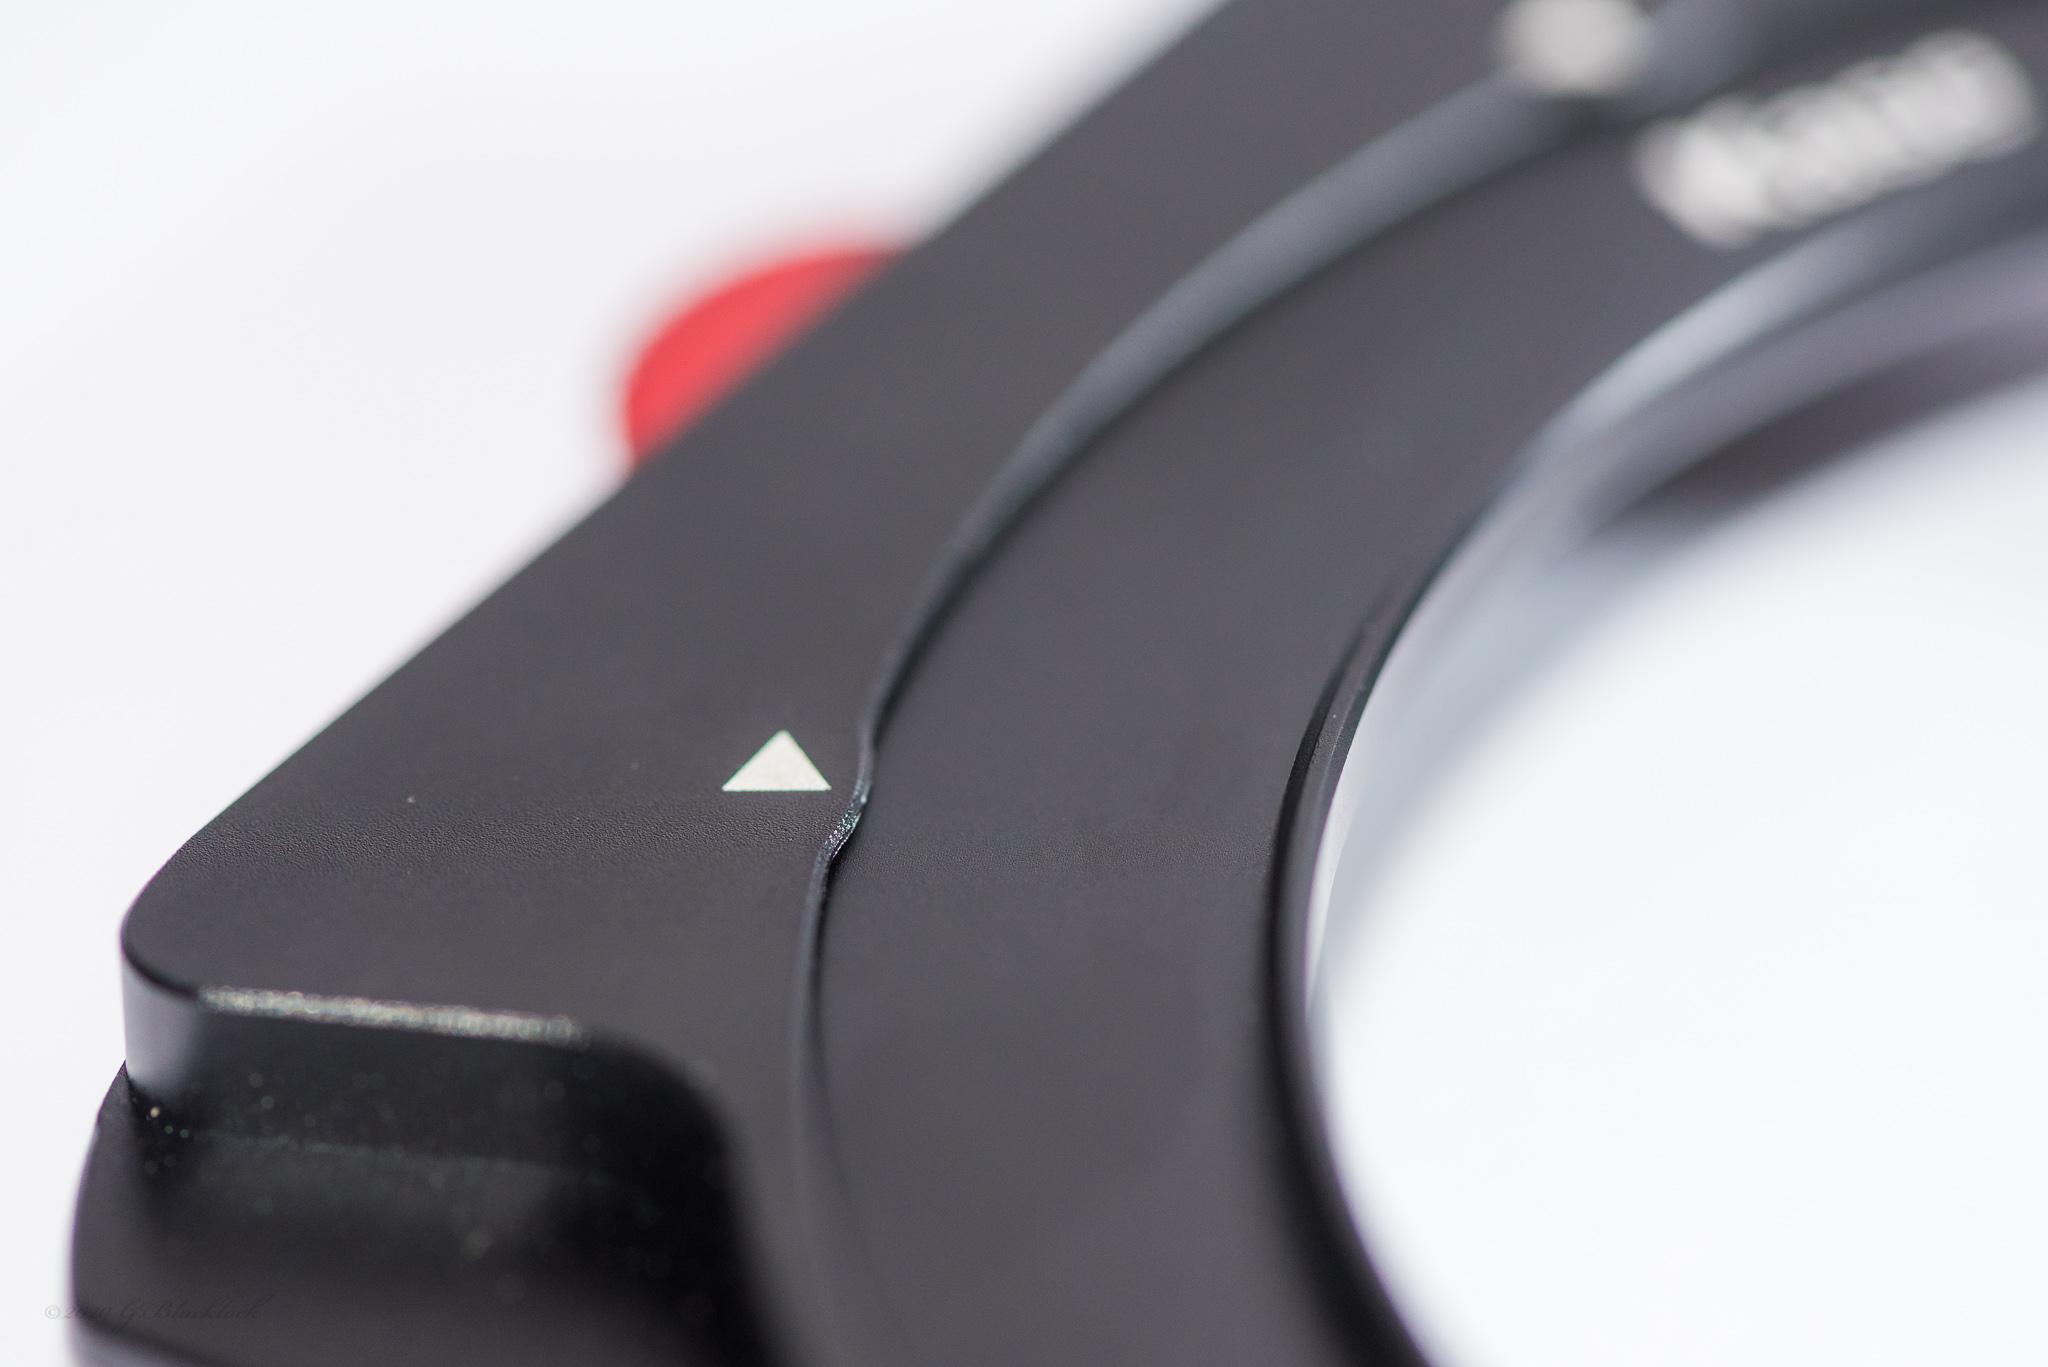
There are two locating triangles on the holder give a visual aid to ensure you have got the gears meshed and also the holder correctly fitted so the lip is properly engaged and holding it in place. At first it took some time to ensure the lip was correctly in place and I can see the potential here for it to come off if your in a hurry or not paying attention – however I did find after using the holder for a month I had developed a habit and routine which ensured it was correctly seated each time. Basically you need to jiggle (technical term of course) the holder alittle as it goes on to get the gear teeth to mesh and the lip to seat – this may sound somewhat complicated when written down but really it is not, it becomes second nature once you have done several times – note this part of the reason why I consider this system fiddly compared to say the Lee holder, which is basically either on or off.
Colour Cast
After zero vignetting the biggest image quality aspect of concern is the colour cast – colour cast can always be sorted out in post processing, however as mentioned before, one less step is preferable and saves time. The colour cast in the Kase Wolverine filters is exactly what they say on the filters, neutral grey 🙂 This carries across to both the 6-stop ND and the 10-stop ND, these both have a very neutral, almost cool-ish effect on the captured image. I did notice that the Kase graduated filters often resulted in a warmer foreground, probably just the way the camera meters out the automatic white balance I suspect.
Form Factor
I do like the smaller form factor of the holder, anything that reduces weight and size in the bag is a bonus in my opinion, providing there is no real compromise made on durability or strength. I did find the slots a bit small (height wise) and a bit fiddly to get the filters into, I found it took a bit more time to ensure you got the filter in nice and square within the slots, again this improved as I got used to it, but also the same reason why I do classify the system as a bit more fiddly – I know with my previous Lee kit it is much easier and quicker to get the filters in and setup, note this is also taking into account the fact that I am more familiar with the Lee system.
It’s also worthing noting that along with the small form factor of the holder, the reduced thickness of the filters (1.1mm) also provides weight saving, which when you hauling a 25kg pack on a hike is appreciated 🙂
The not so good stuff, and there is not much,really this comes down to ease of use and general usability, overall I found the system alittle fiddly due to the very thin filters, the smaller filter holder, the need to take more time to ensure the CPL gear teeth mesh and the holder locks on, its important to qualify this with the fact that once I became more accustomed to the use it did seem less fiddly, however not all of this is attributable to me using a new system.
The foam gasket on the holder I don’t think I can qualify as a negative really, I do however have concerns on durability and long term use, ie my gear does get flogged a bit (holders often end up in my pocket 🙂 ) and I would be worried about the gasket picking up dirt or sand, this worries me a little since you basically drag the glass filter over this gasket each some you put it on – that said, I had no issues in the month I used the filter system, but I also did make a point of wiping the gasket before putting a filter in, this is a aspect that can only be determined after more time using the filter holder, preferably in adverse conditions.
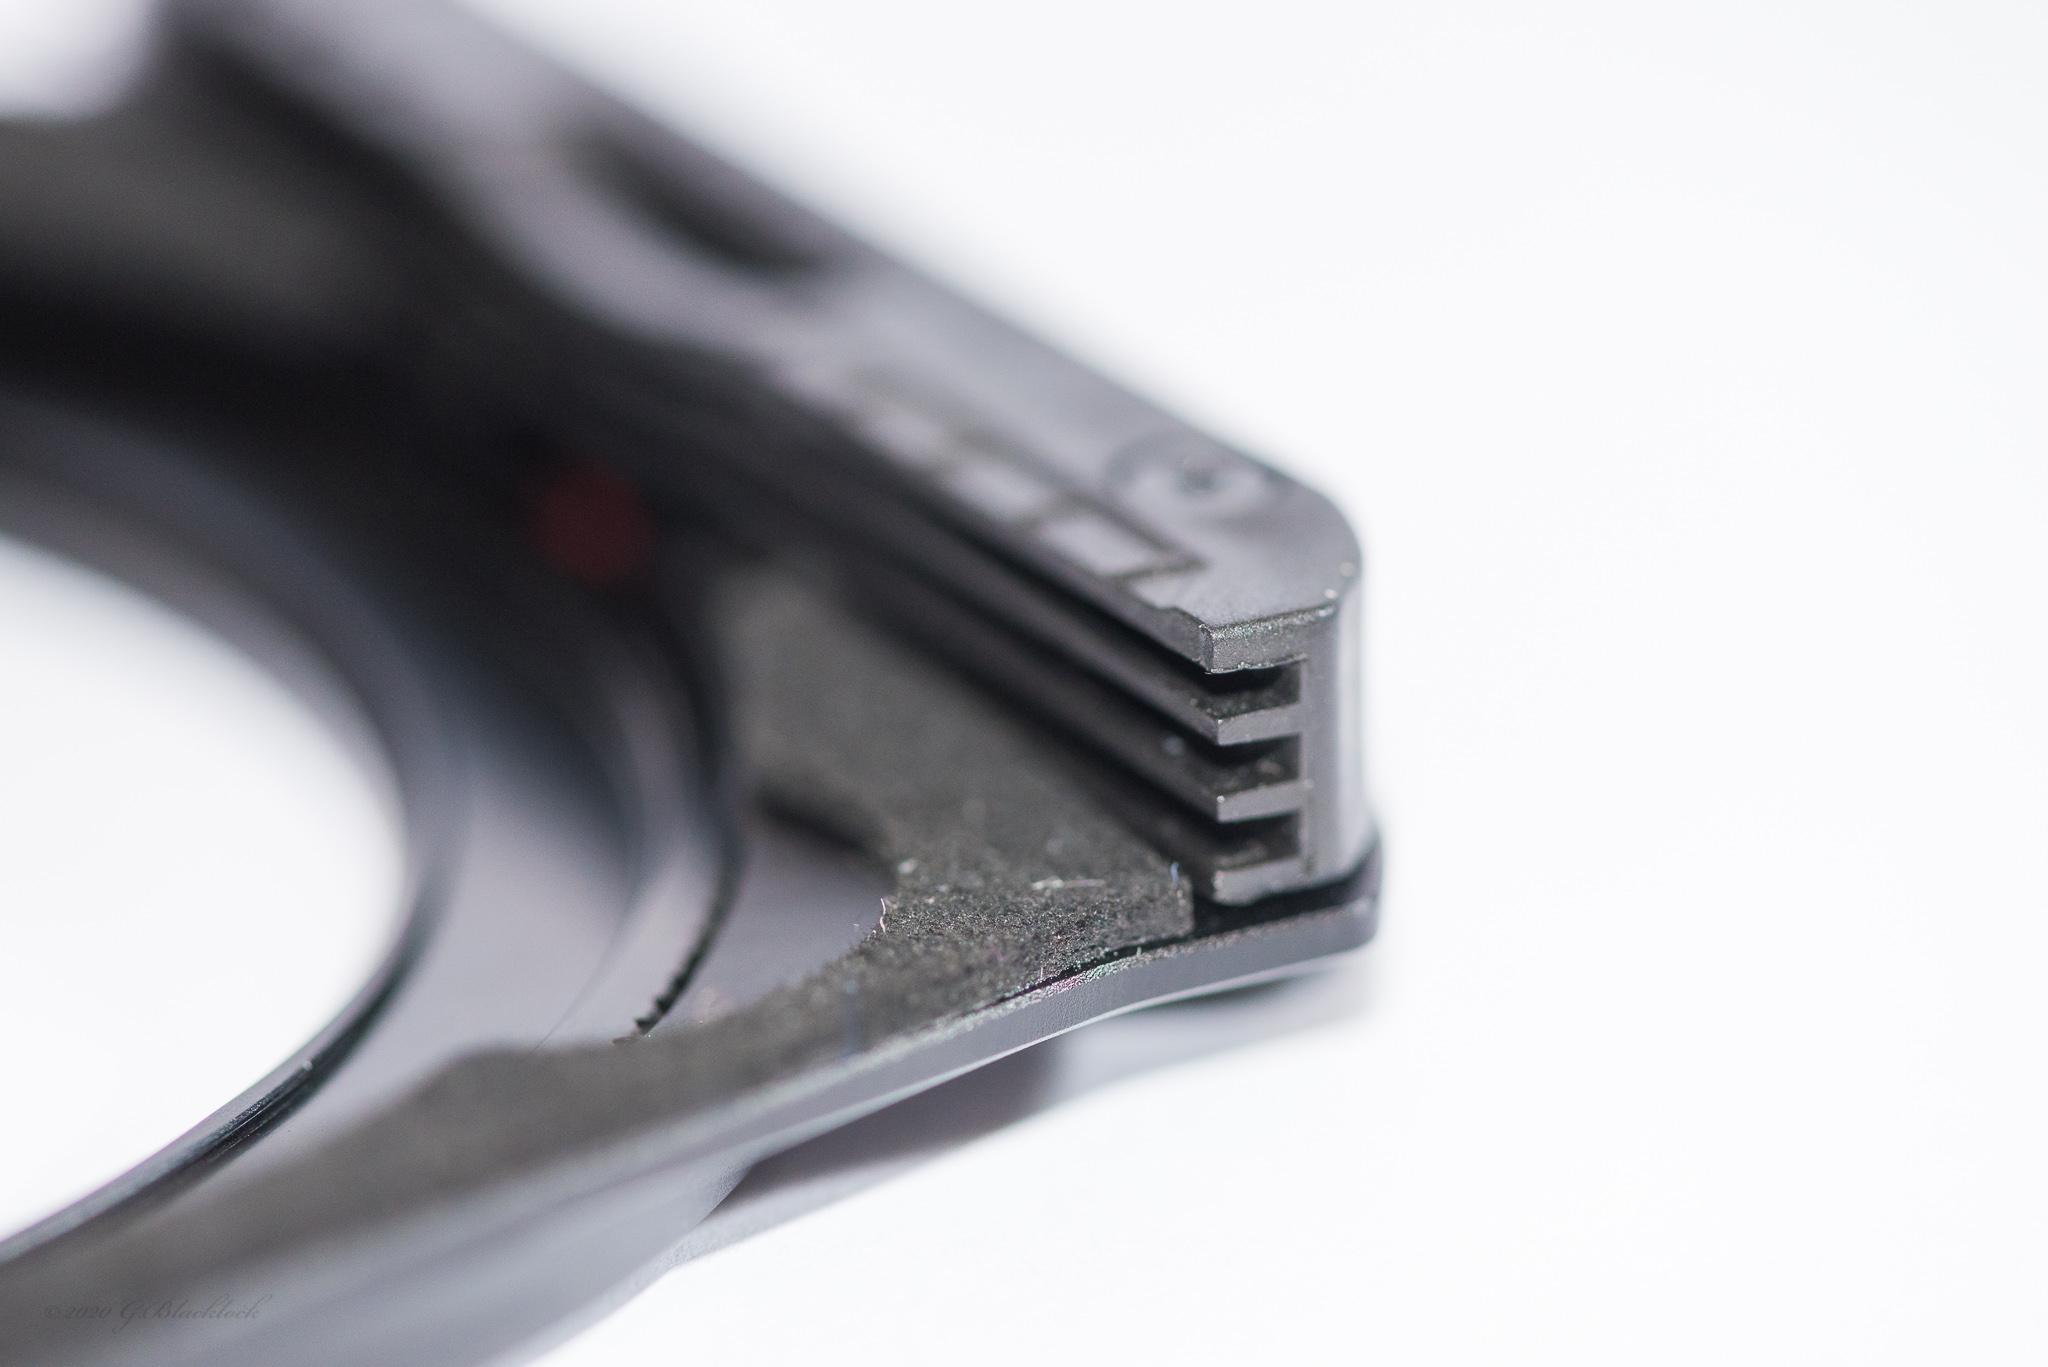
The only other con of any worth is just the fact that you need to be sure the holder is attached to the adapter ring – the two little triangles on the extended lip do work well to draw attention to make sure its correctly engaged and once your used to it I would say it definitely becomes less of a problem.
The filters are quite expensive, probably more so than other offerings like NISI or Lee however a cursory glance at the price of the K9 holder and CPL seems very reasonable, I actually think there is a very good case to invest in the holder alone with both 2mm or 1.1mm slots (Master Kit comes with both), this could mean you can get the benefit of the CPL and lack of vignetting with your existing 2mm thick 100x150mm filters until such time you opt to get the Wolverine 1.1mm or 2mm filters. The Kase Master kit which pretty much has what is listed up the top here is probably in the same realm (cost wise) as say the Nisi V6 Advanced kit, however I would definitely go the Kase Master kit, the selection of filters is better suited to my needs.
It is worth noting the way each of the big players work with polarisers, Lee uses a 105mm CPL mounted on the front the filter in front the graduated and neutral density filters, it clips in place here and is pretty easy to get on and off, also easy to rotate. The Nisi system uses a CPL within the filter holder, it is screwed in place much like a CPL is screwed directly onto the lens. It is possible to remove the CPL by removing the graduated or ND filters then unscrewing the CPL. The Kase K9 system is similar to the nisi with the key difference being the CPL is attached via magnetic force, you still have to remove your graduated or ND filters from the holder to remove the CPL but its simply a matter of using the two finger recesses on the holder to grab he CPL and take it off, in terms of ease of use I would probably say the Kase wins there.
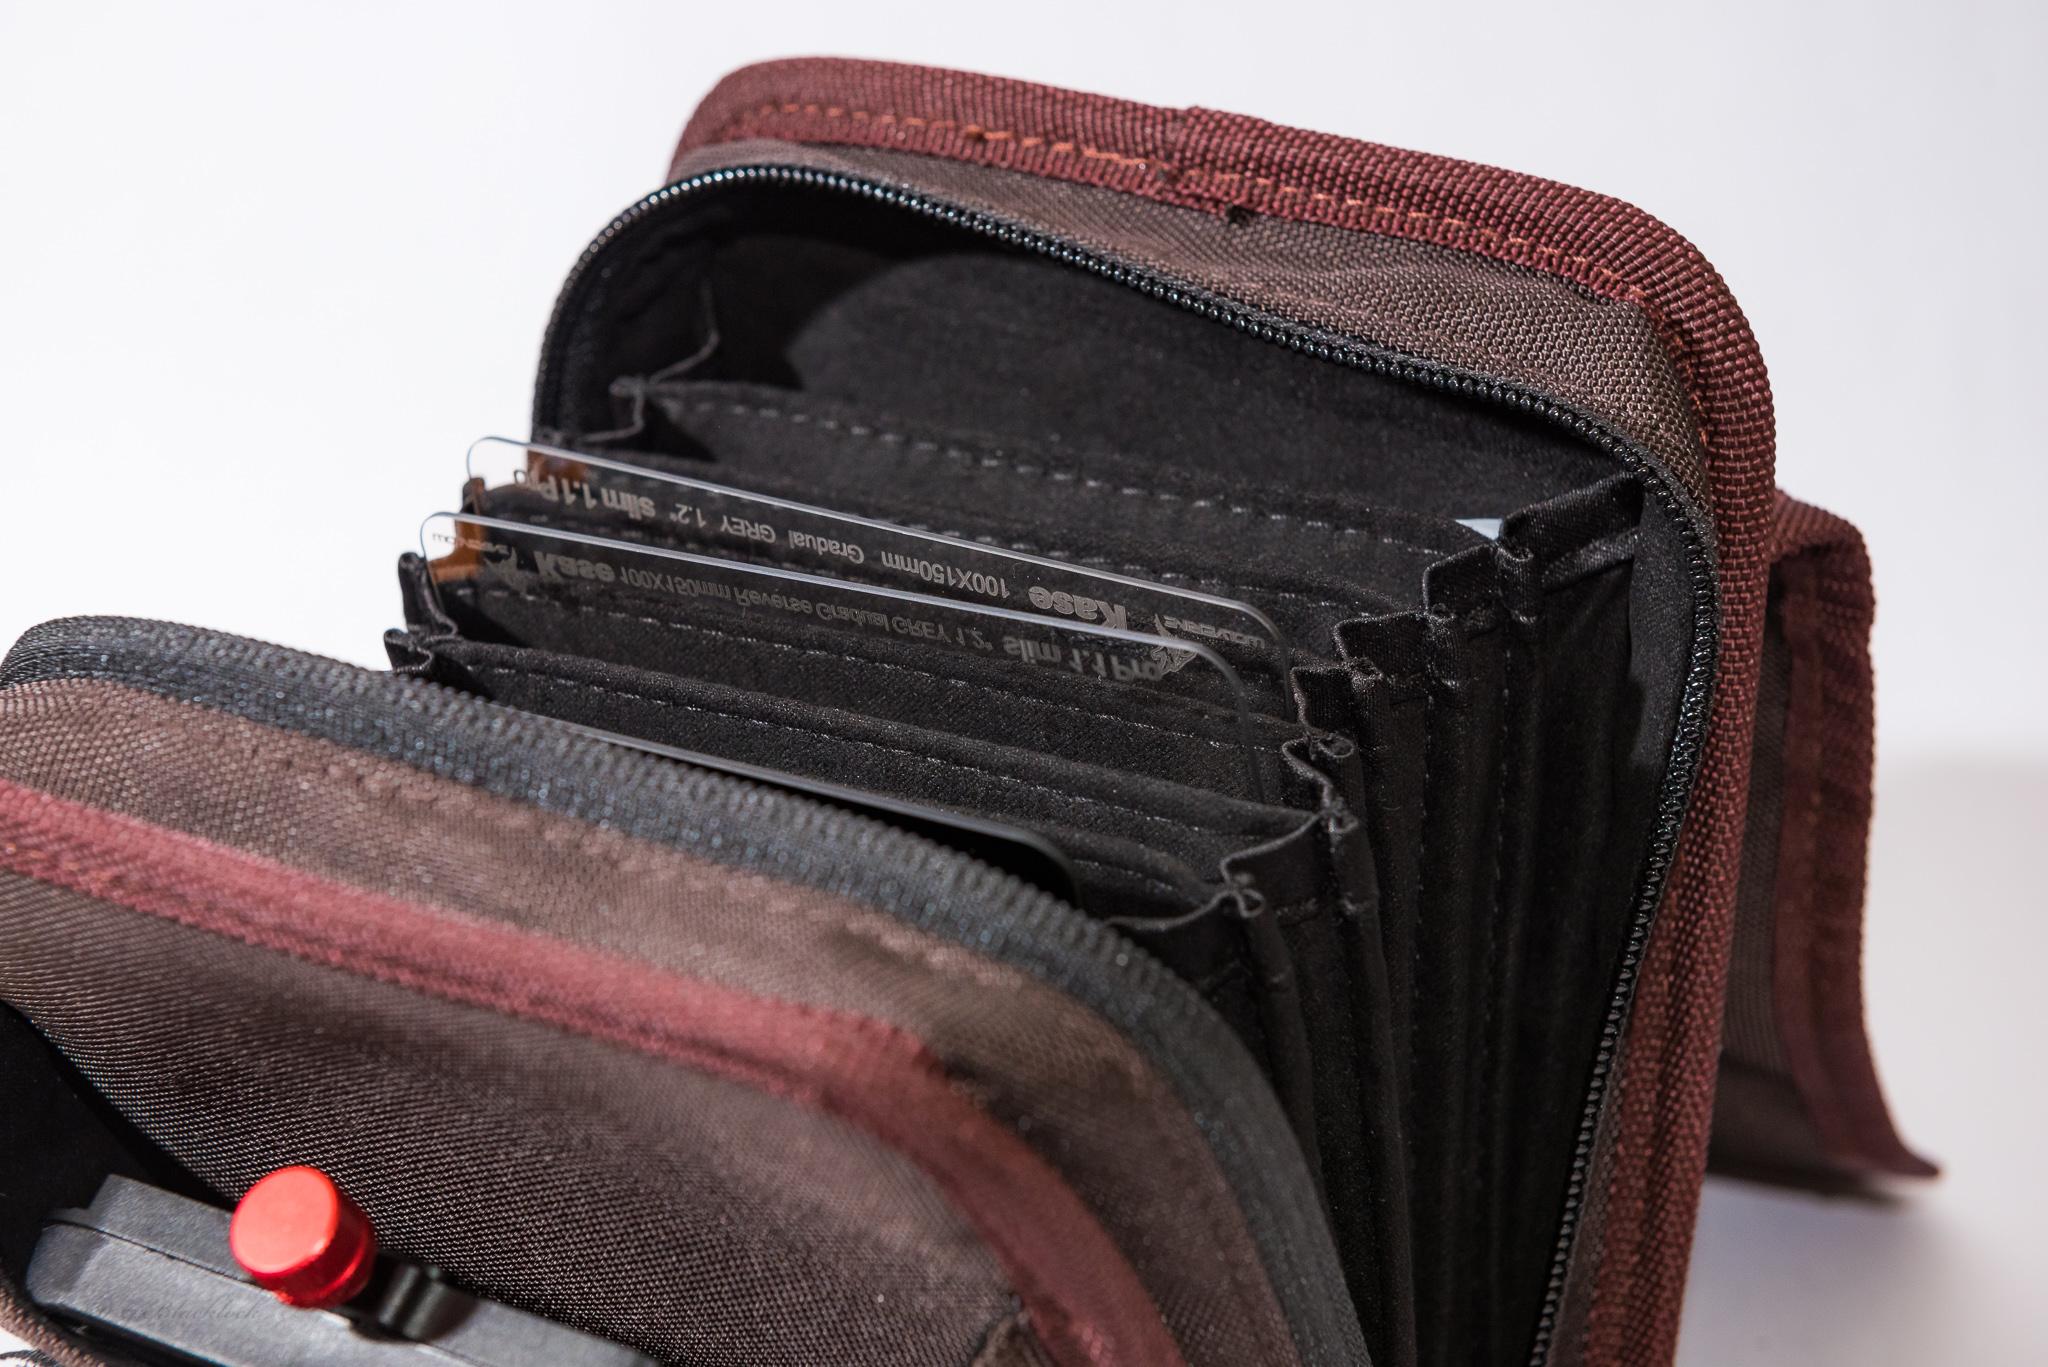
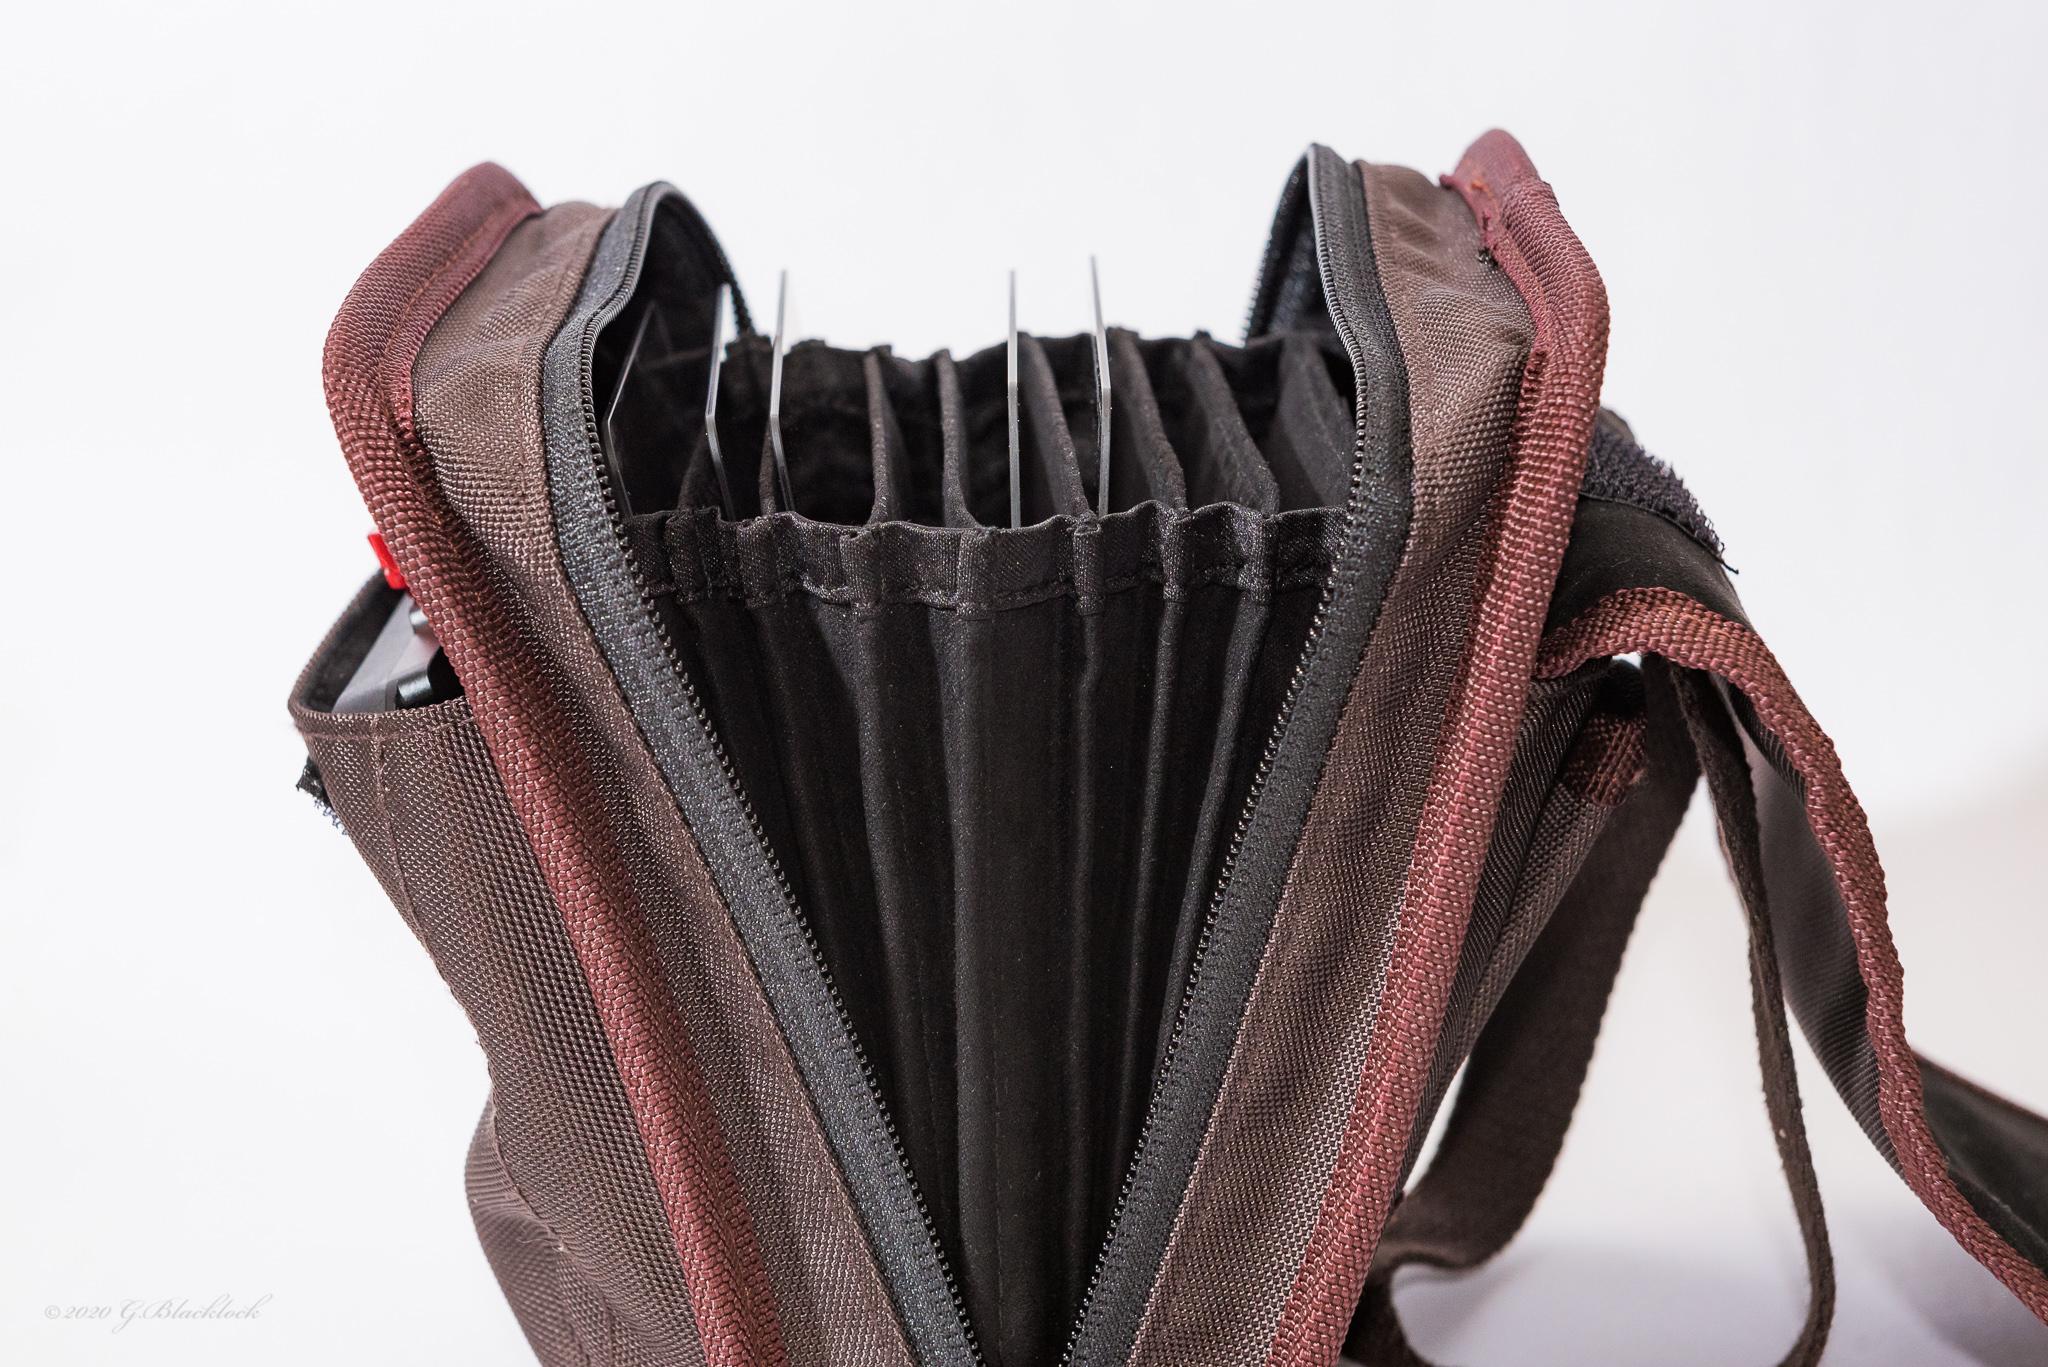
The filter pouch/bag is worth mentioning, its alittle large (too many slots) for my liking, however in terms of storing and access to the filters it works nicely and being a soft pouch means it more space efficient than the hard holders like the offering from NISI for example, the soft pouch, for me meant that it could be compressed nicely to go into on of my lens spots in my bag. The depth of the filter pouch slots is perfect, it means you can drop the filter in there and there is just enough filter protruding to grab hold of it and also read which filter you have – on the topic of the filter text – I kind of wished they made this a bit larger and/or easier to read, I ain’t stoneage yet, but i was squinting to try and work out which filter was which in the pouch 🙂
Overall, the more I used these filters and the system, the more I liked them, it’s worth mentioning that for me it was not a natural progression in some ways, there was a learning curve to ensure things are fitted properly and secure (both the holder and also getting filters into the slots). I suspect this would be the same when switching to any of the newer filter systems, ie the Nisi V6 or the newer offering from Lee moreso when changing between filter system with differing attachment and adjustment methods, there will always be some level of user familiarity required which takes some time to become accustomed to – the litmus test being to a level where you can do it in the dark with freezing hands 🙂
At the end of the day for me, the differences in filter systems and in the case of the Kase system (you like that one – I been hanging to use it!) come down to better quality optics in the filters (colour cast aside), usability aspects, ie can things be done in the dark when waiting for first light to turn up, durability and lack of vignetting, The Kase system captures all these aspects well, noting that durability is a bit hard to confirm this early on and I would be happy to use the K9 holder, CPL and the Wolverine filters as my daily grind.
There are several sample images from over the month or so I used the filters and system, they have had varying levels of processing and there are some comparisons between my old Lee system and the Kase system. Also, in addition to the images above there are some further product shots of the filters and holder (be kind, i do not really do product shots at all).
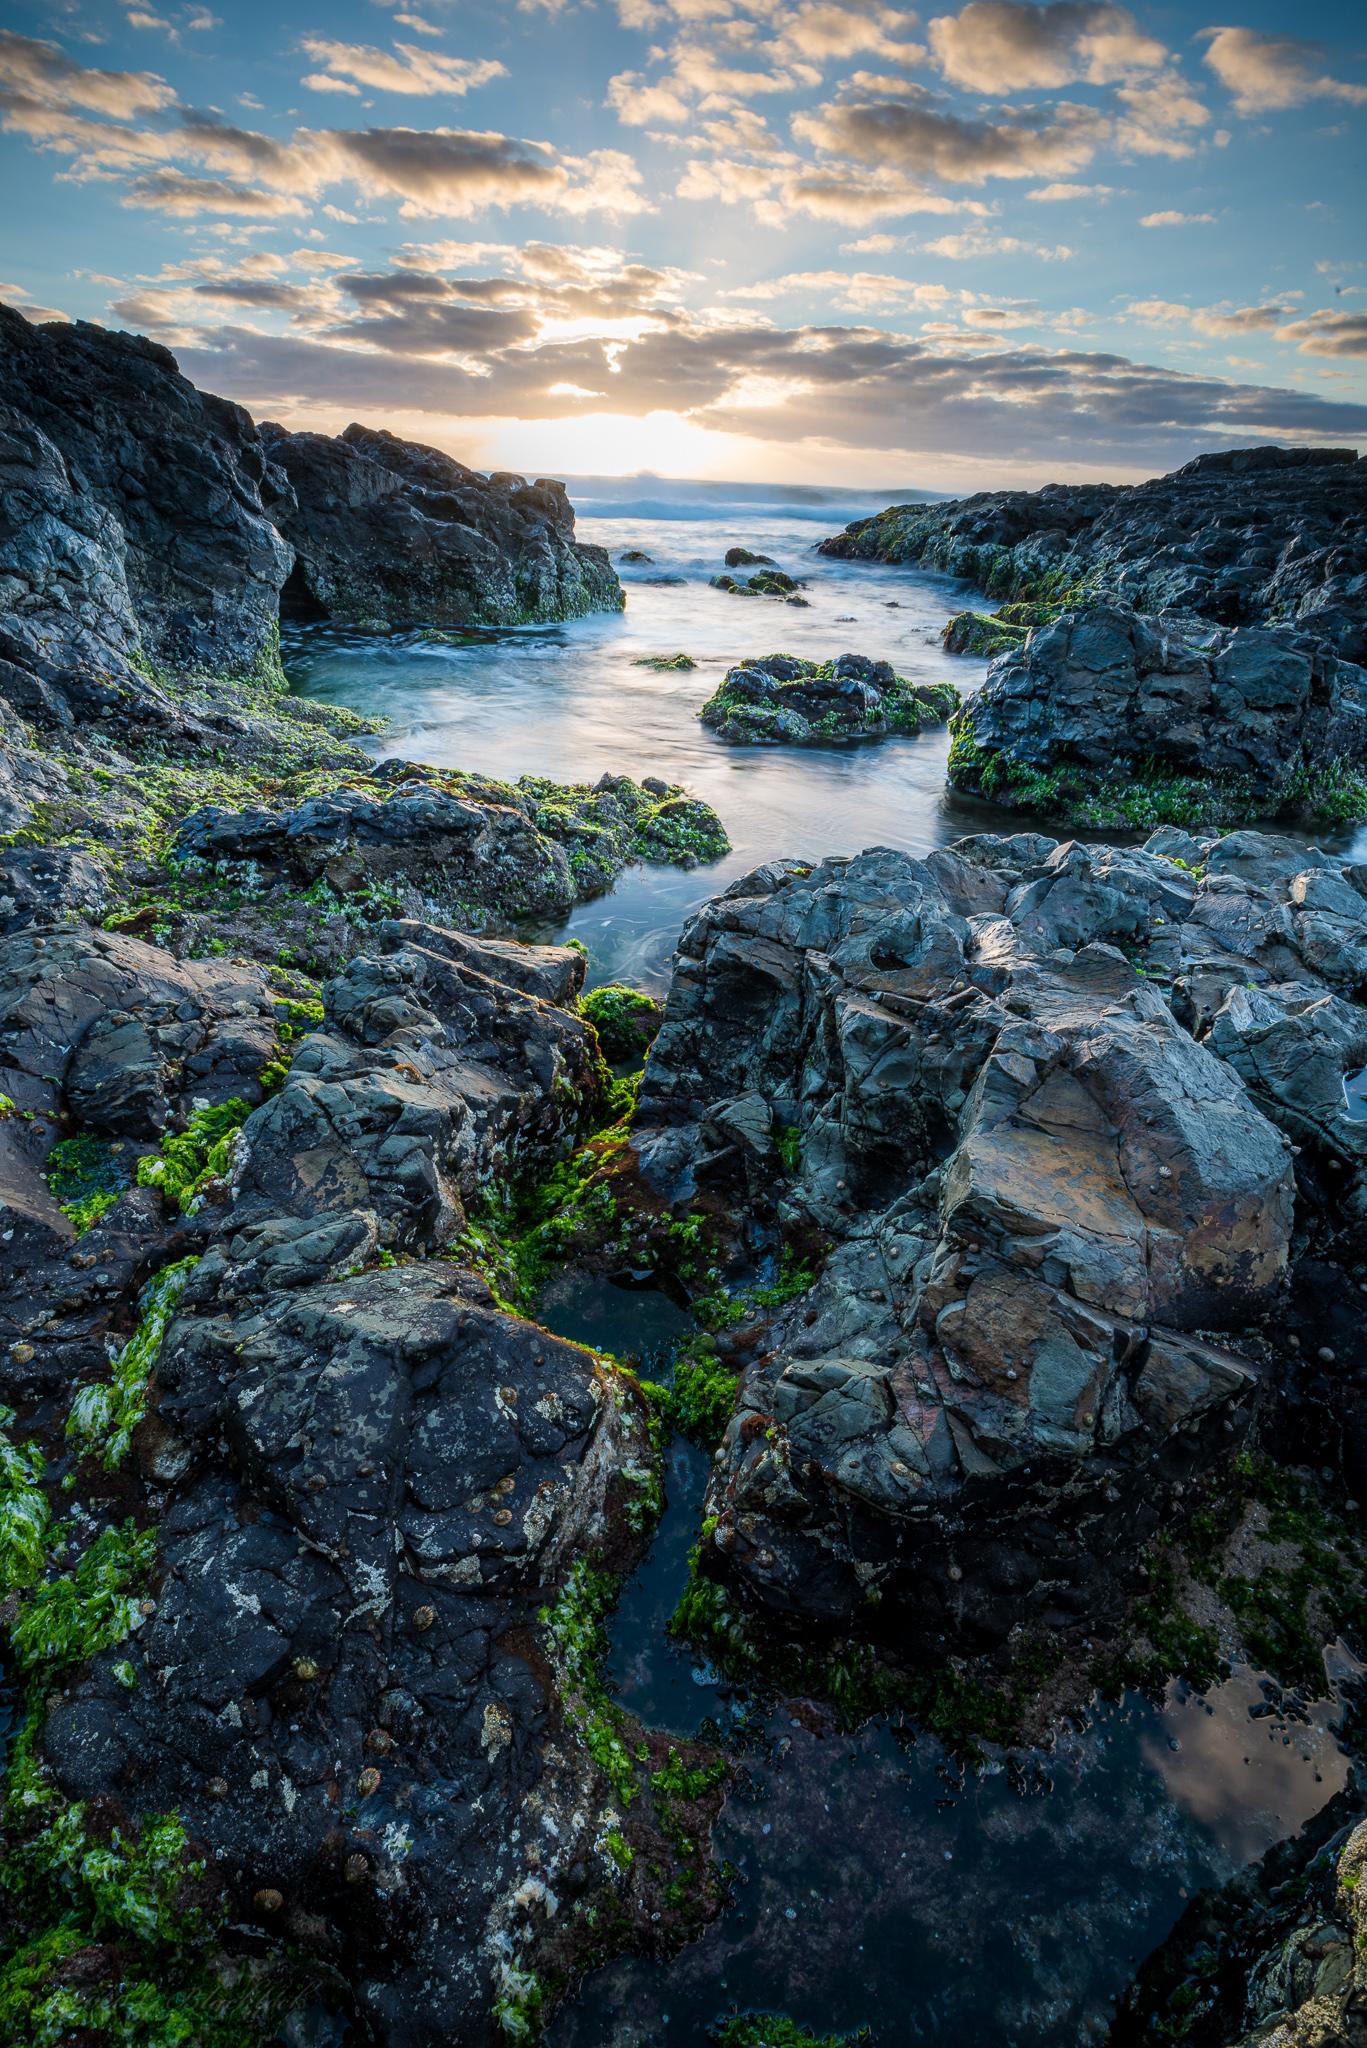
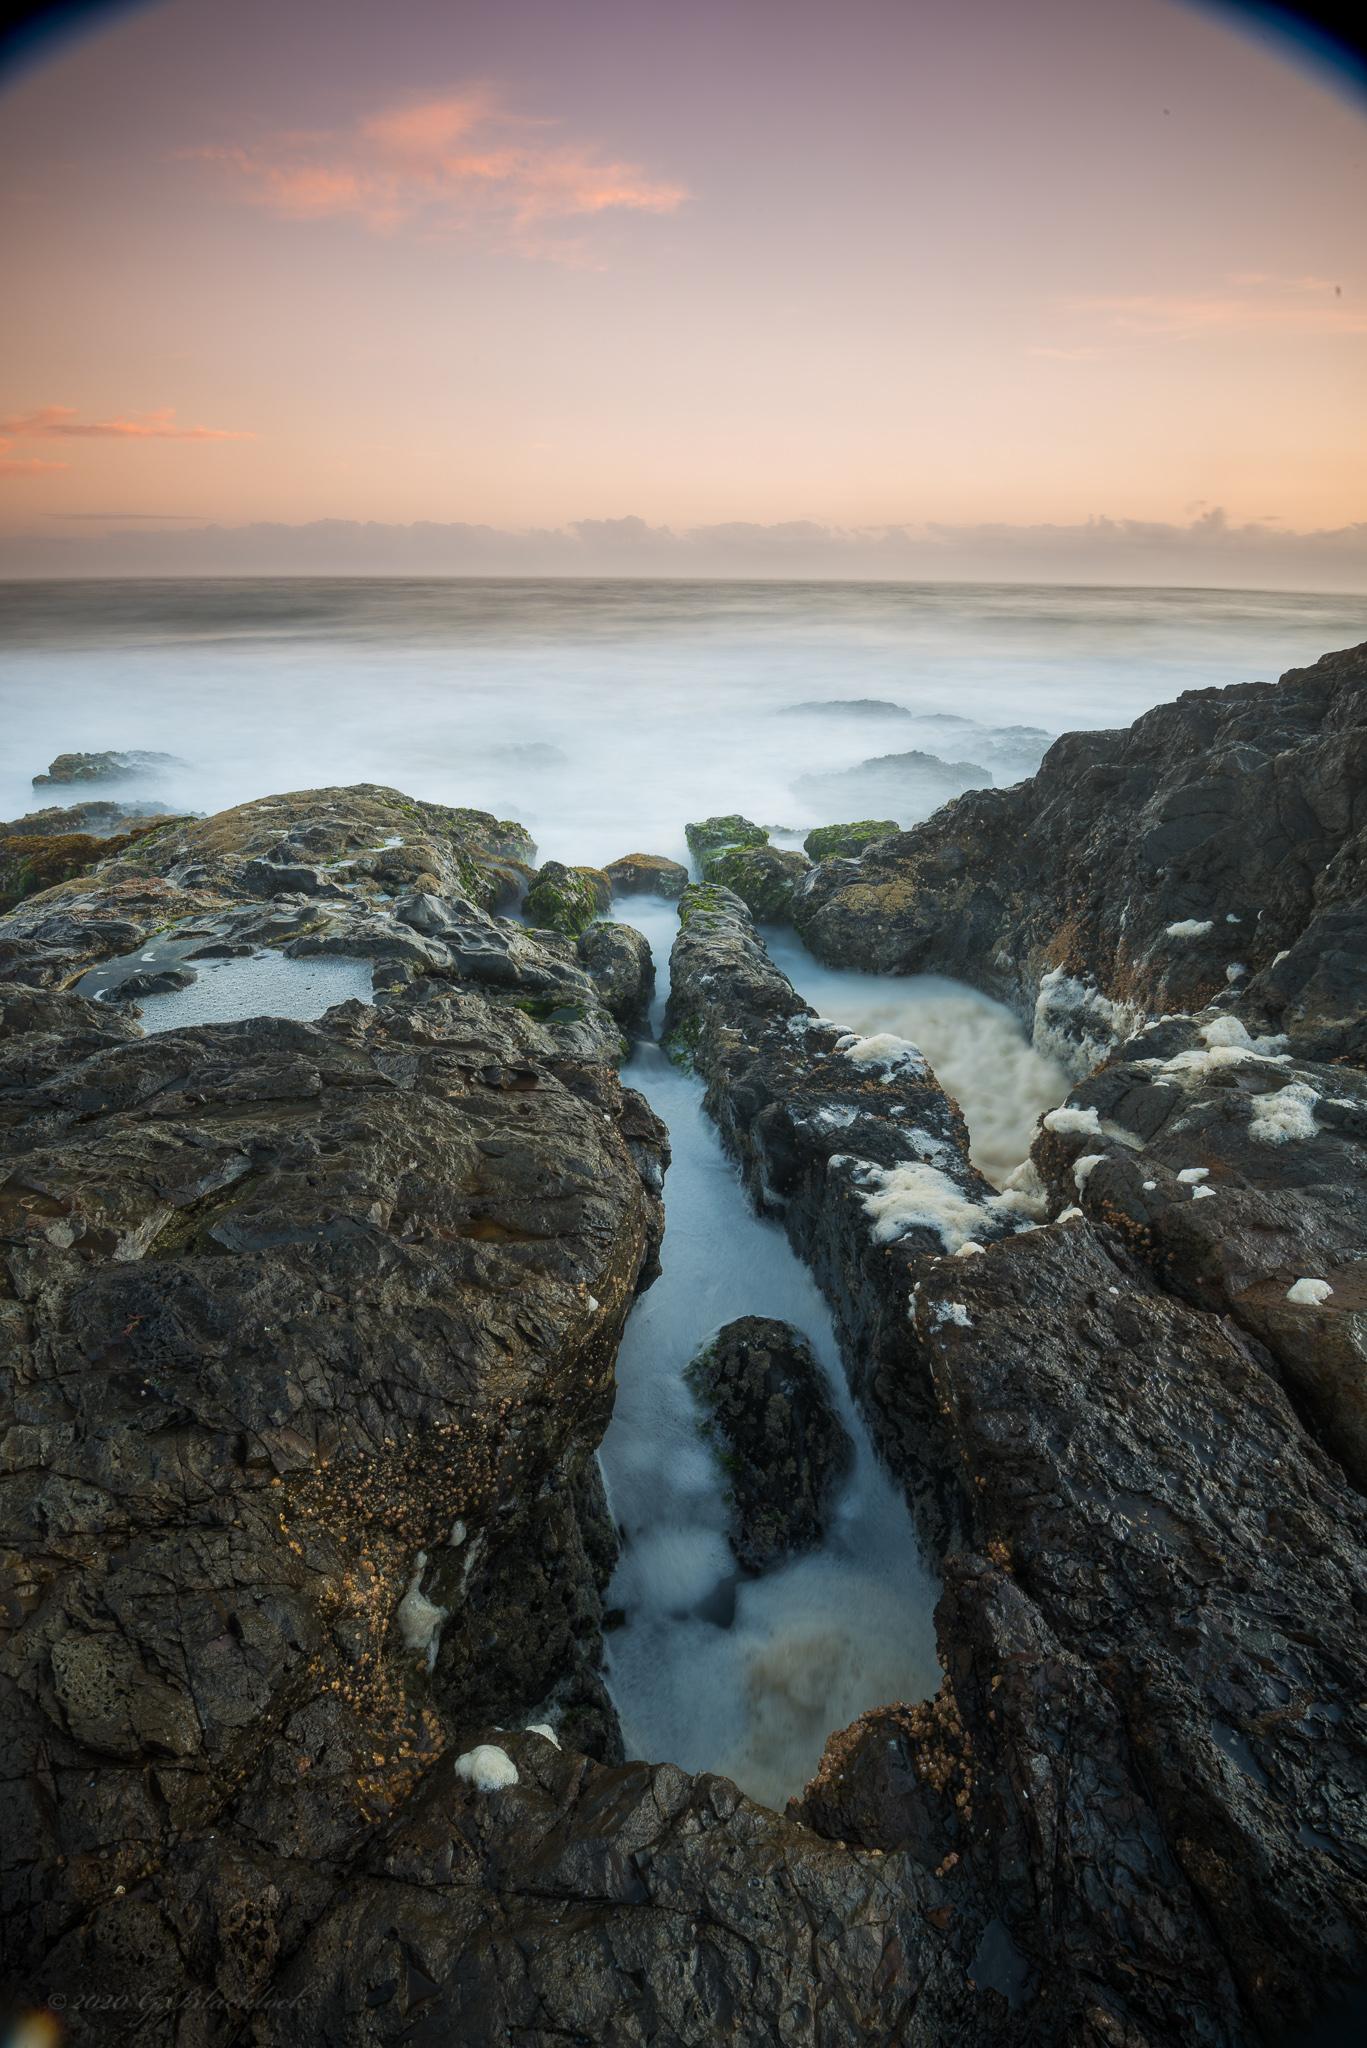
Sample – Kase RH – (1.2 Gradual Grey Soft and ND1000 / ND3.0 (10 stops) Neutral Density (ND)) – Lens: Nikkor 16-35 f/4 @ 16mm, f14 and 182s
Botany Bay, NSW, Australia
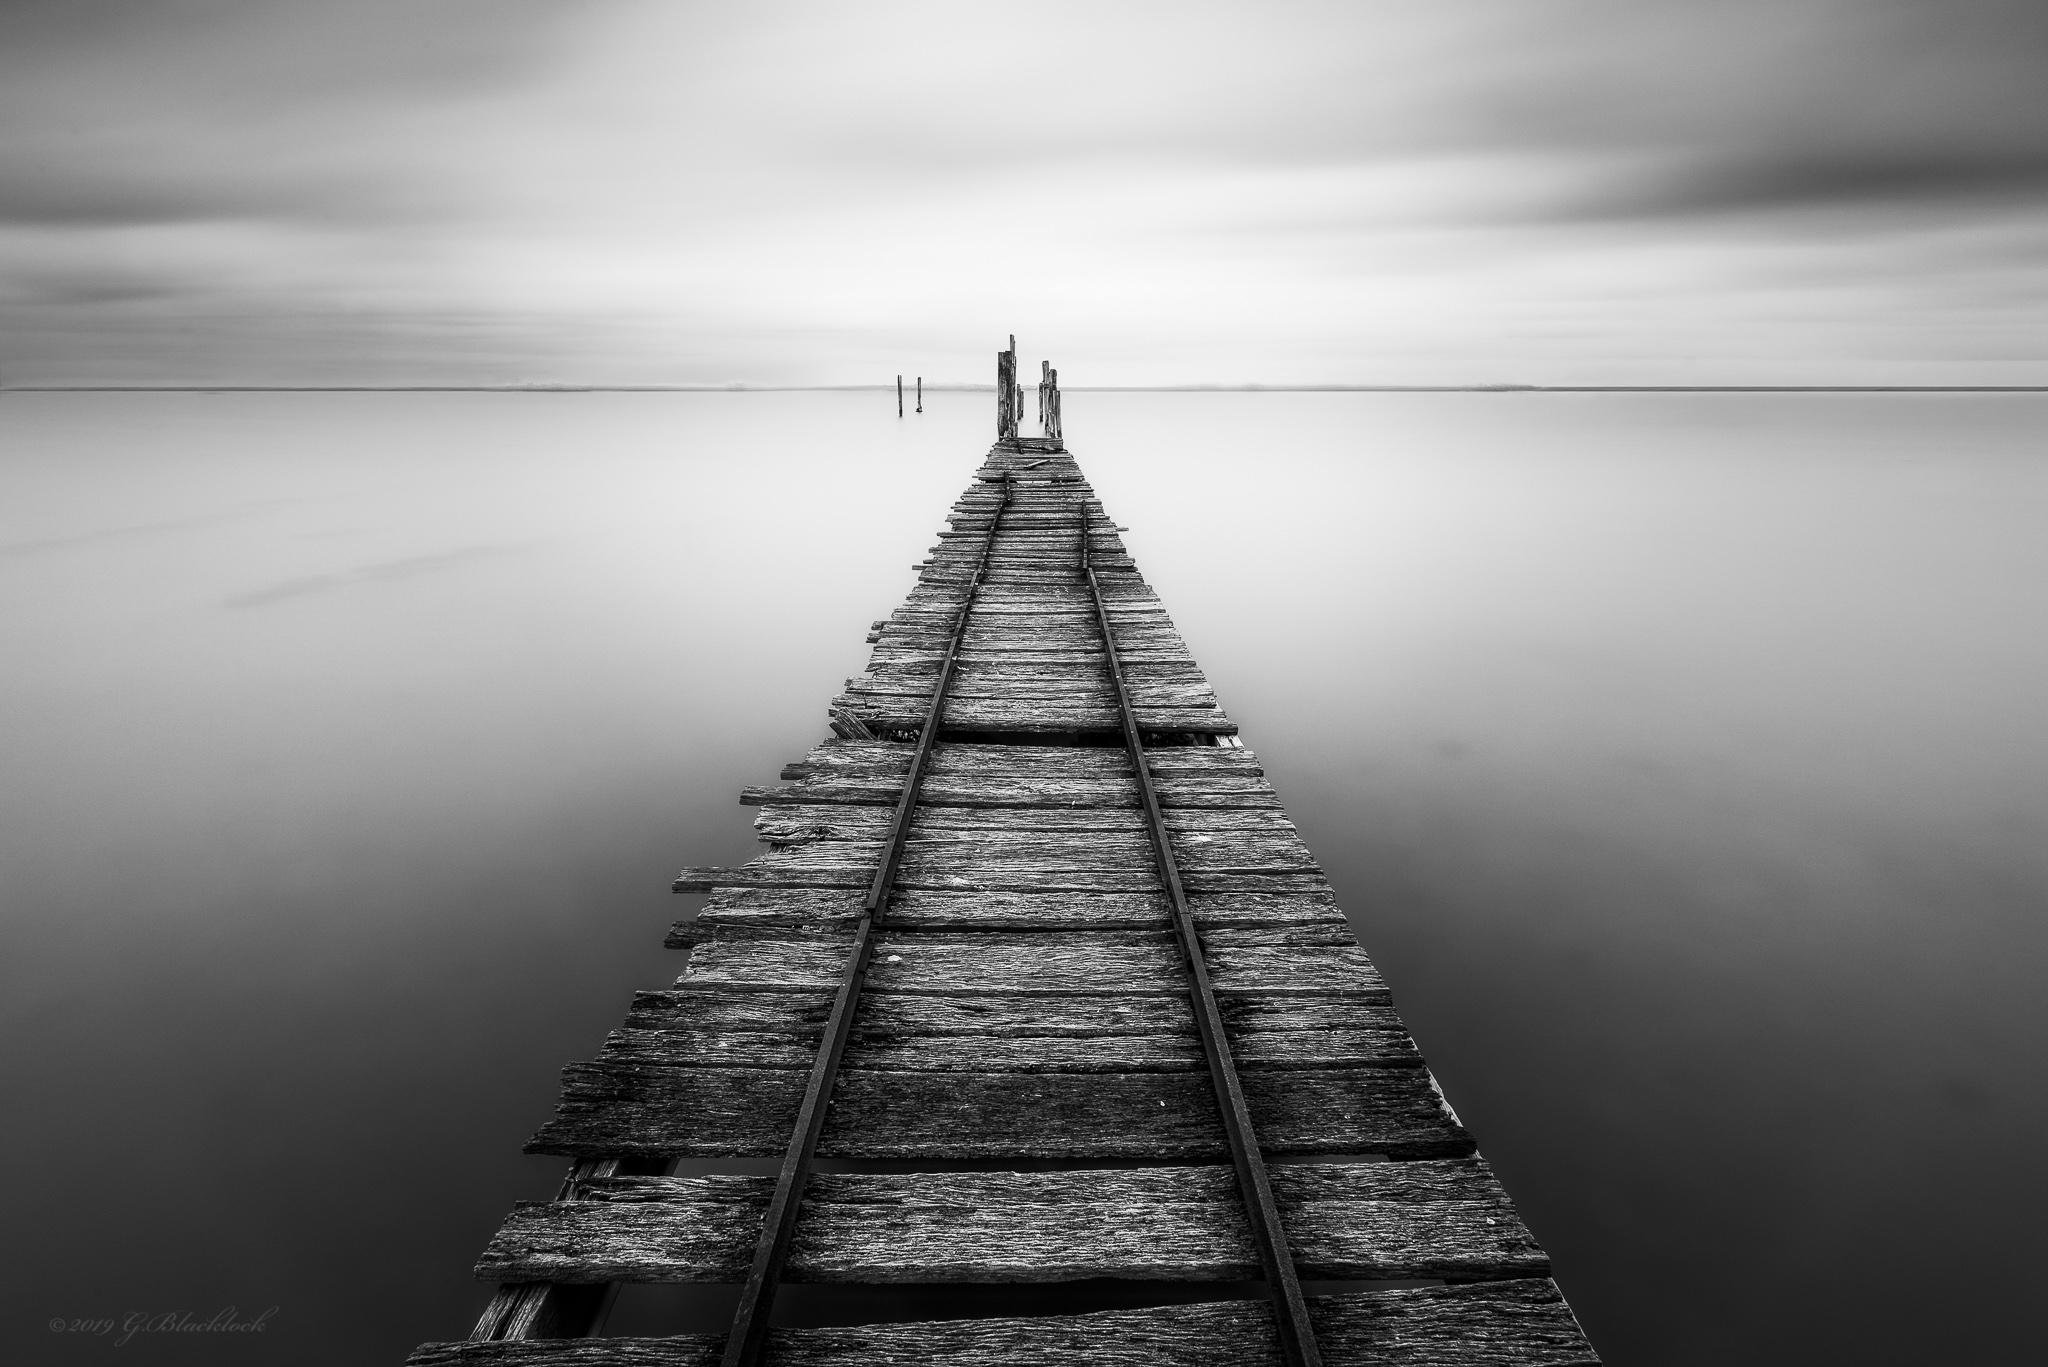

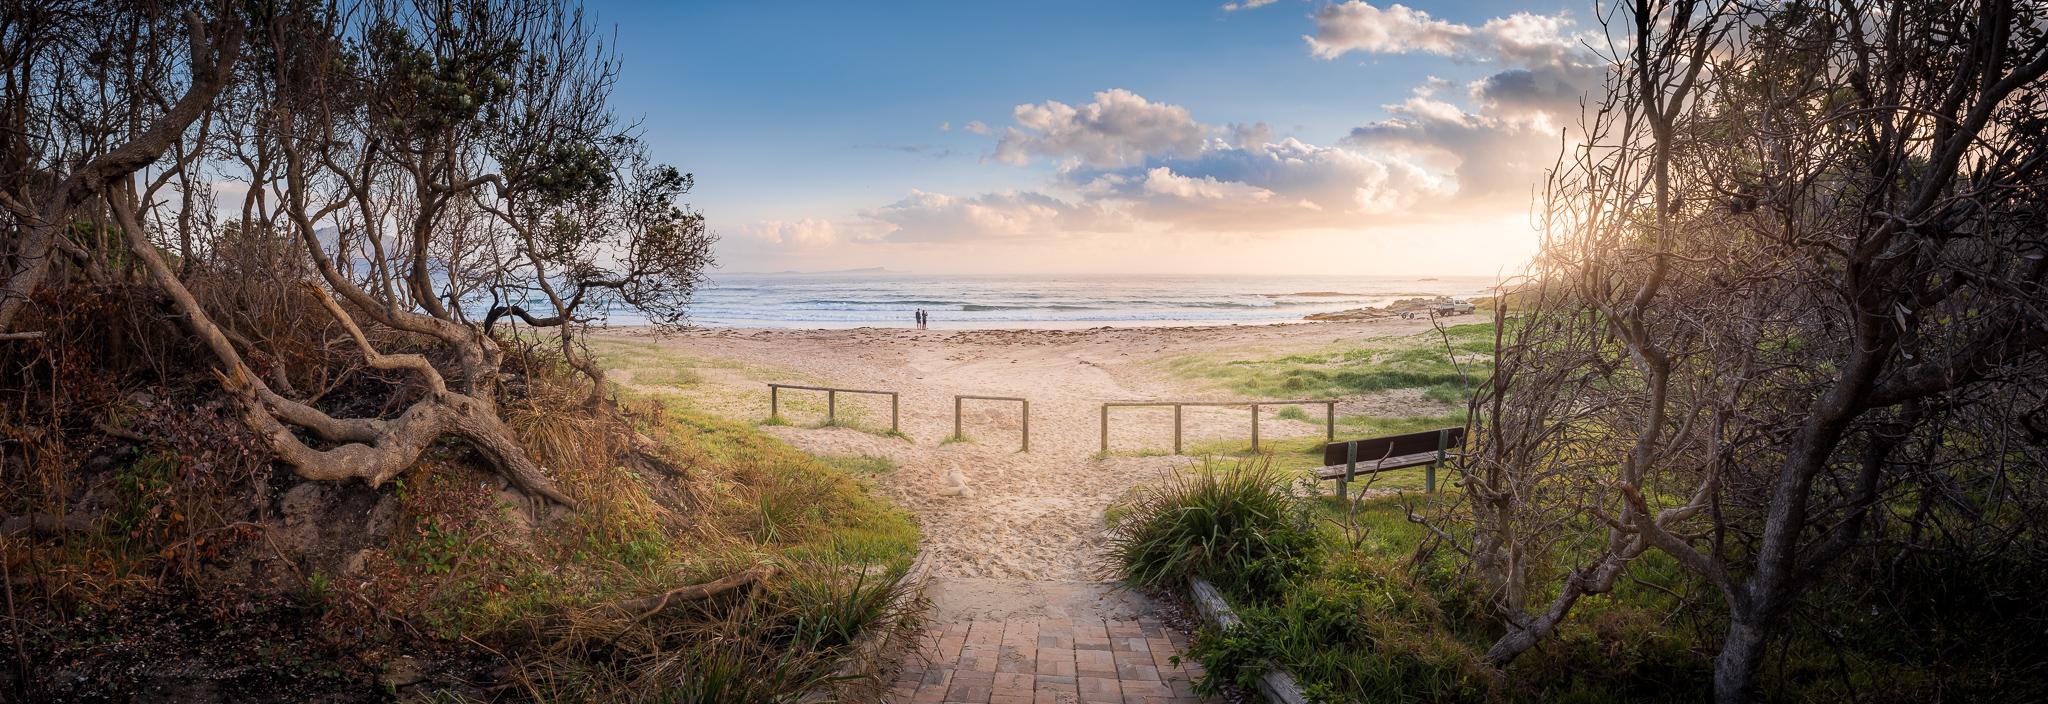
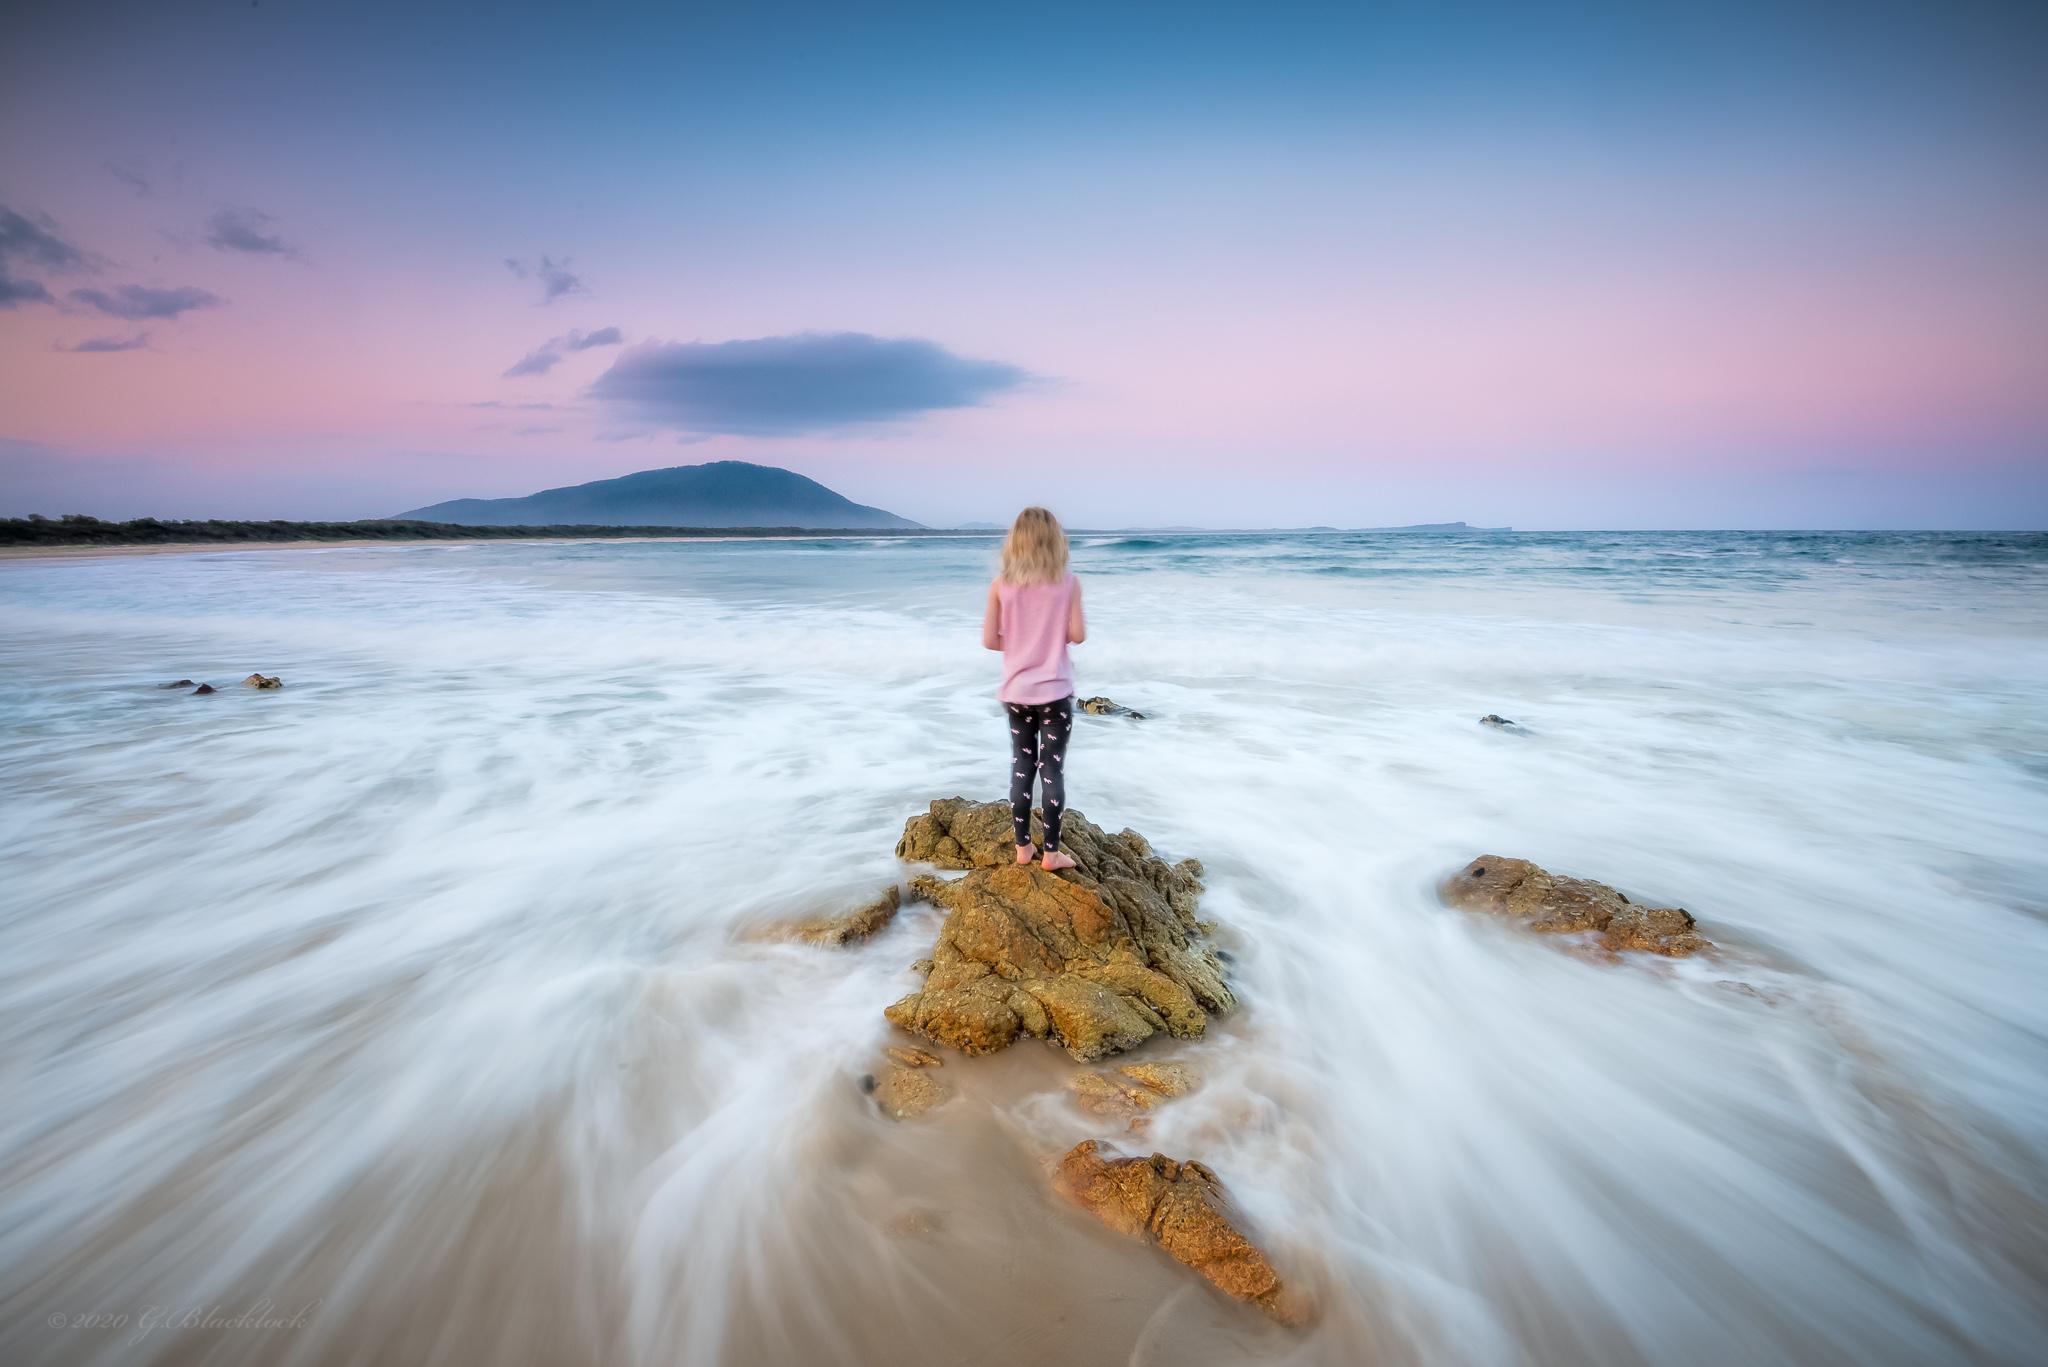
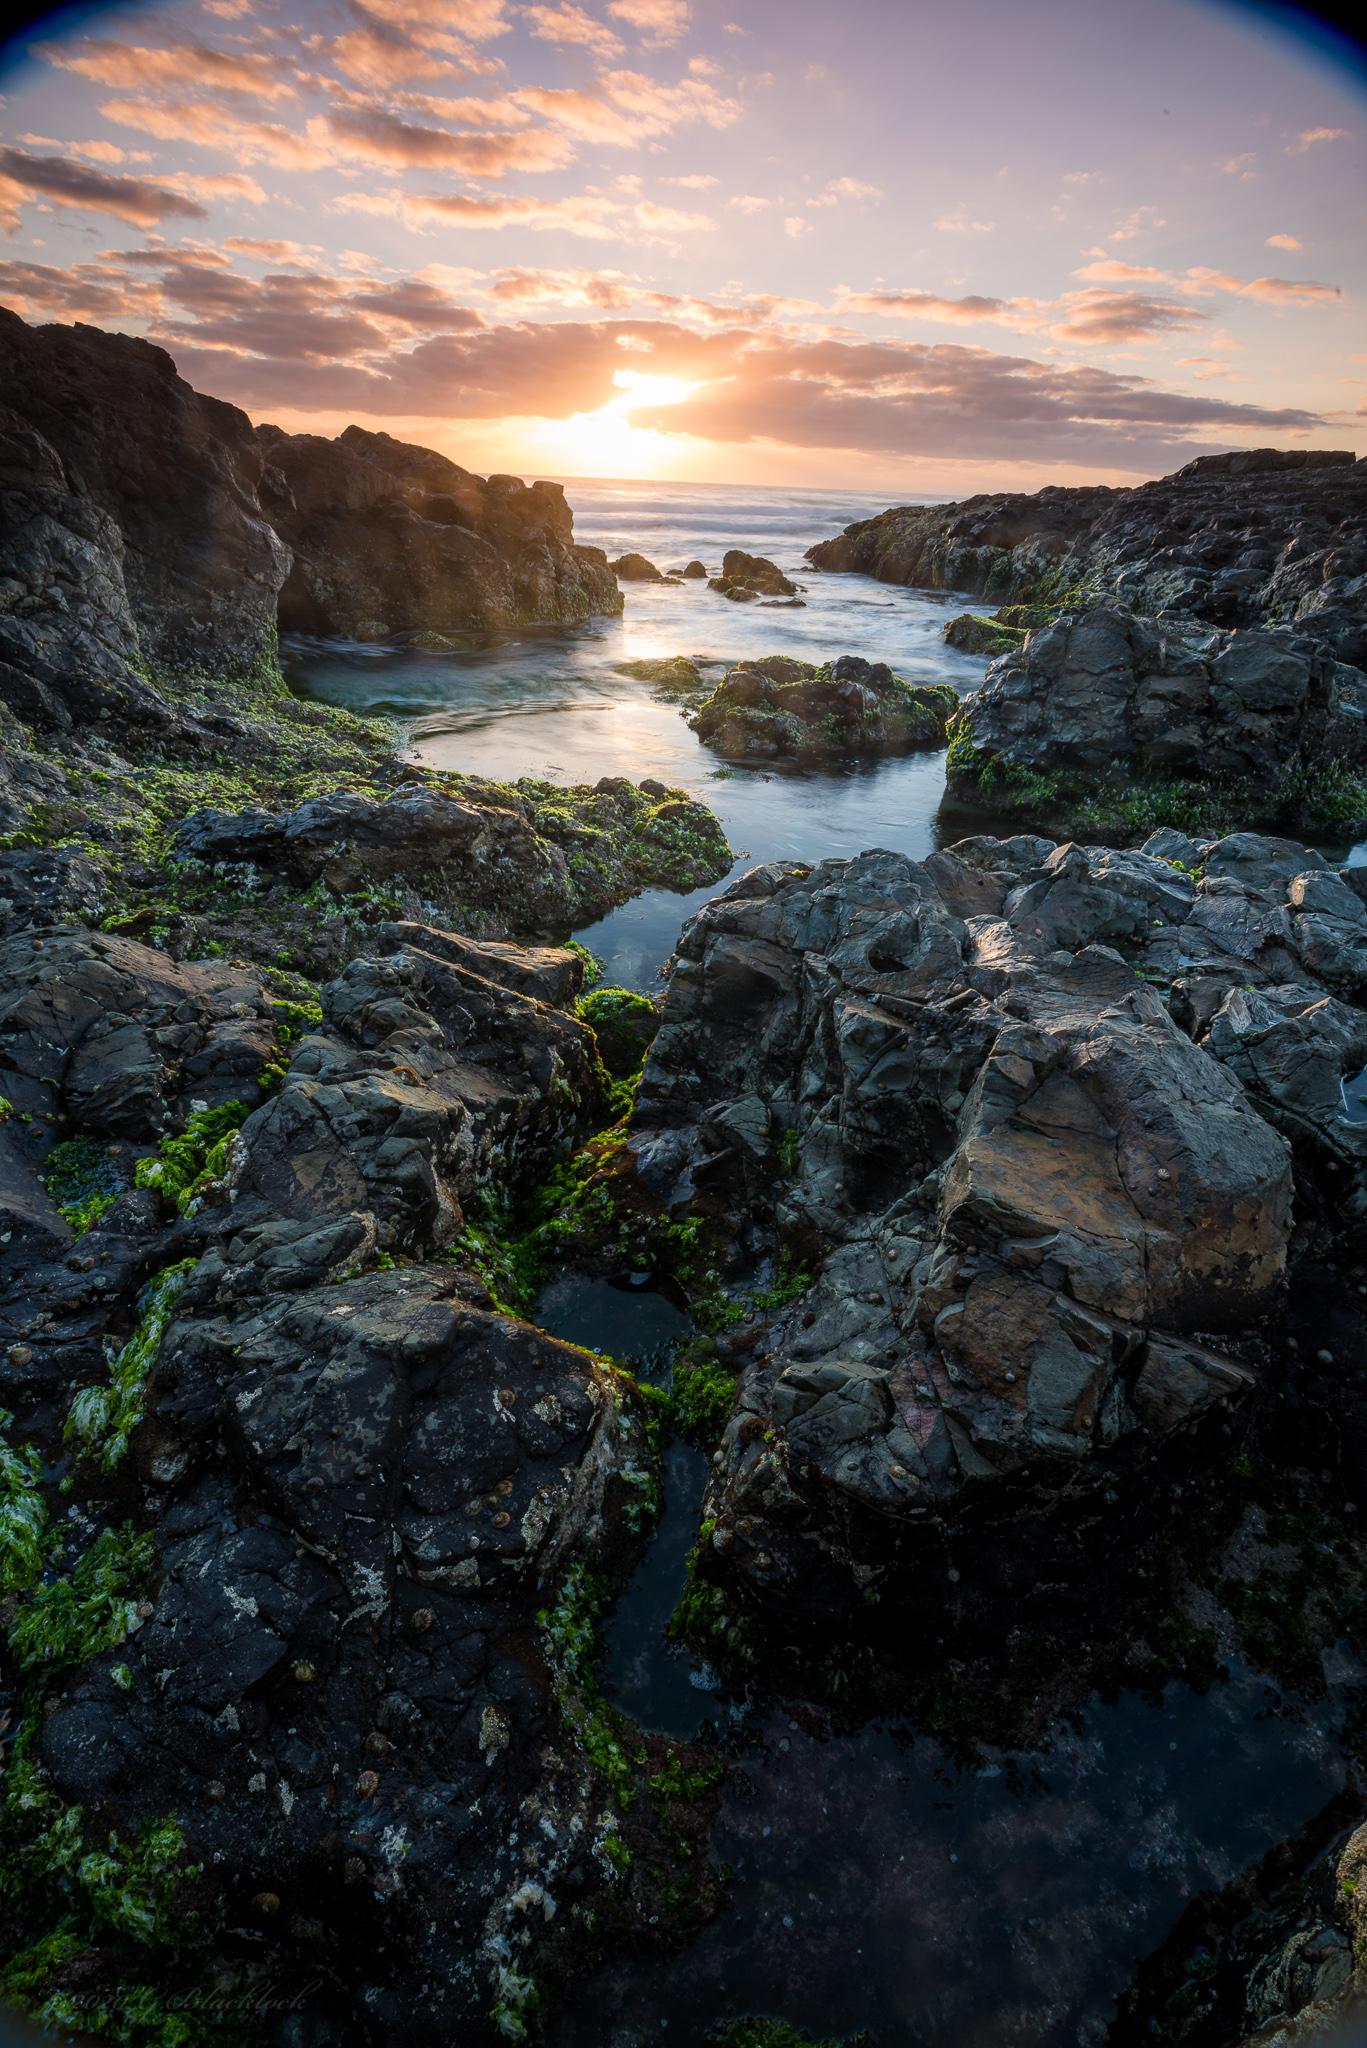
Sample – Kase 1.2 Gradual Grey Soft – Lens: Nikkor 16-35 f/4 @ 16mm, f16 and 1s
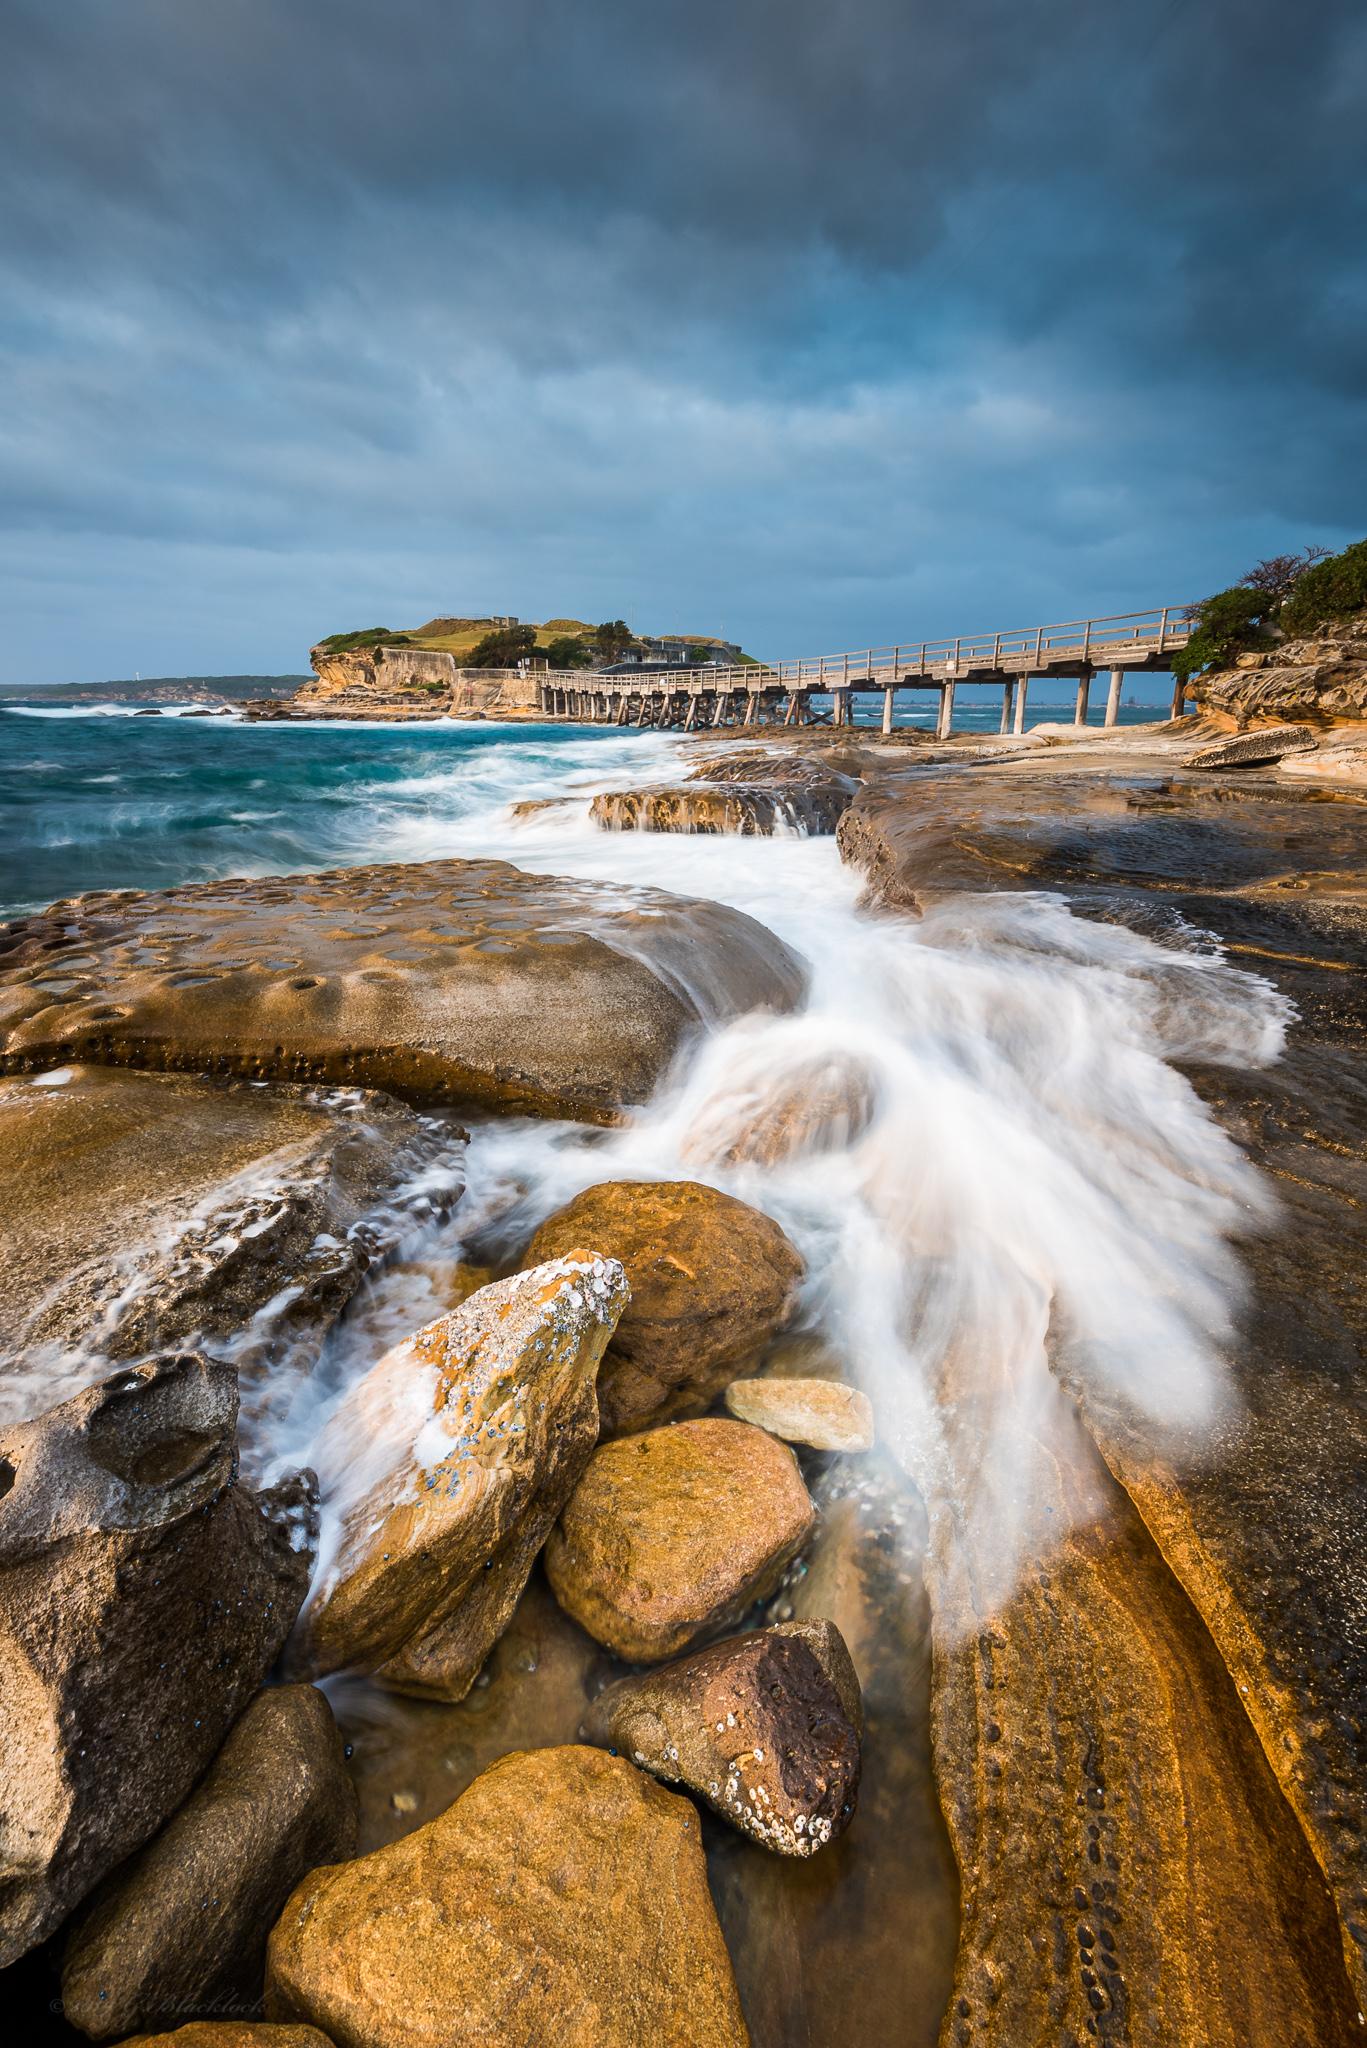
Bare Island, Sydney, NSW, Australia
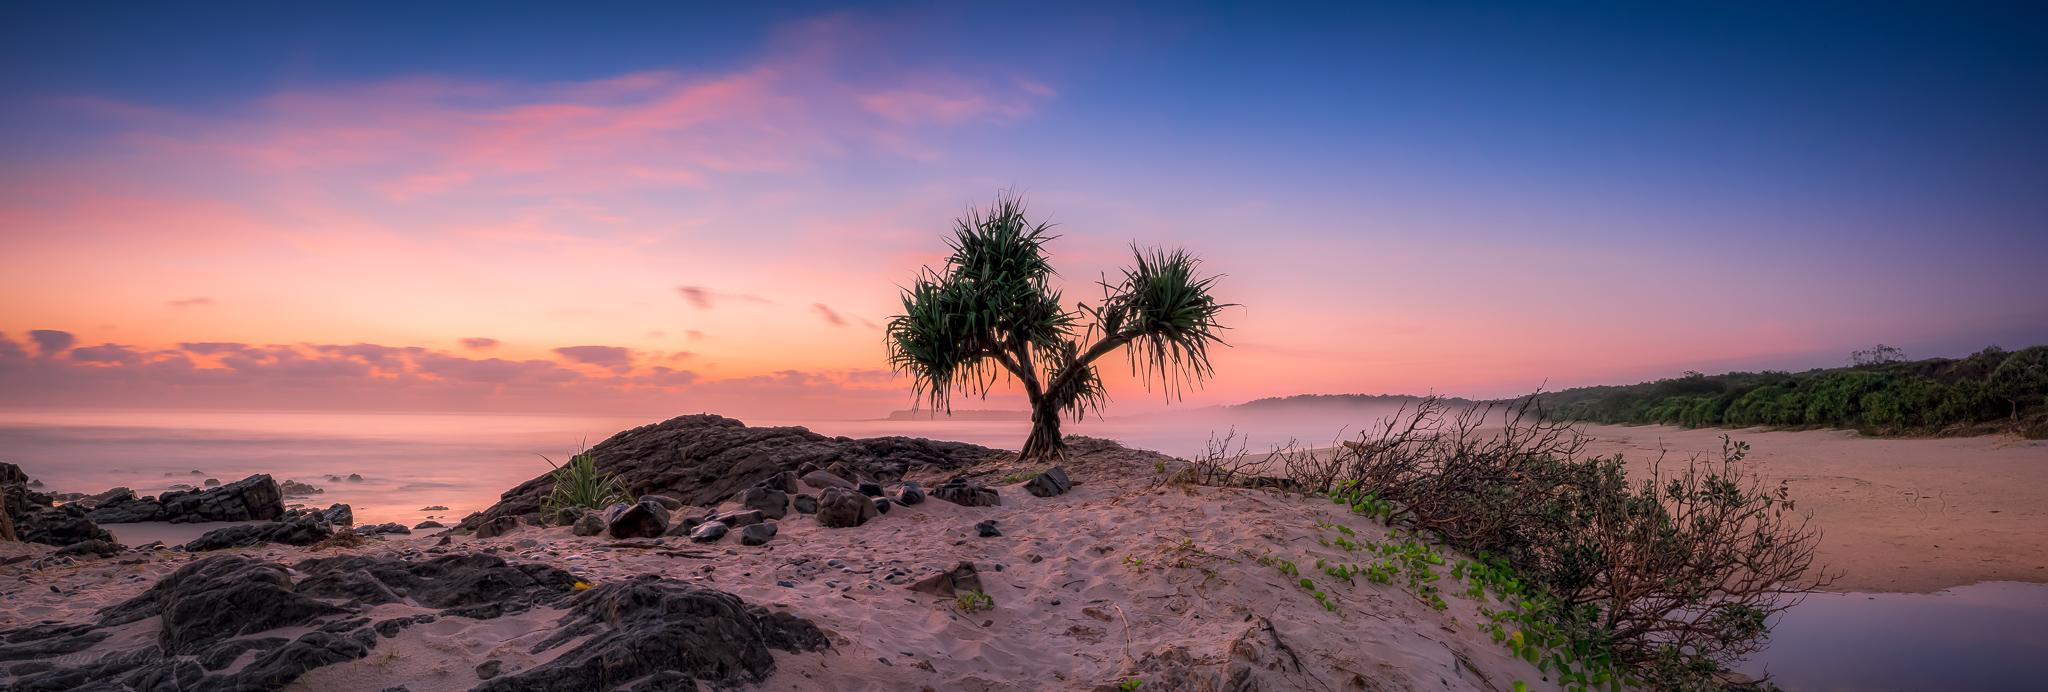
Sample – Kase 1.2 Gradual Grey Soft – Lens: Nikkor 16-35 f/4 @ 16mm, f14 and 20s 4 images stitched
Chinamans Beach, Evans Head, NSW, Australia
Sample – Kase 1.2 Gradual Grey Soft – Lens: Nikkor 24-70 f/2.8 @ 16mm, f7.1 and 1/125s 7 images stitched
Dunbogan Beach, Diamond Head, NSW, Australia
Sample – Kase LH – (1.2 Gradual Grey Soft and ND1000 / ND3.0 (10 stops) Neutral Density (ND)) vs Lee RH (0.9 Gradual Soft) and Lee Bigstopper – Lens: Nikkor 16-35 f/4 @ 16mm, f11 and 303s ISO 200
Note: I have added extra vignetting on Kase version and its still got much brighter corners, its also a bit of an inconsistent comparison due to the changing light of sunrise and the super long exposures.
Bare Island, Sydney, NSW, Australia


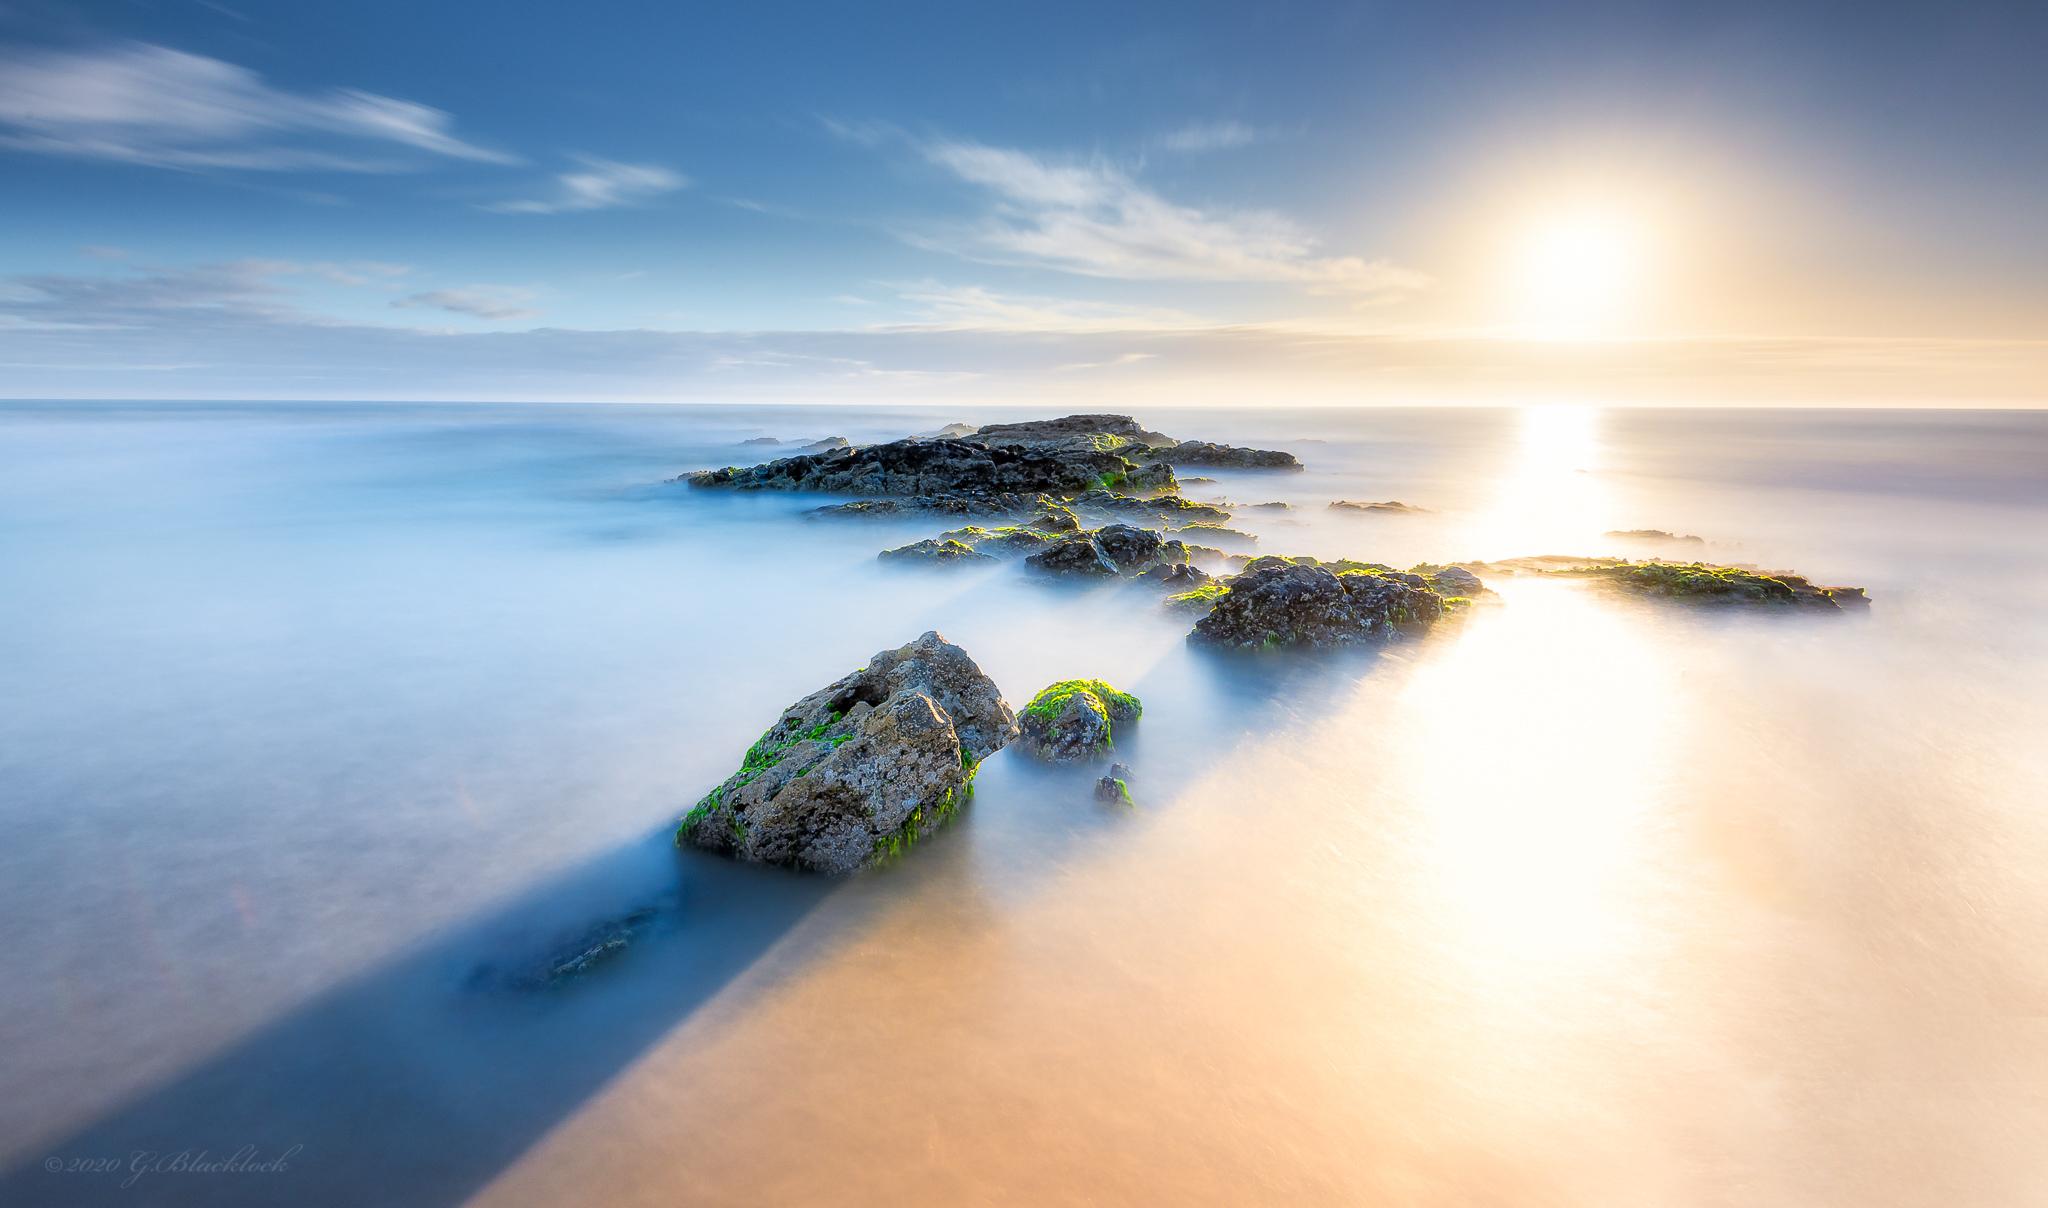
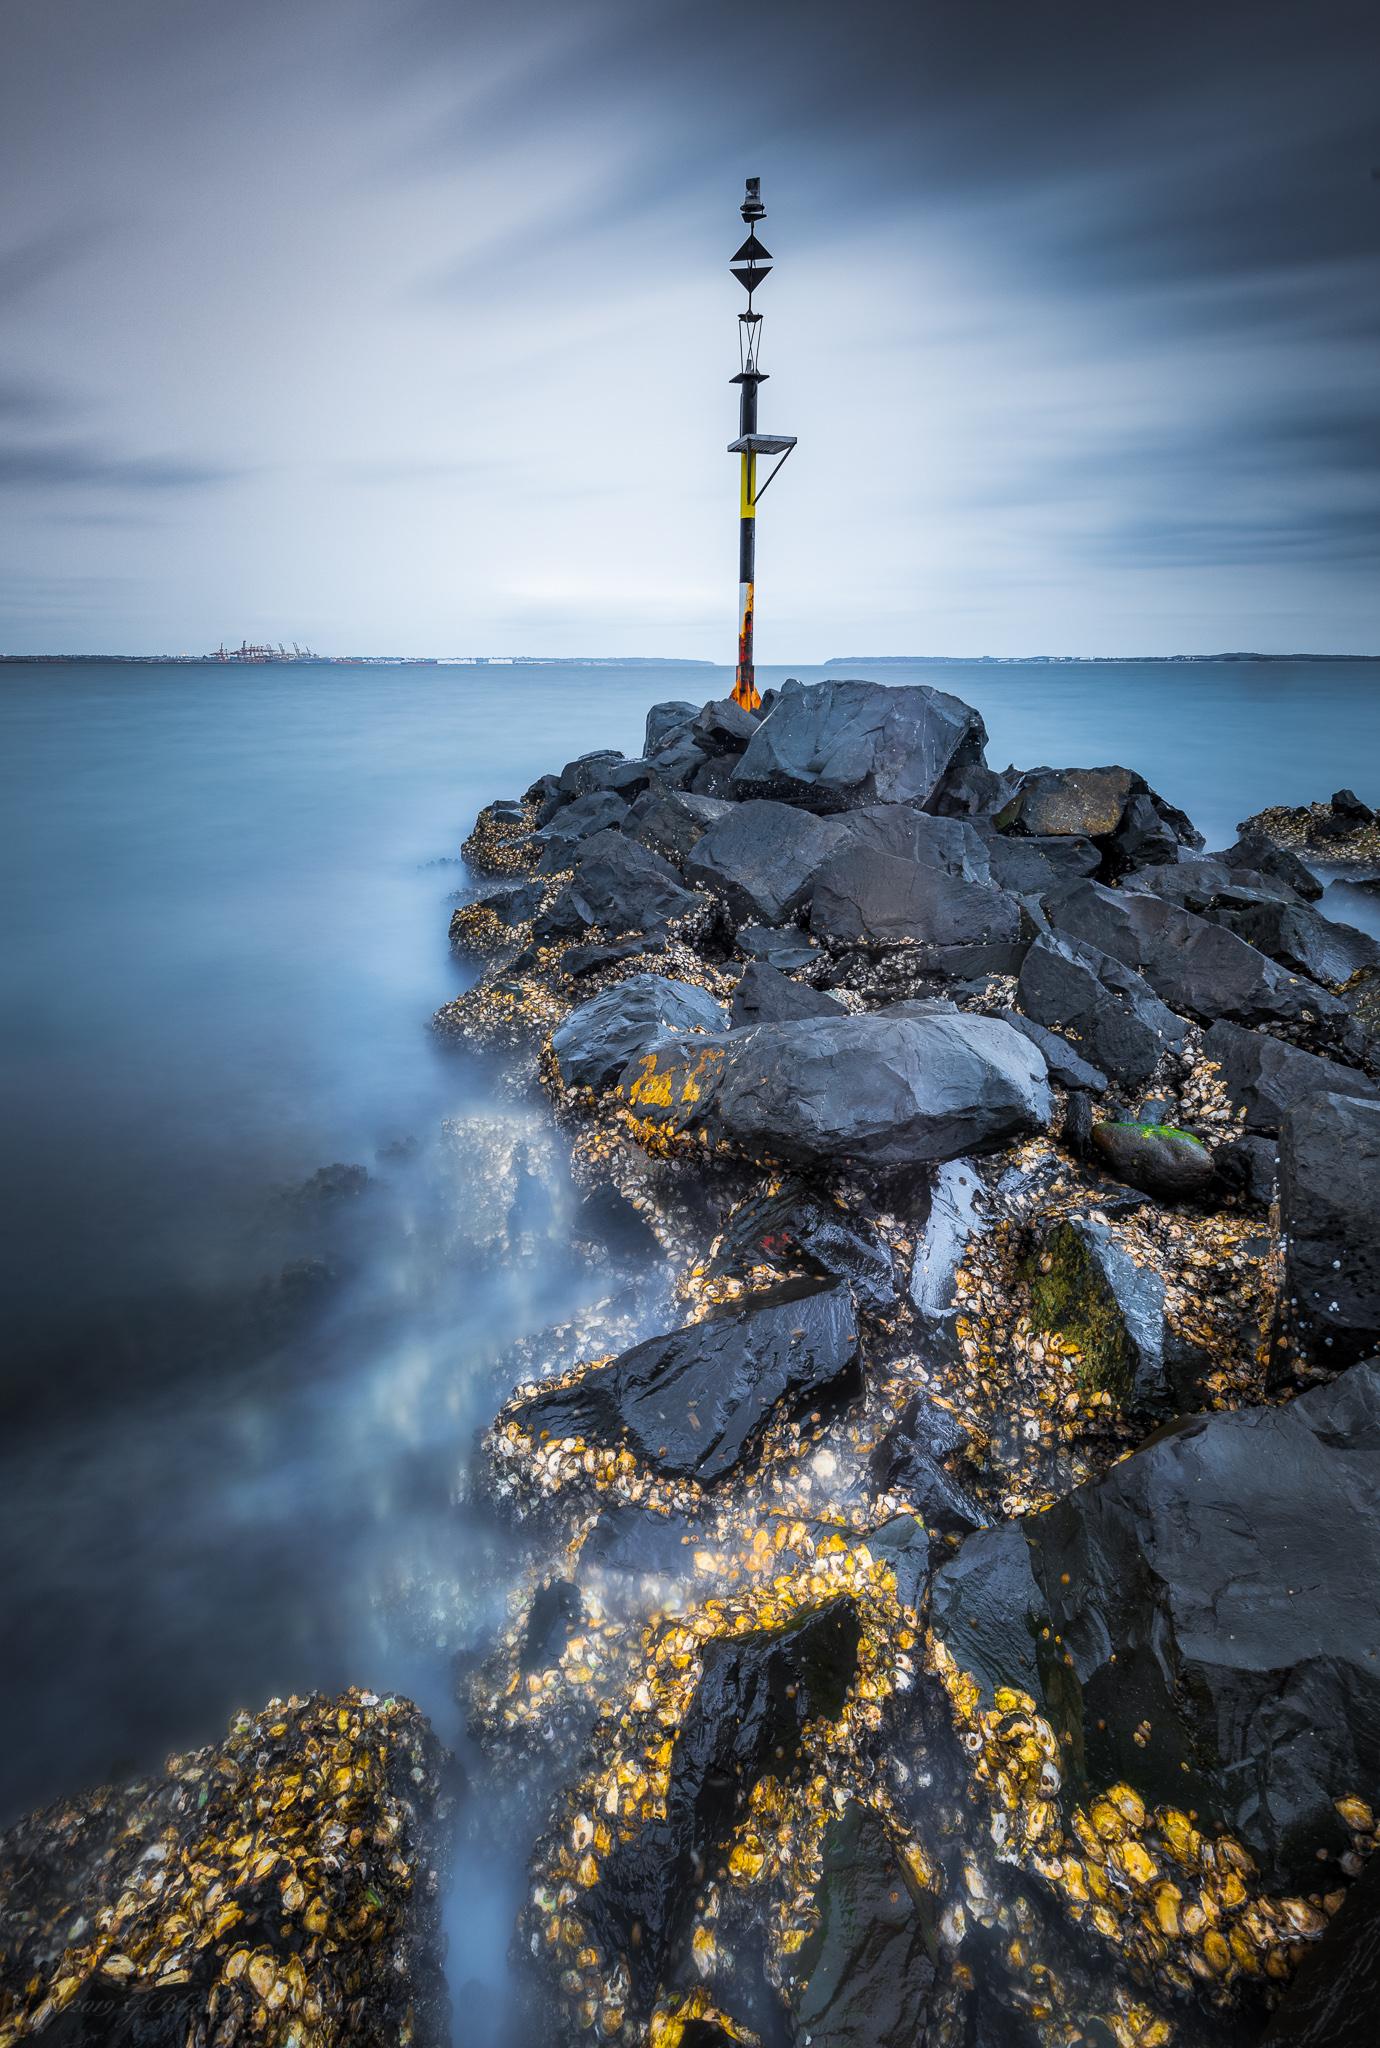
Sample – Kase (1.2 Gradual Grey Soft and ND1000 / ND3.0 (10 stops) Neutral Density (ND) w/ CPL) – Lens: Nikkor 16-35 f/4 @ 16mm, f14 and 121s
Goanna Headland, Evans Head, NSW, Australia
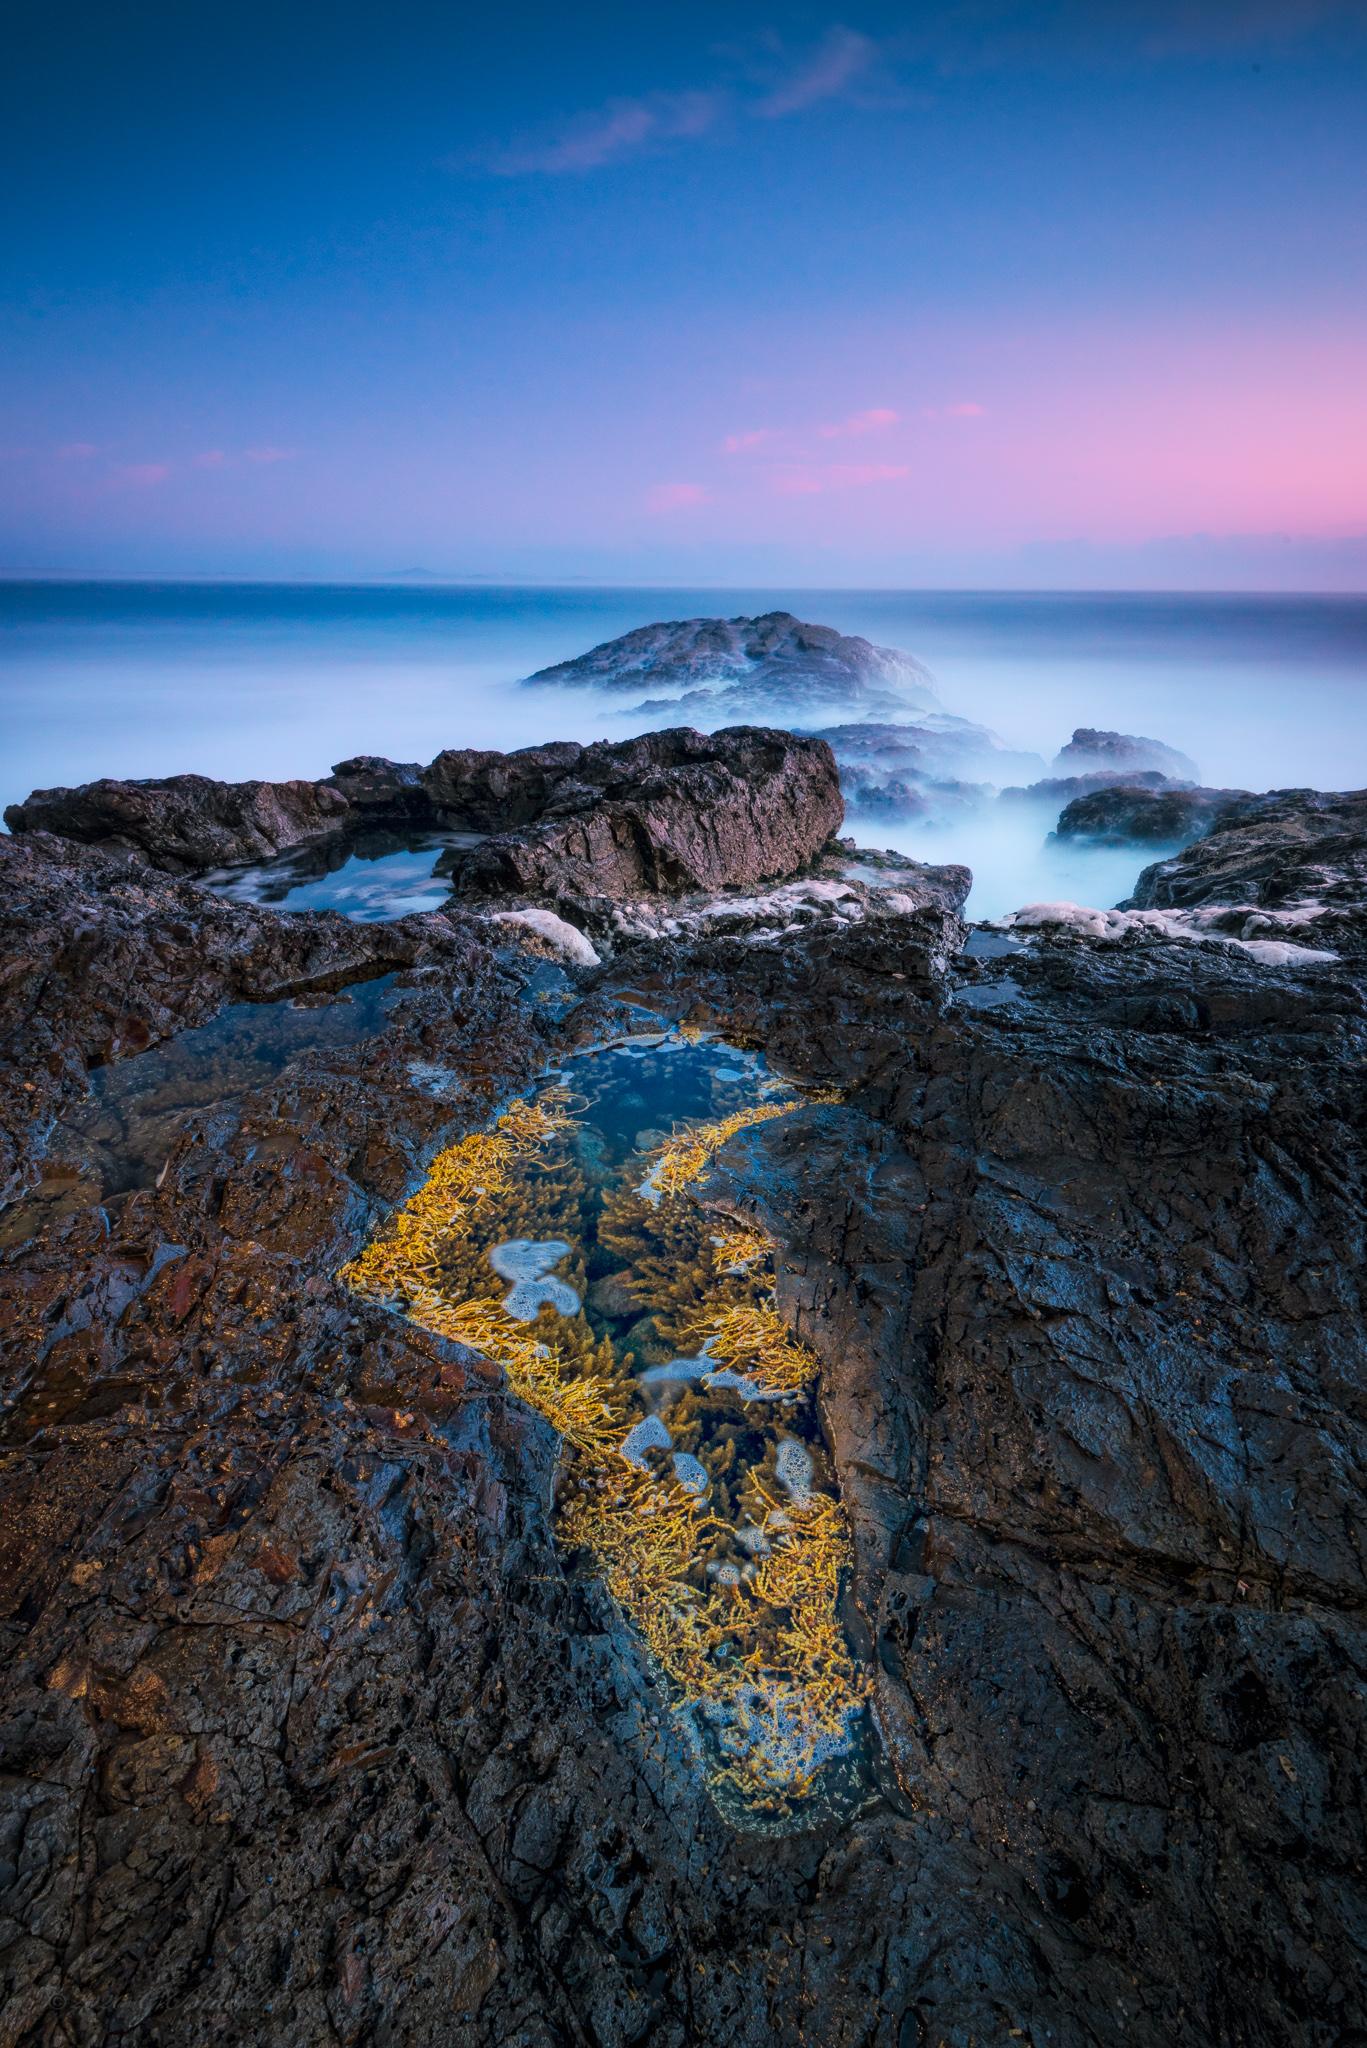
Sample – Kase – 1.2 Gradual Grey Soft w/CPL- Lens: Nikkor 16-35 f/4 @ f14 and 121s
Goanna Headland, Evans Head, NSW, Australia 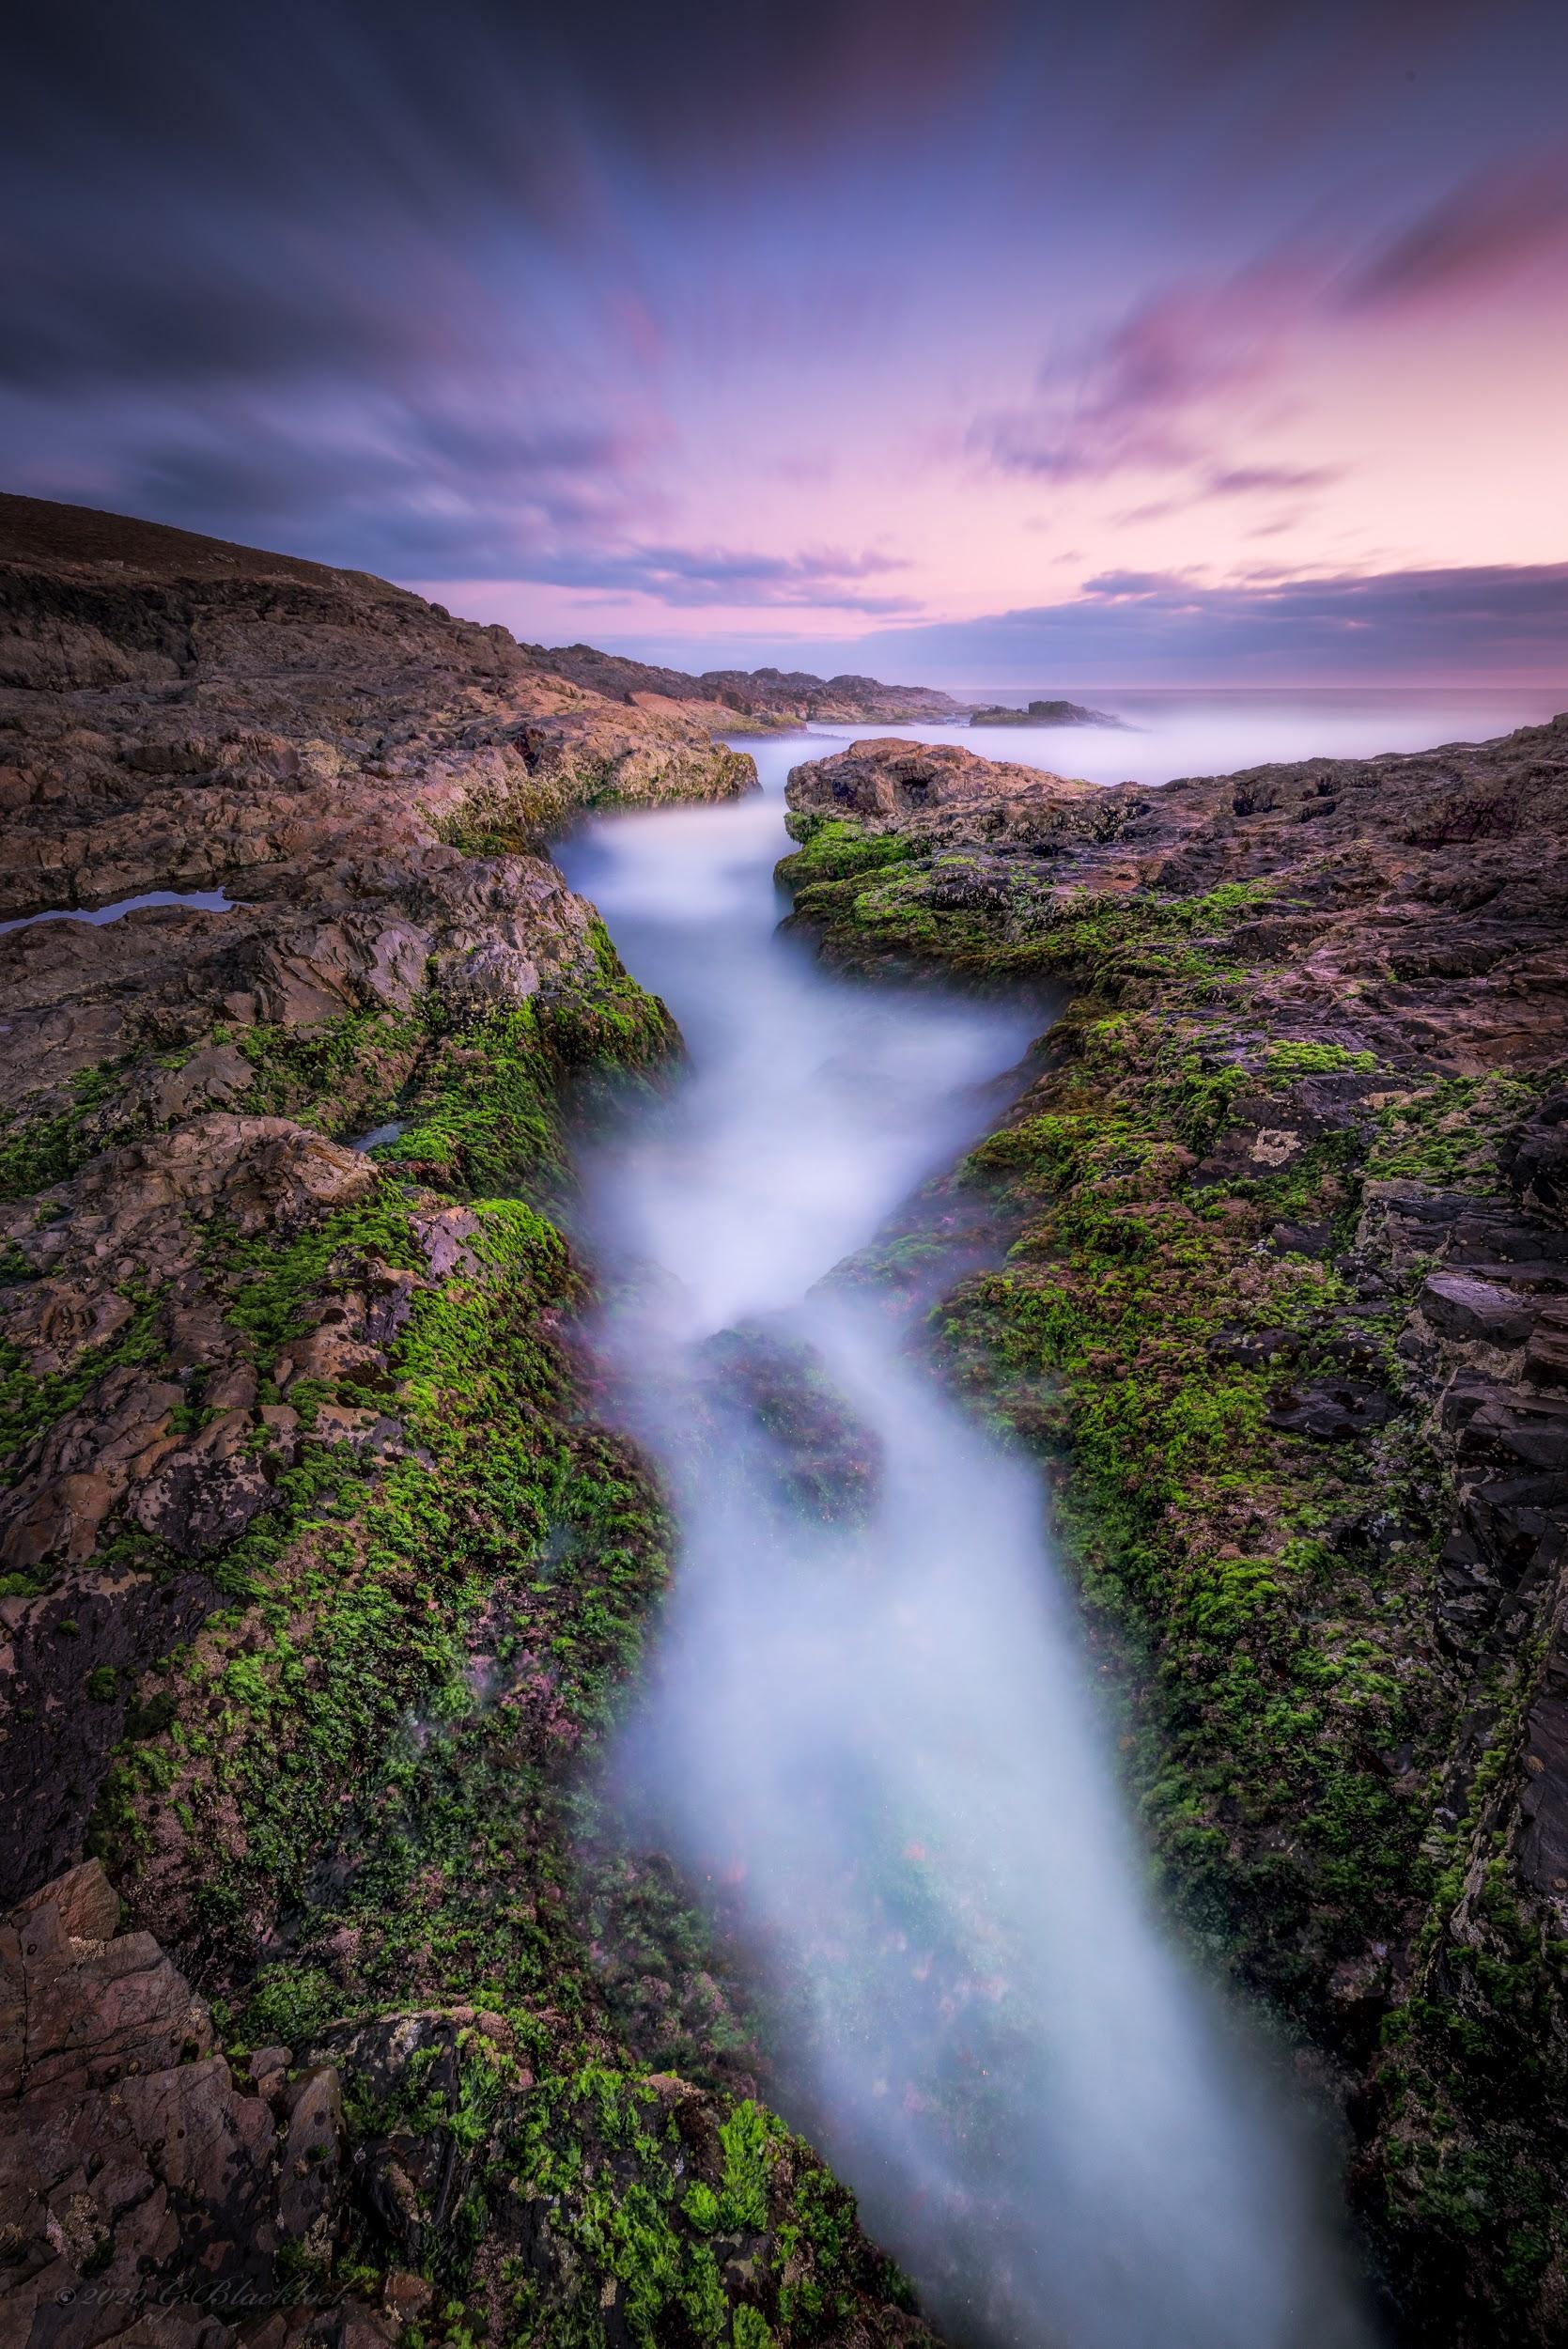
Sample – Kase – 1.2 Gradual Grey Soft w/CPL – Lens: Nikkor 16-35 f/4 @ f13 and 60s
Chinamans Beach, Evans Head, NSW, Australia 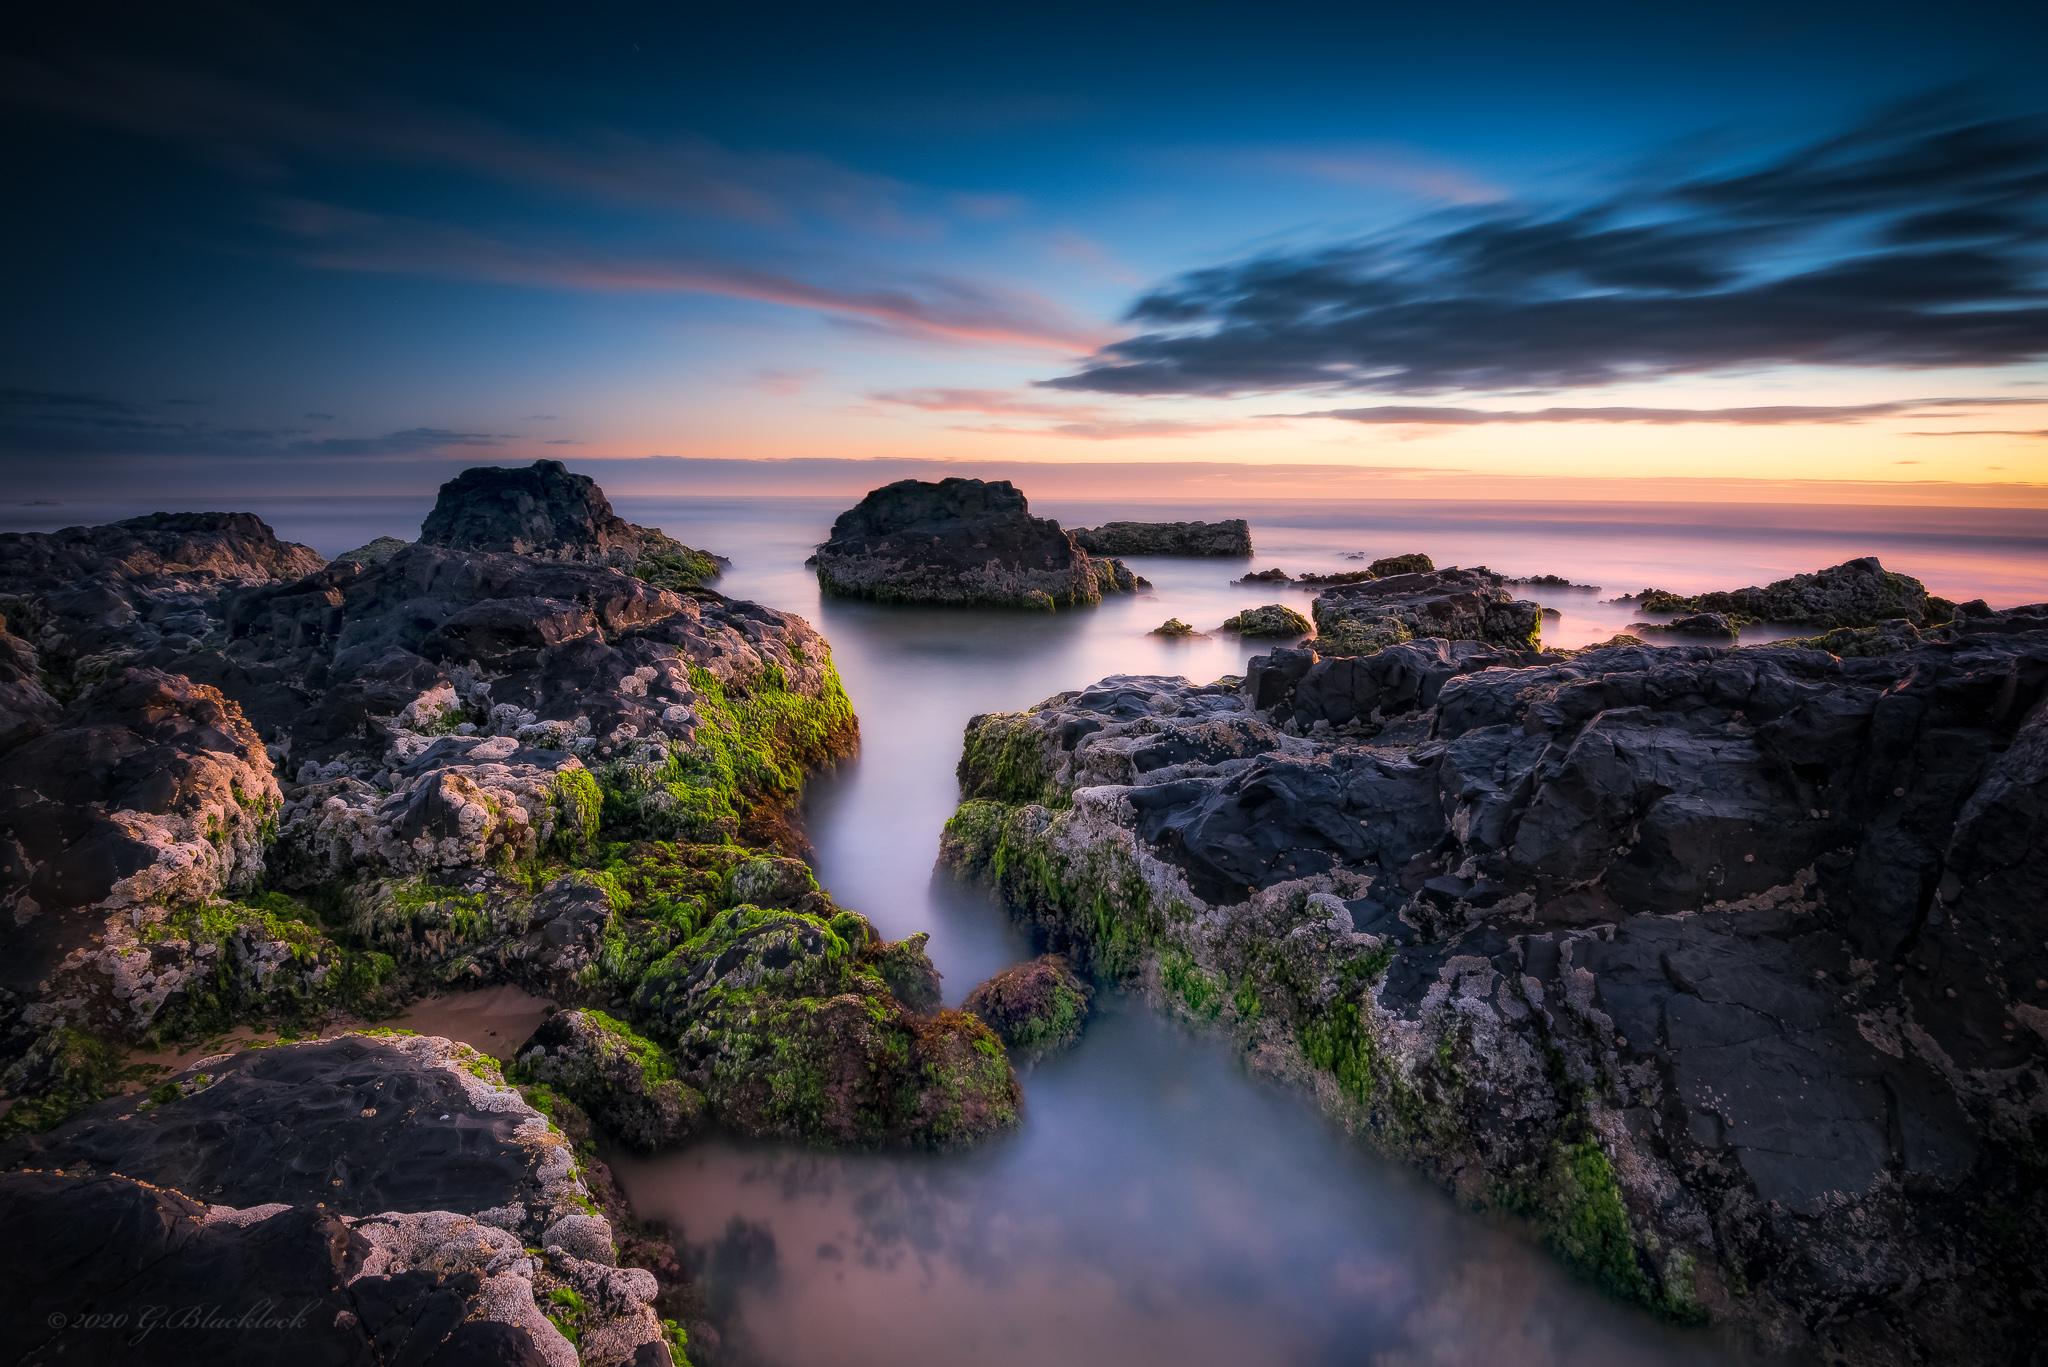
Sample – Kase – (1.2 Gradual Grey Soft and ND1000 / ND3.0 (10 stops) Neutral Density (ND) w/CPL) – Lens: Nikkor 16-35 f/4 @ f10 and 121s
Botany Bay, Sydney, NSW, Australia
Sample – Kase – 1.2 Gradual Grey Soft – Lens: Nikkor 16-35 f/4 @ f16 and 1s
Diamond Head – looking towards North Brother Mountain, NSW, Australia
Sample – Kase – 1.2 Gradual Grey Soft w/ CPL – Lens: Nikkor 16-35 f/4 @ f8 and 13s
Illaroo, NSW, Australia

Sample – Kase – 1.2 Gradual Grey Soft w/CPL – Lens: Nikkor 16-35 f/4 @ f14 and 121s
Evans Head, Joggly Point, NSW, Australia
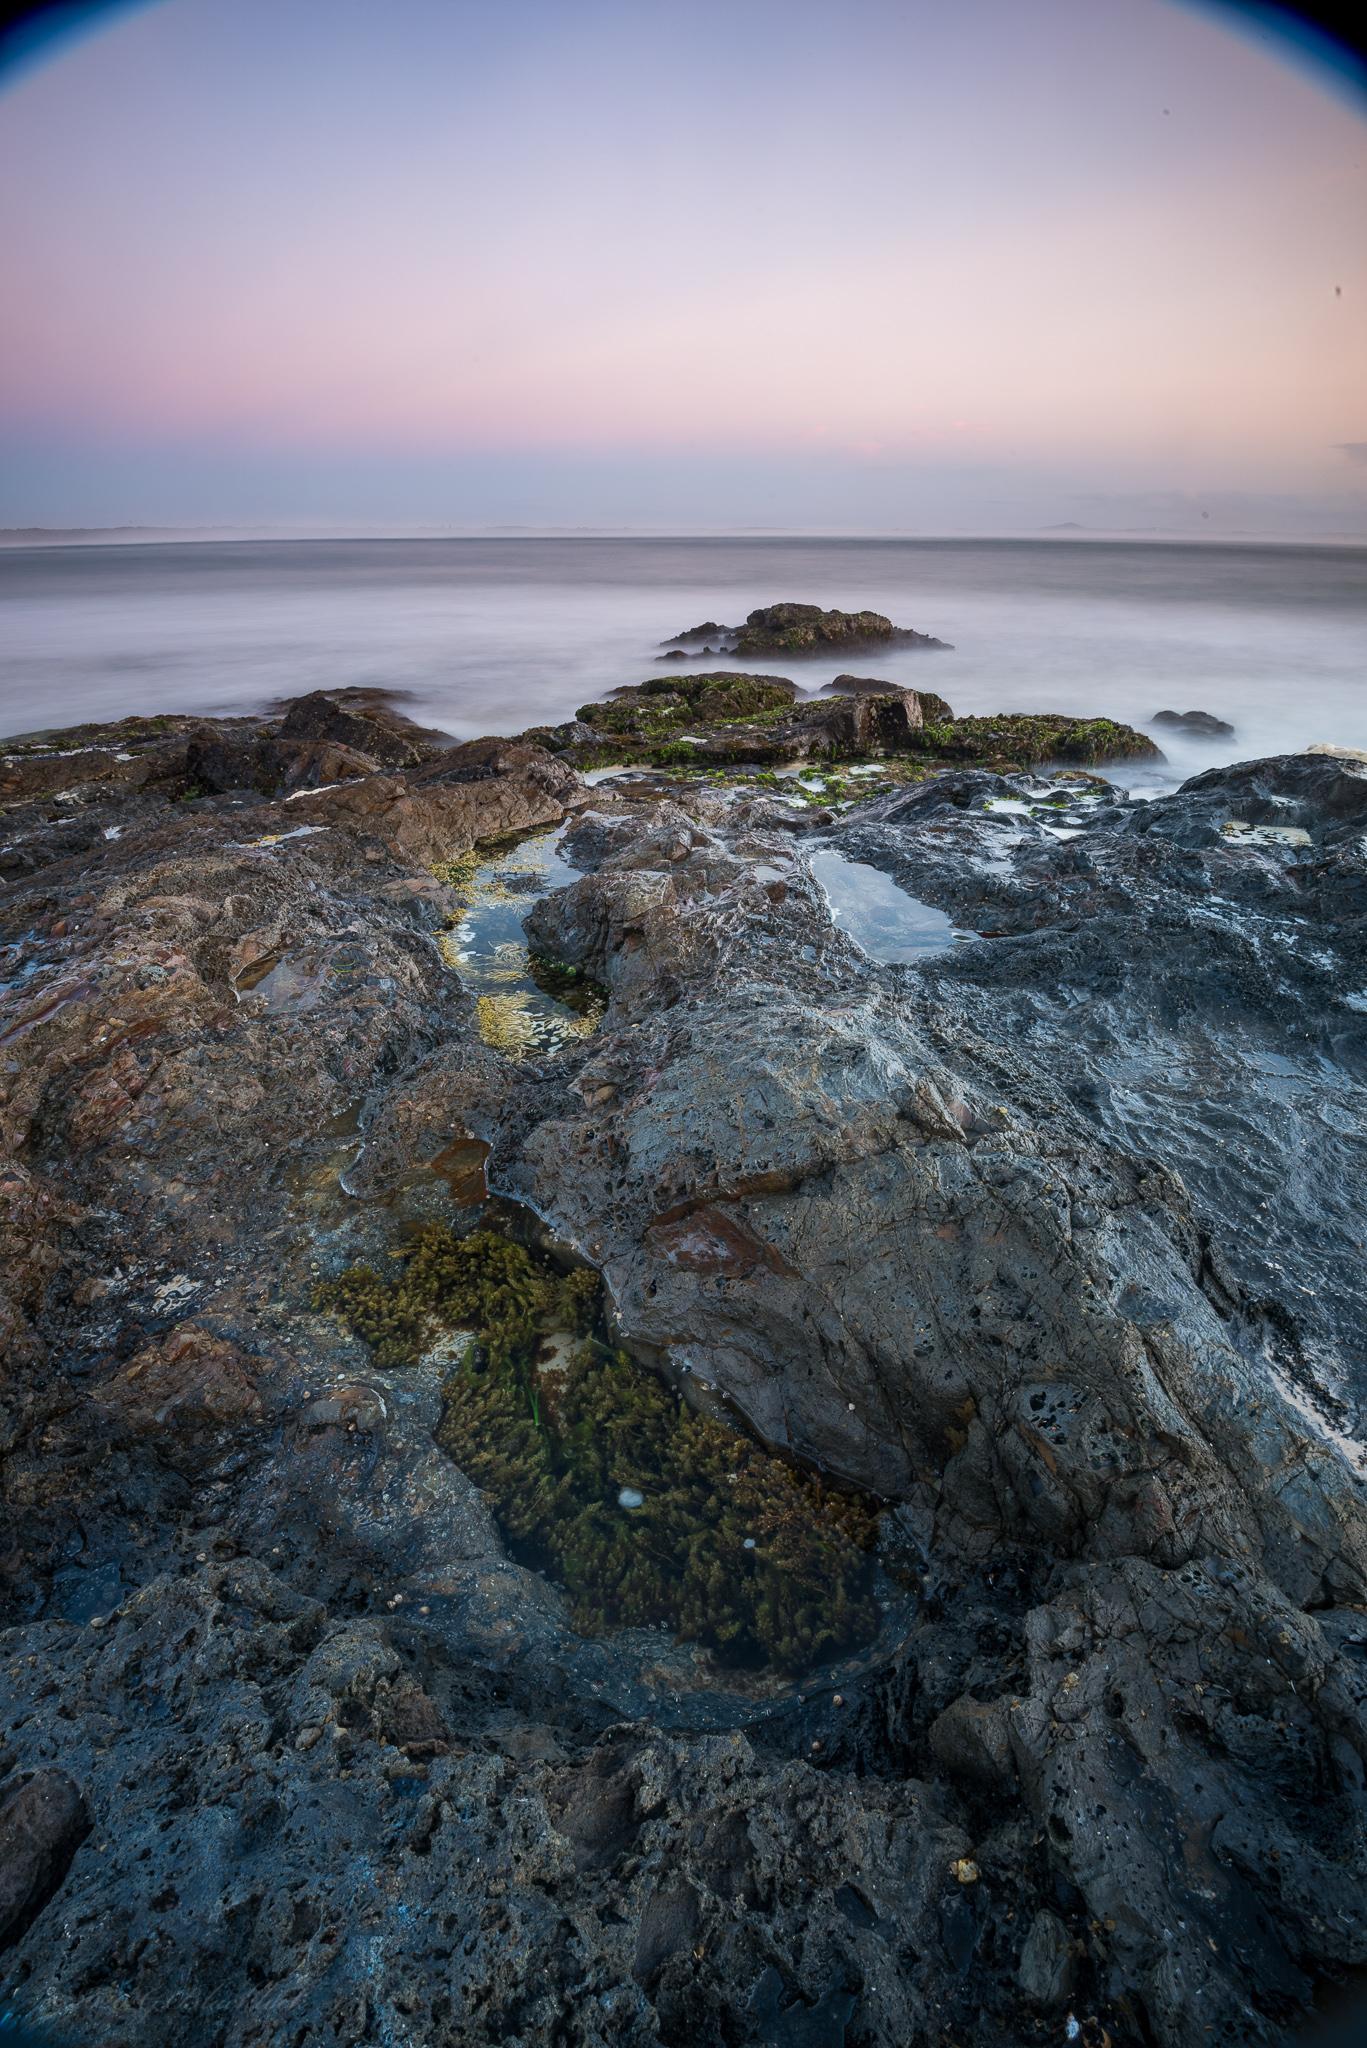
Sample – Kase – 1.2 Reverse Gradual Grey – Lens: Nikkor 16-35 f/4 @ f16 and 1.3s – Crop image on RHS
Illaroo, NSW, Australia


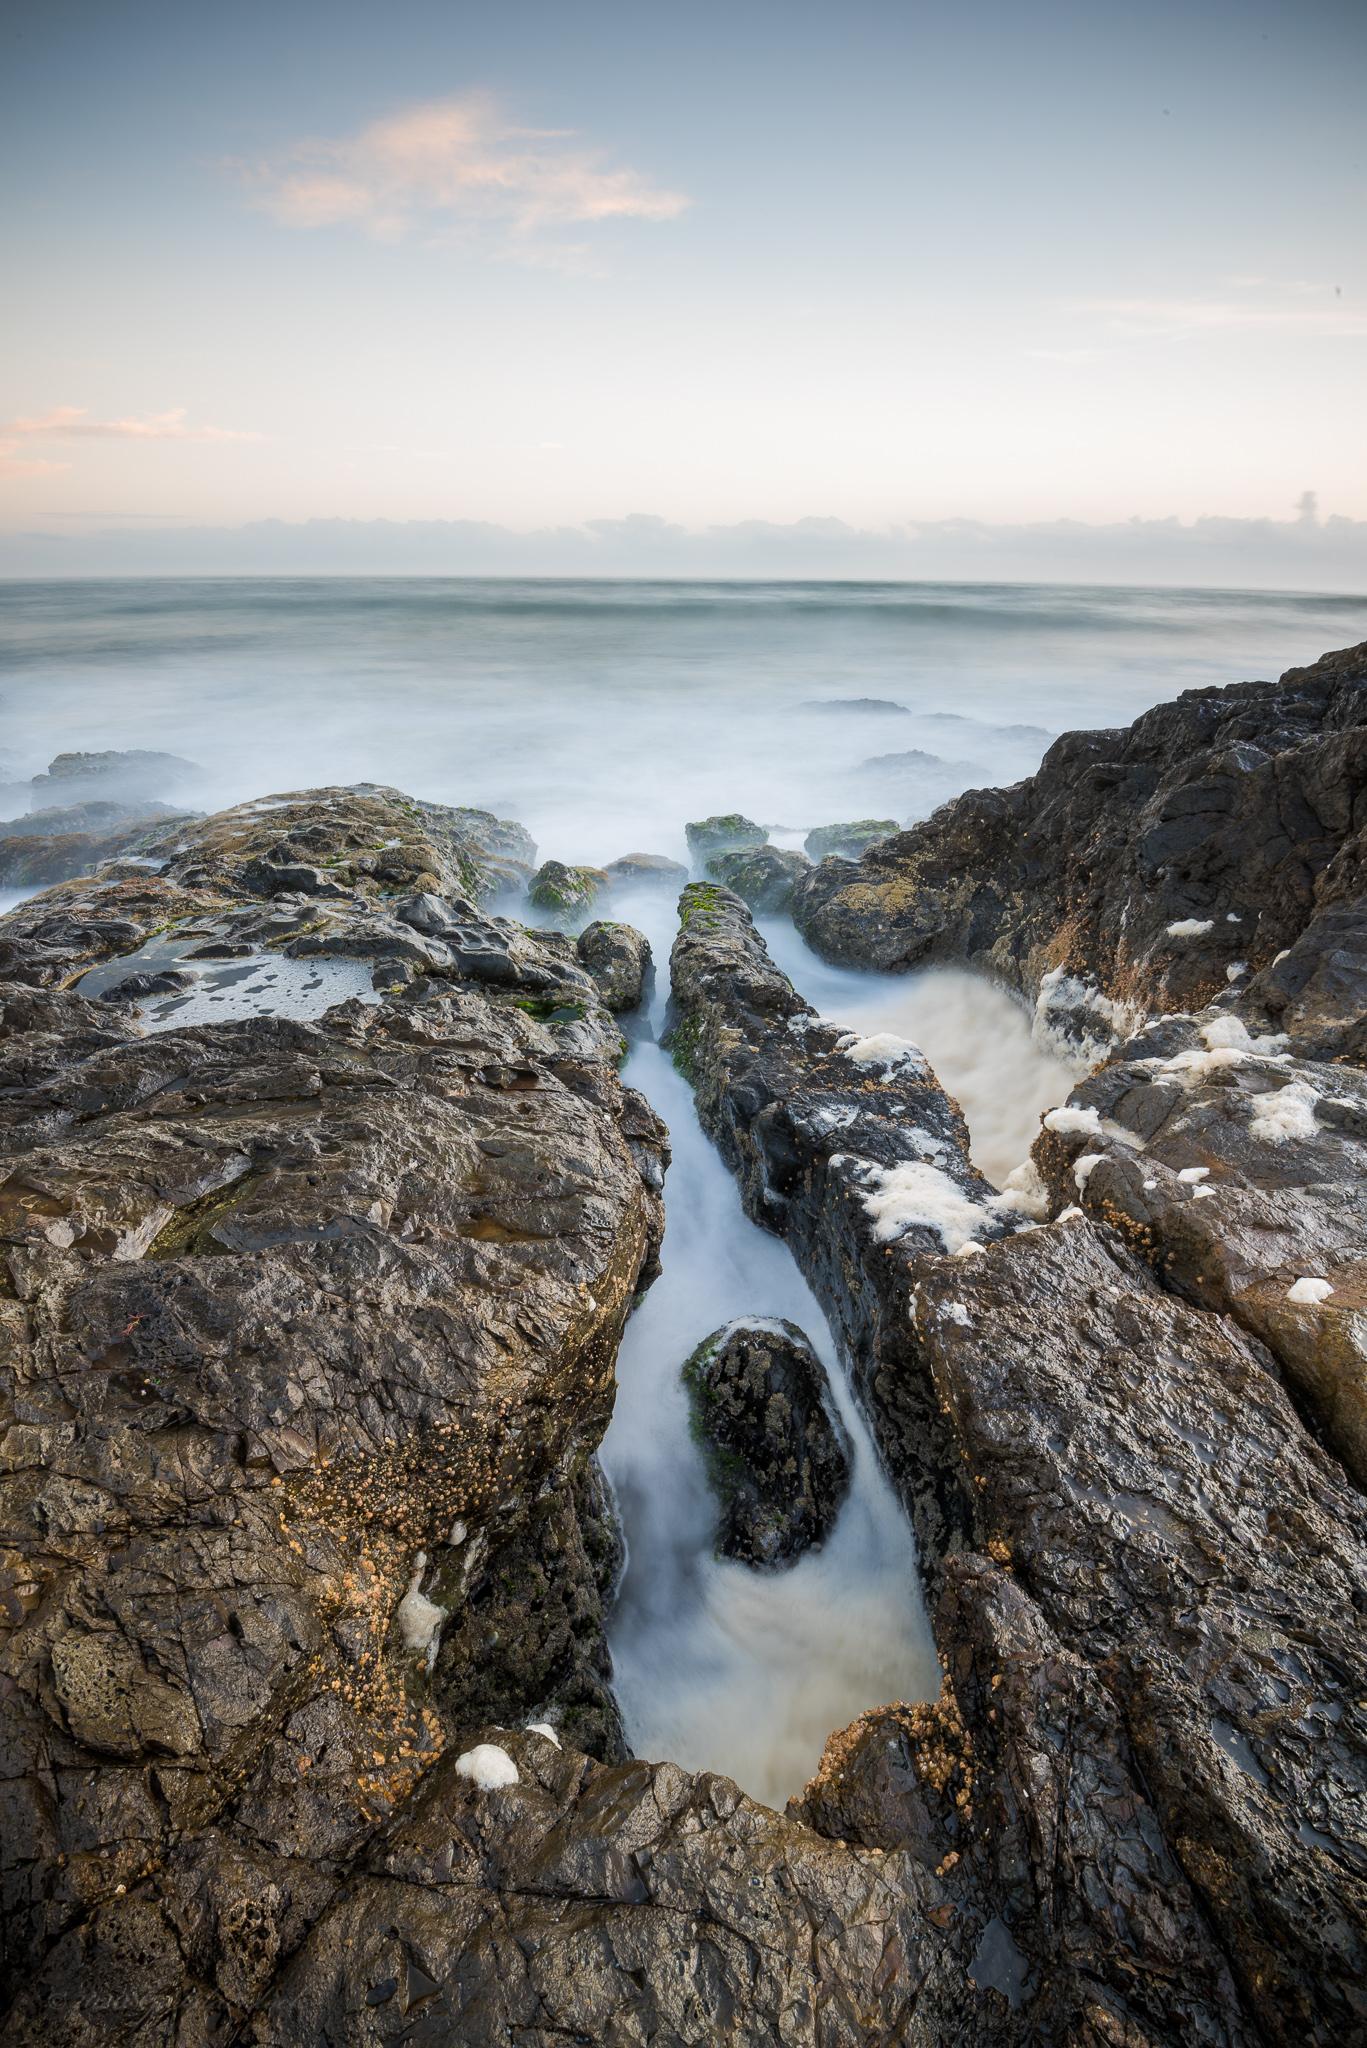
Sample – Kase – 1.2 Reverse Gradual Grey – Lens: Nikkor 16-35 f/4 @ f16 and 1/1.3s
Chinamans Beach, Evans Head, NSW, Australia

Sample – Kase RH – (1.2 Gradual Grey Soft and ND64 / ND1.8 (6 stops) Neutral Density (ND))
Evans Head, Joggly Point, NSW, Australia
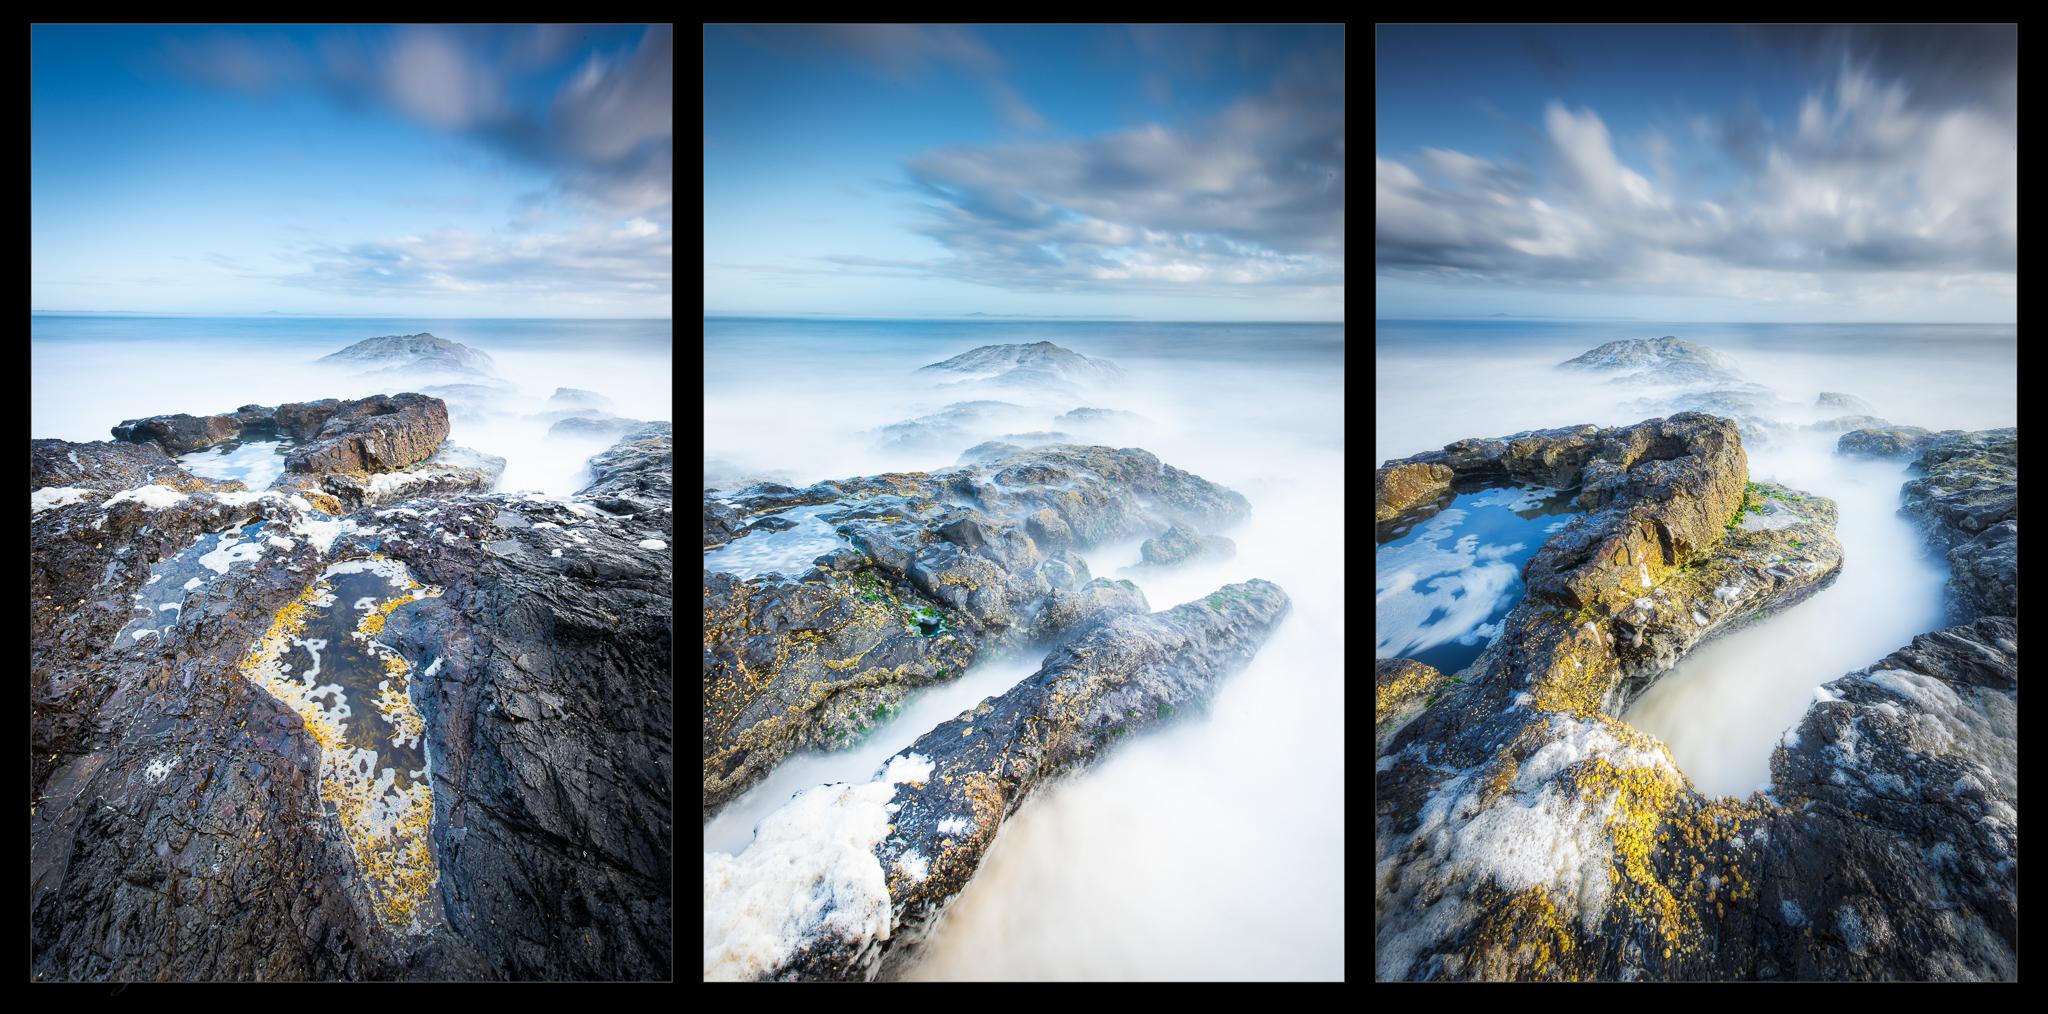
Side by Side Comparisons -Unprocessed – Kase LH – (1.2 Gradual Grey Soft) vs Lee RH (0.9 Gradual Soft) Lens: Nikkor 16-35 f/4 @ f16 and 1.6s
Side by Side Comparisons – Unprocessed – Kase LH – (1.2 Gradual Grey Soft w/CPL) vs Lee RH (0.9 Gradual Soft w/ CPL) Lens: Nikkor 16-35 f/4 @ f16 and 30s

Side by Side Comparisons -Unprocessed – Kase LH – (1.2 Gradual Grey Soft w/CPL) vs Lee RH (0.9 Gradual Soft w/ CPL) Lens: Nikkor 16-35 f/4 @ f16 and 1.6s
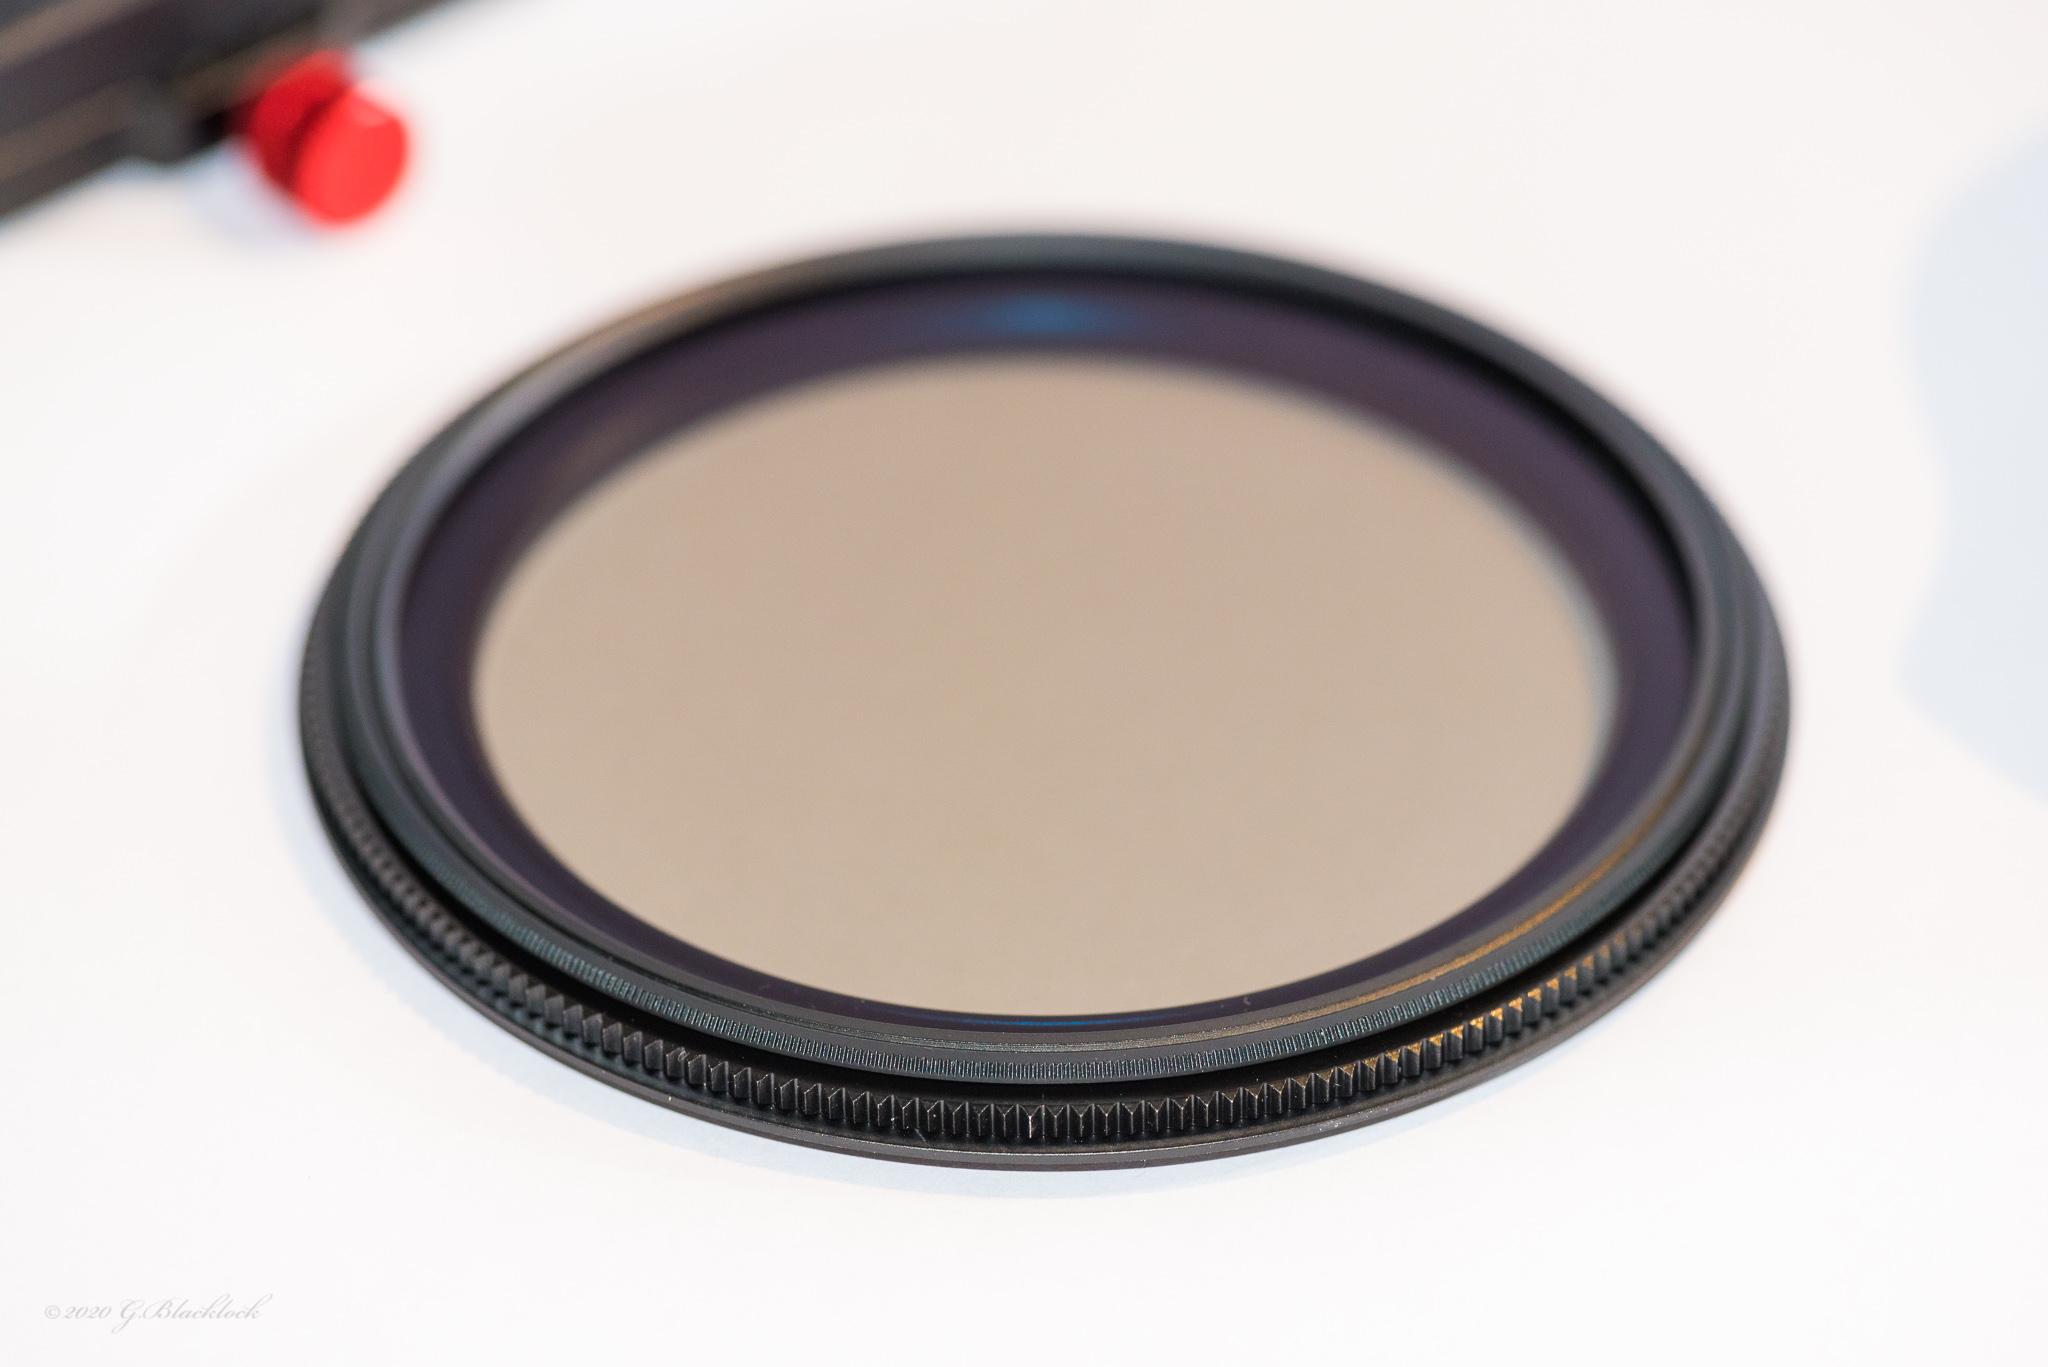
Additional Product Shots : 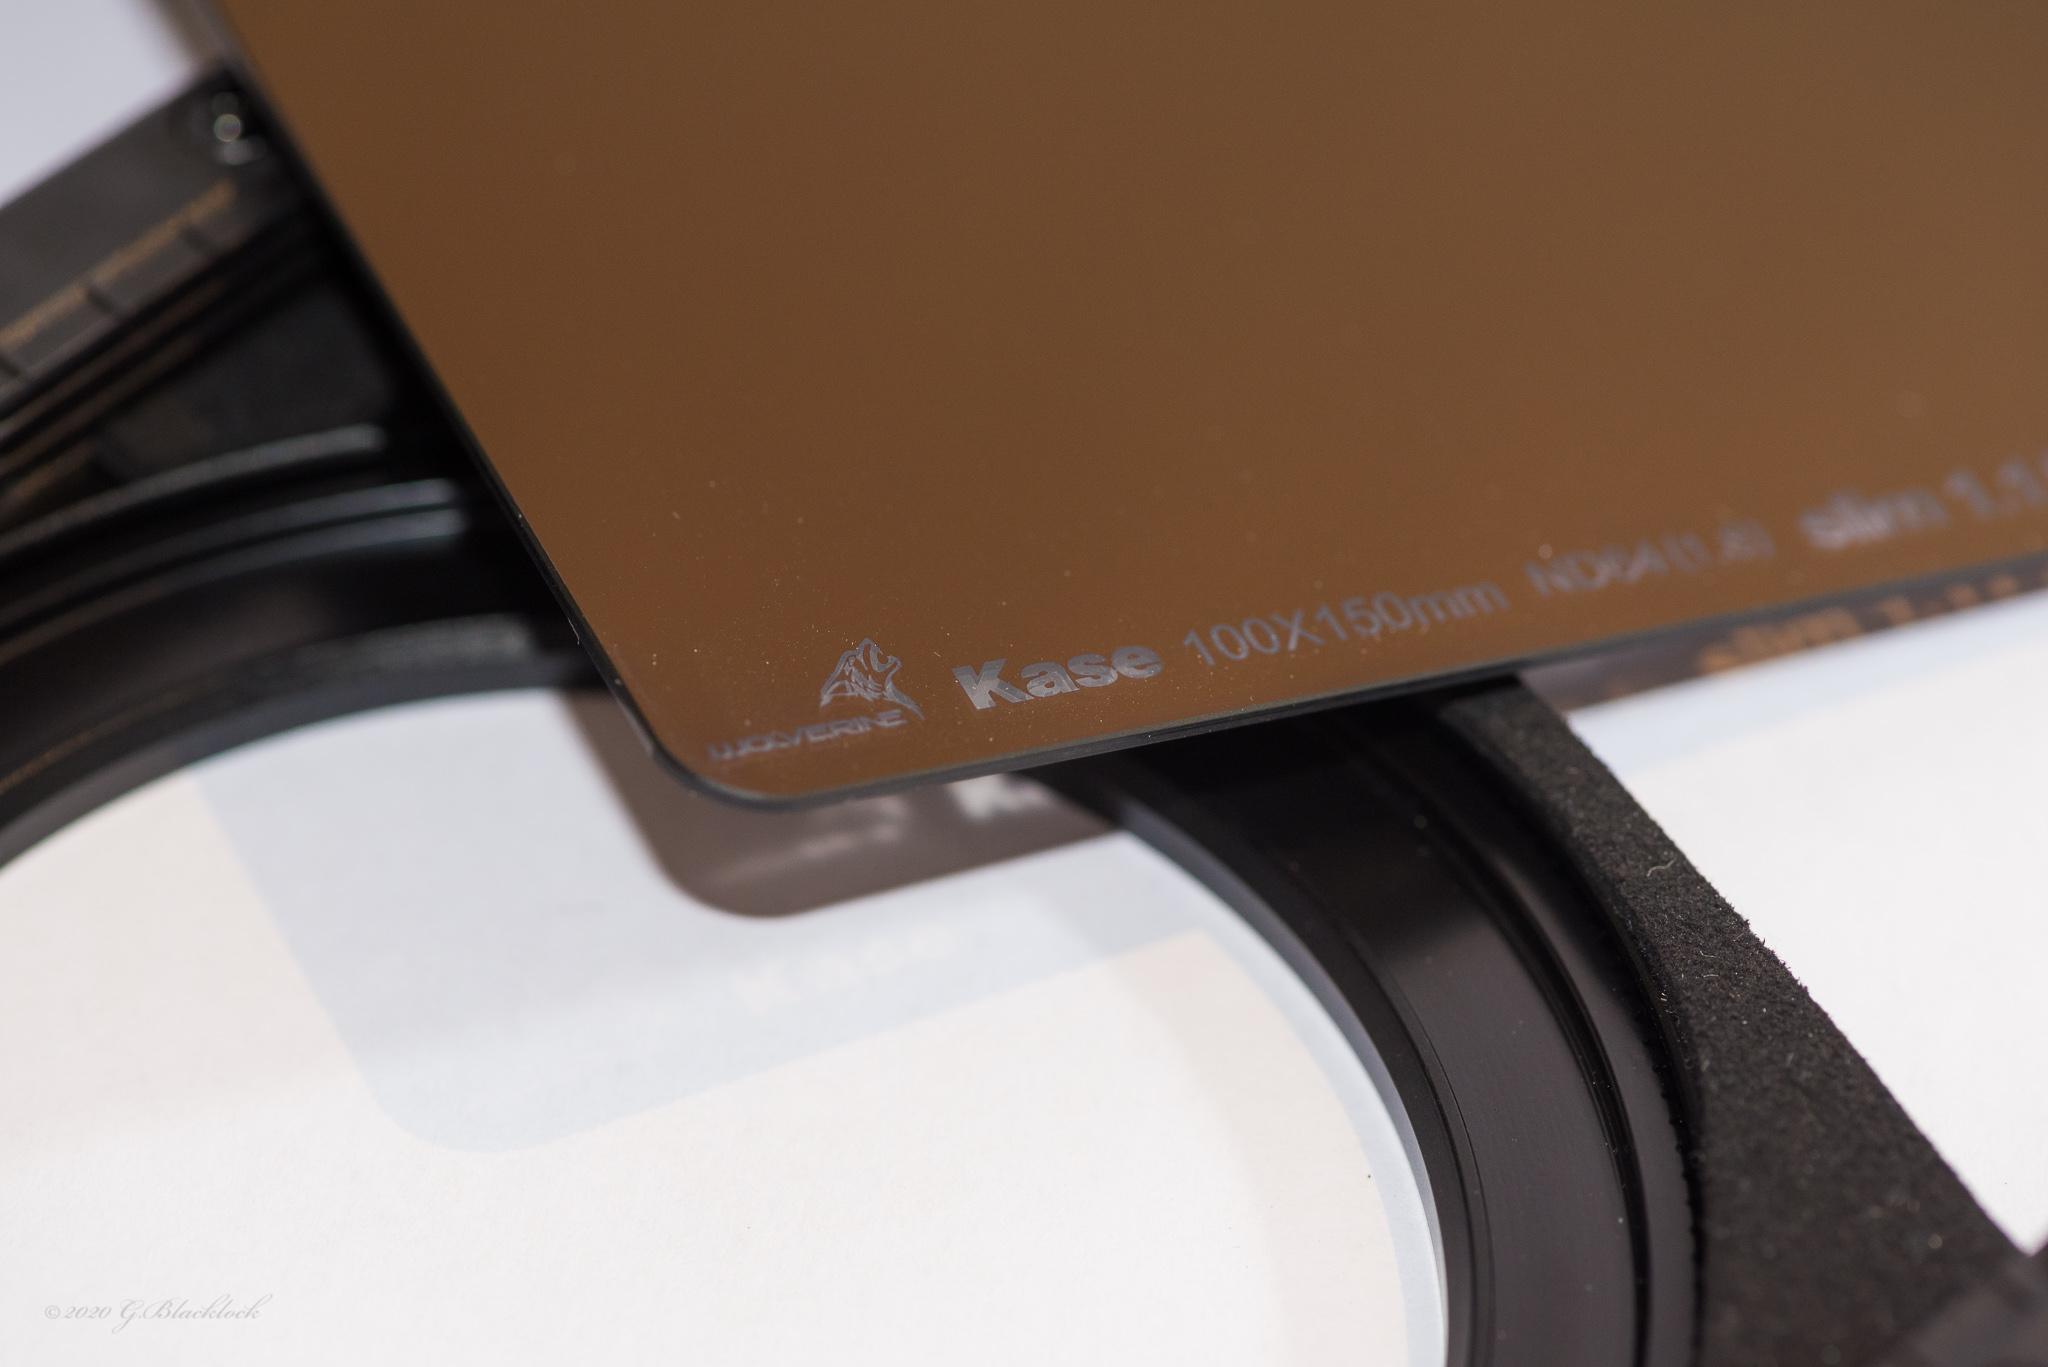


About the Artist
Sydney based photographer, Gerard Blacklock, has been capturing images for over 14 years, from images of natural landscapes through to light painting, aerials and family, Gerard specialises in adapting photography to spontaneous opportunities as well as crafting images from carefully planned scenes and locations.
The love of the natural outdoors, family and desire to simply photograph to feed the creative side of this engineer has formed a unique image journey covering everything from snow covered landscapes to adorable portraits of his children.
Gerard’s work has been recognised by awards and showcased over the years driving the ambition to improve and adapt his photography. The journey can be found at avernus.com.au.